OCA TaoP

OCA degree in photography module 1

Vertical and horizontal frames

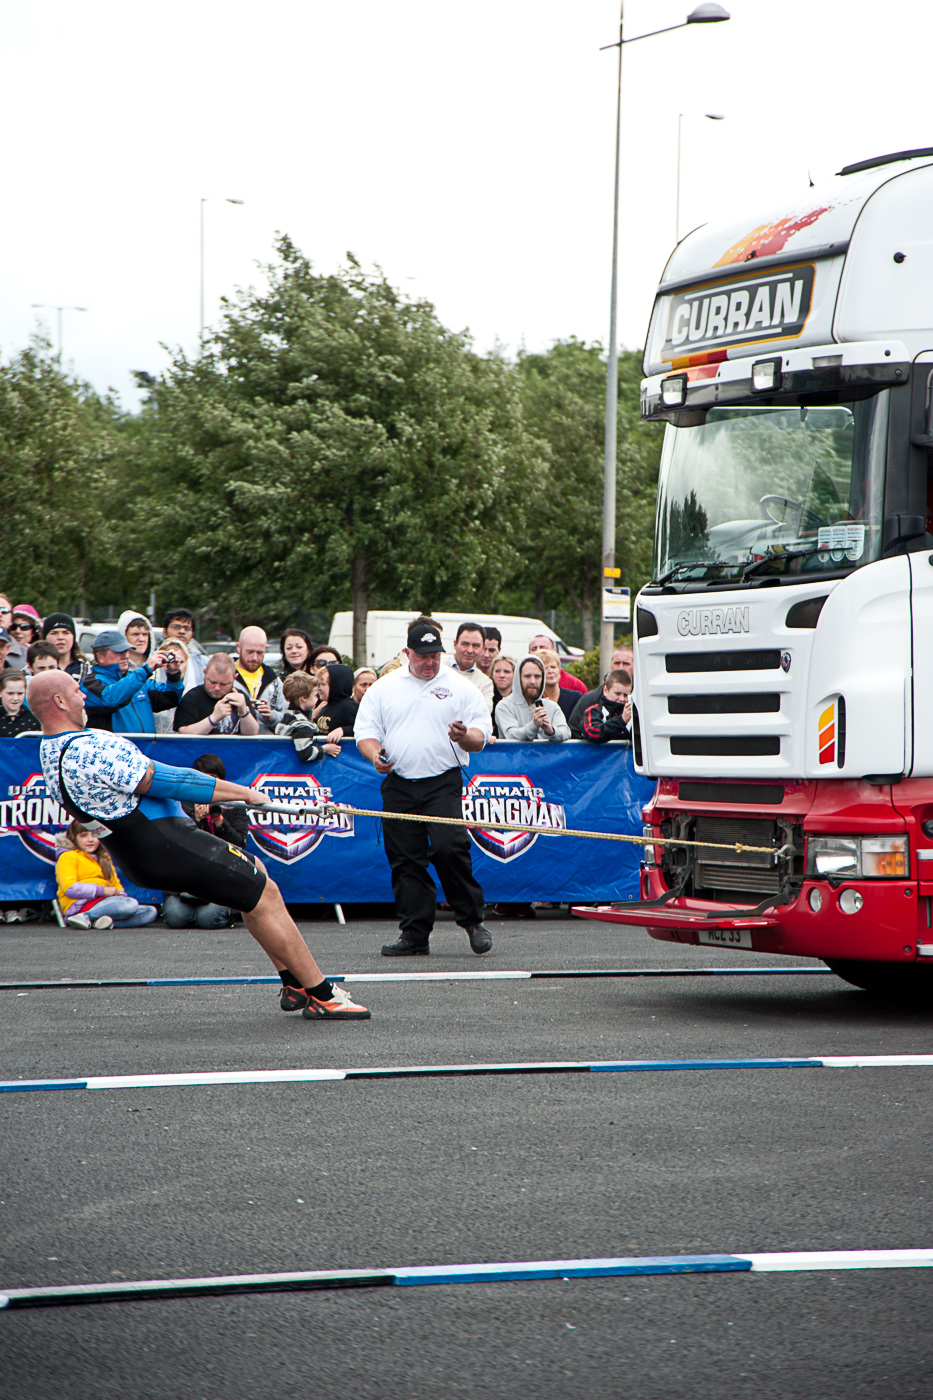
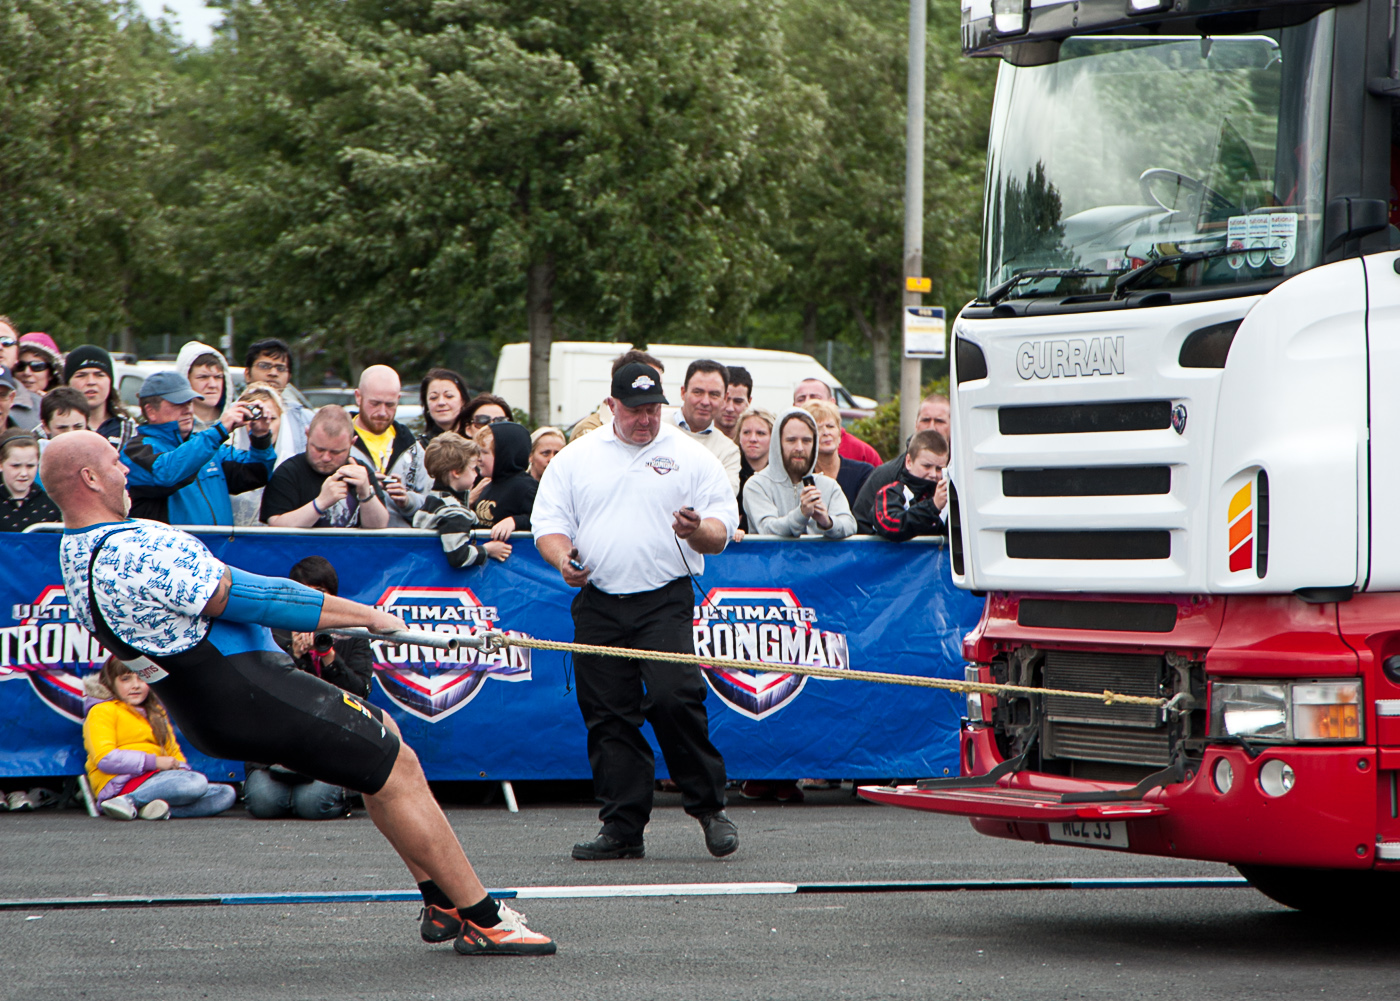
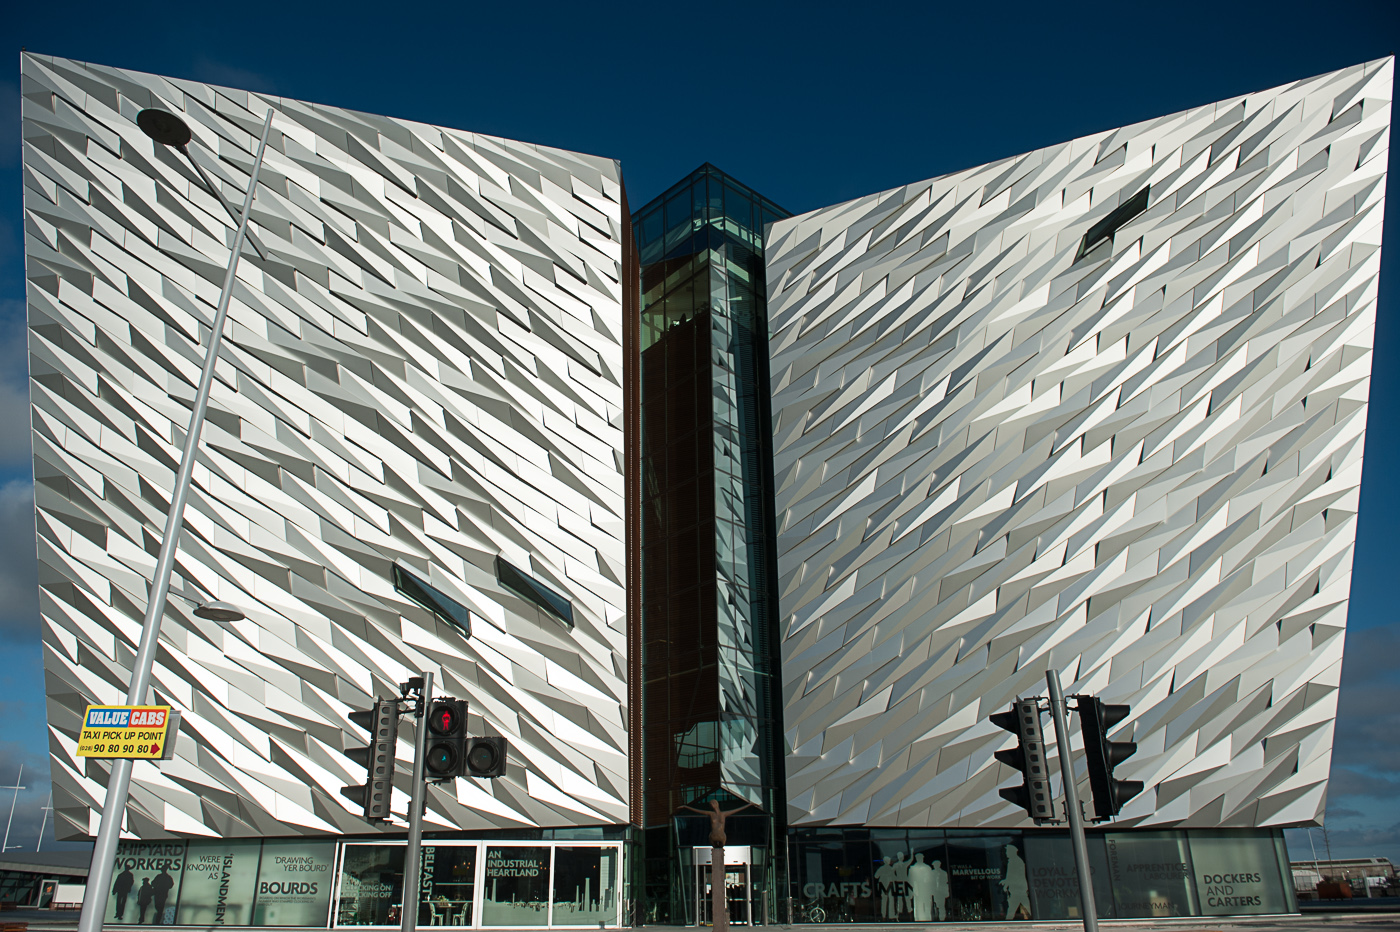
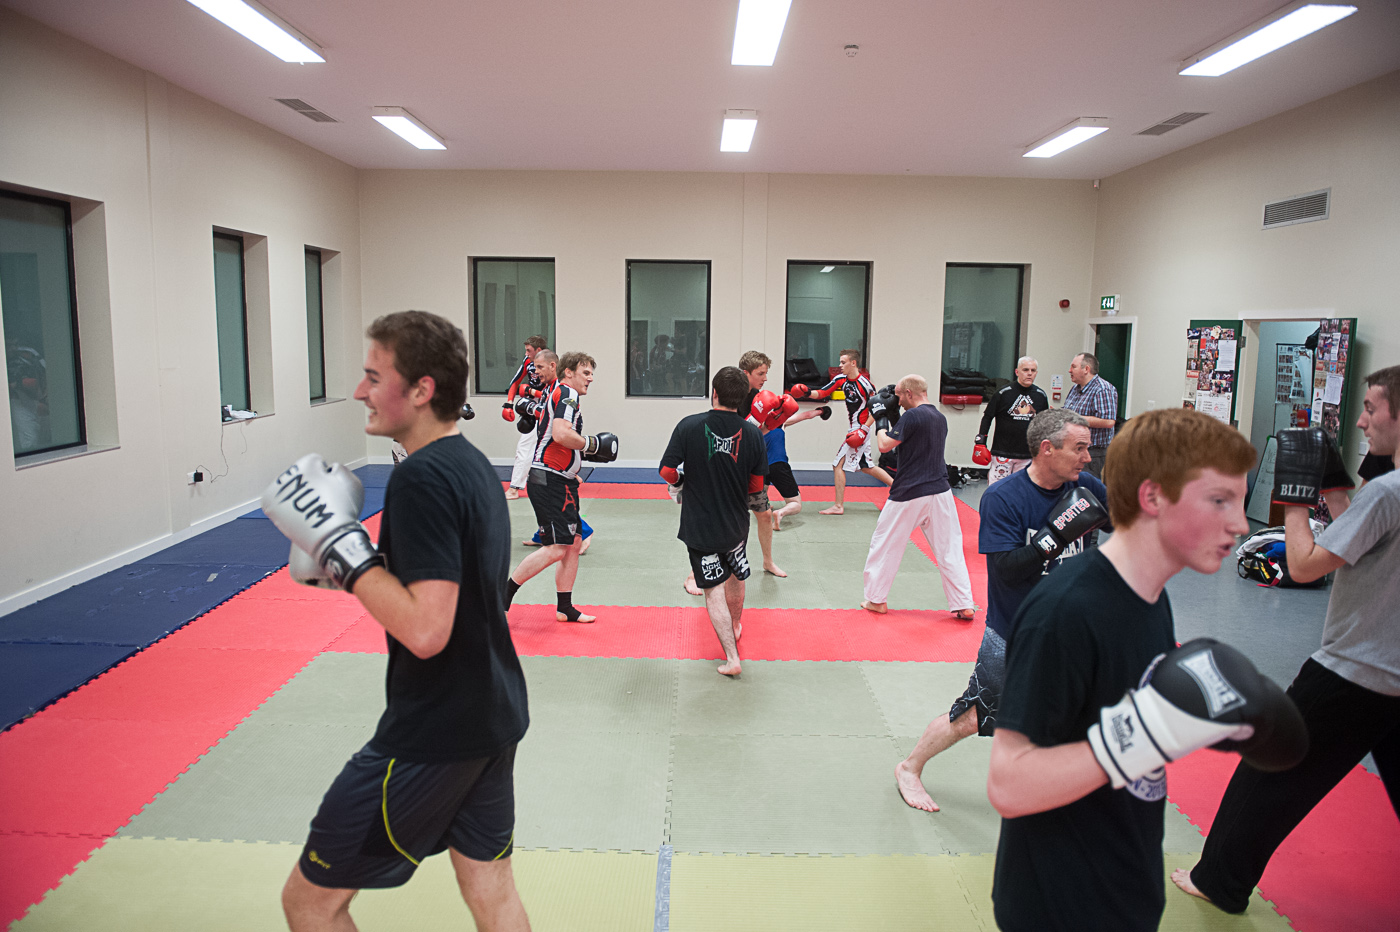
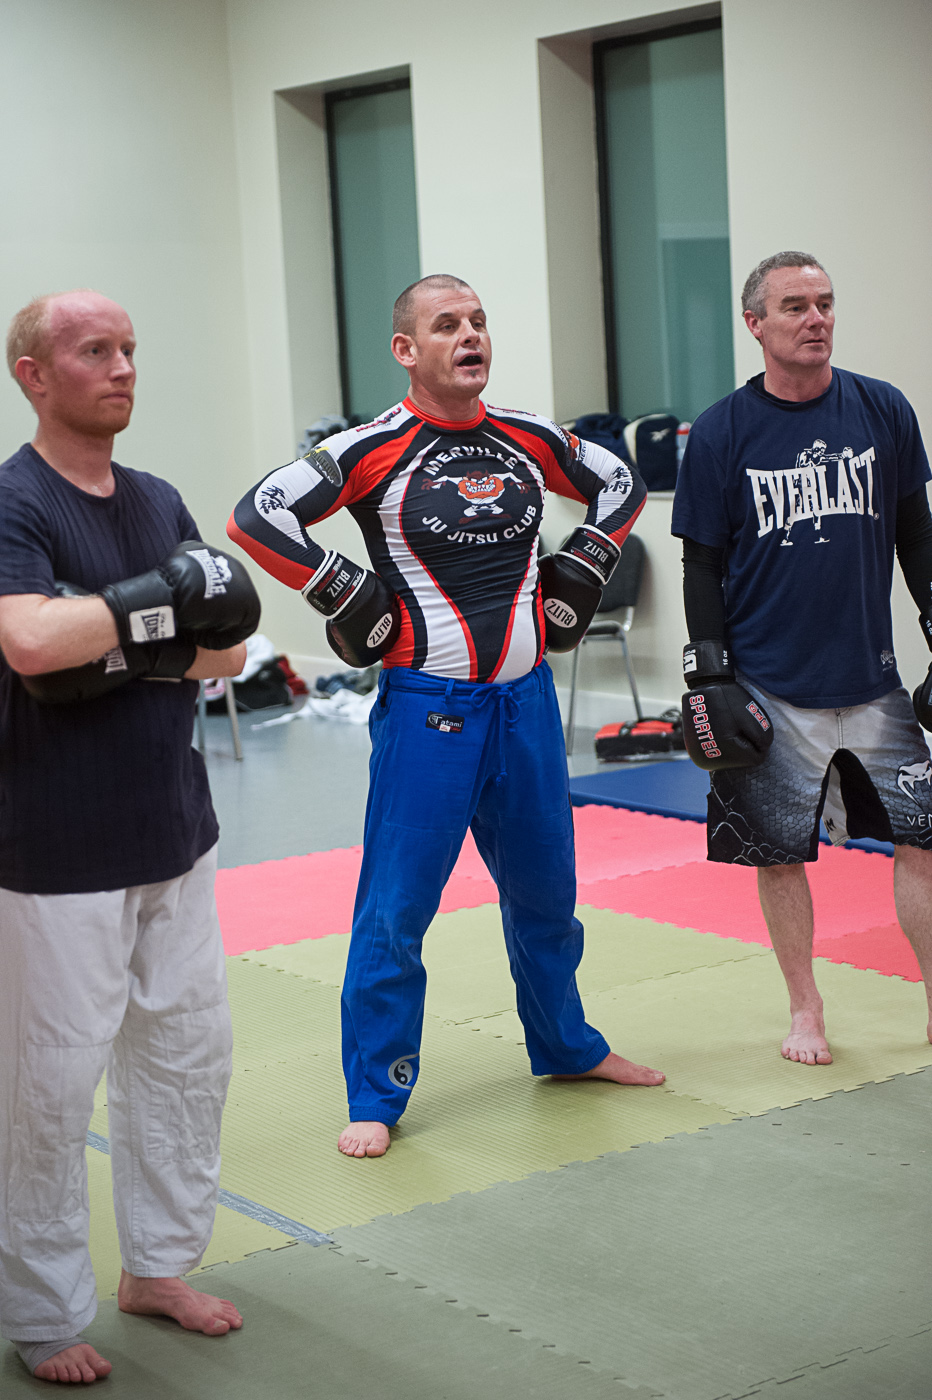
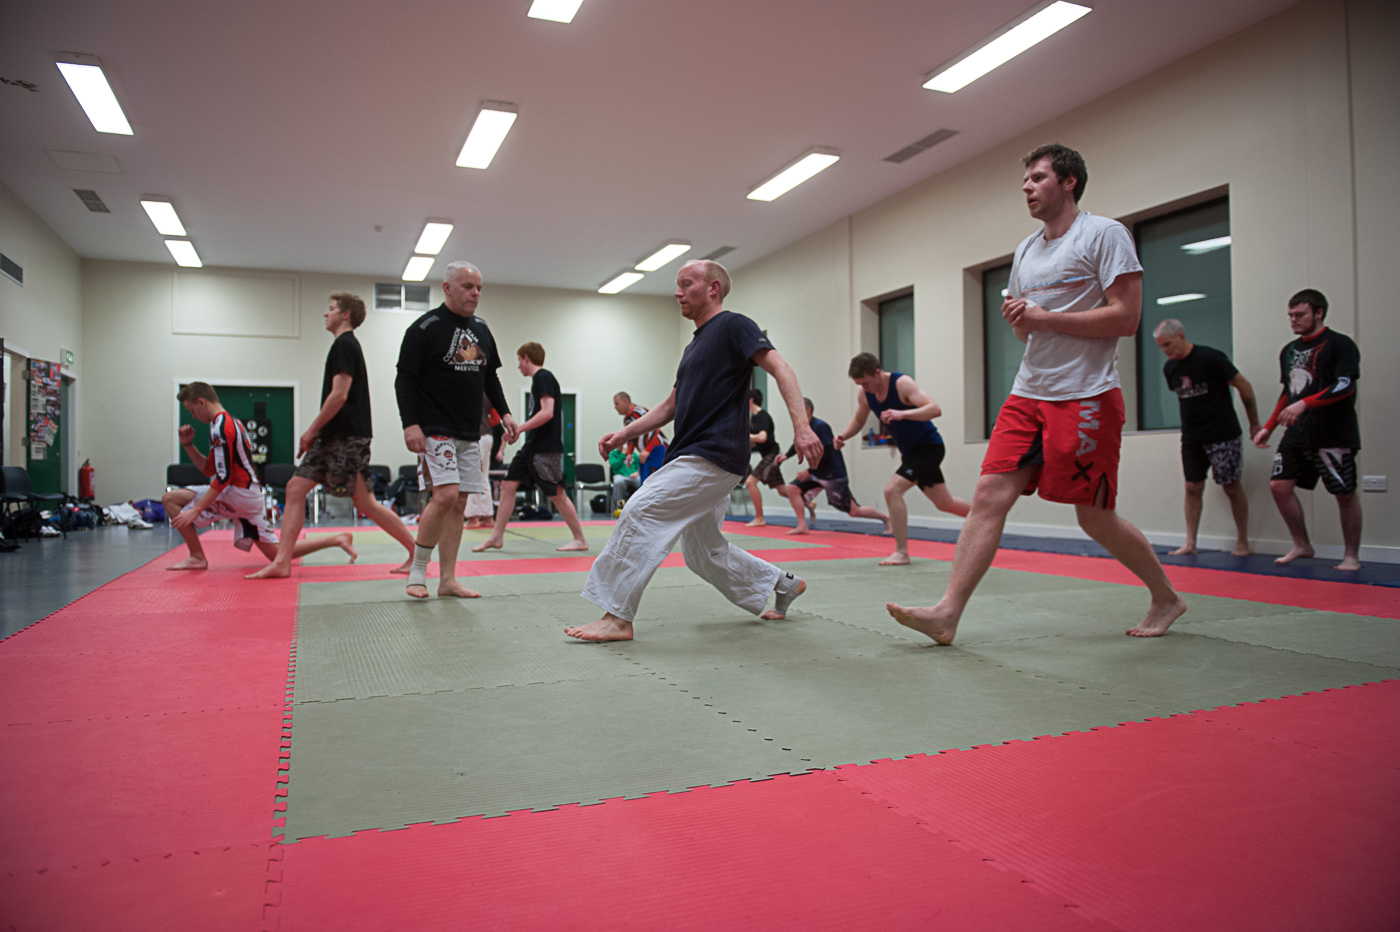
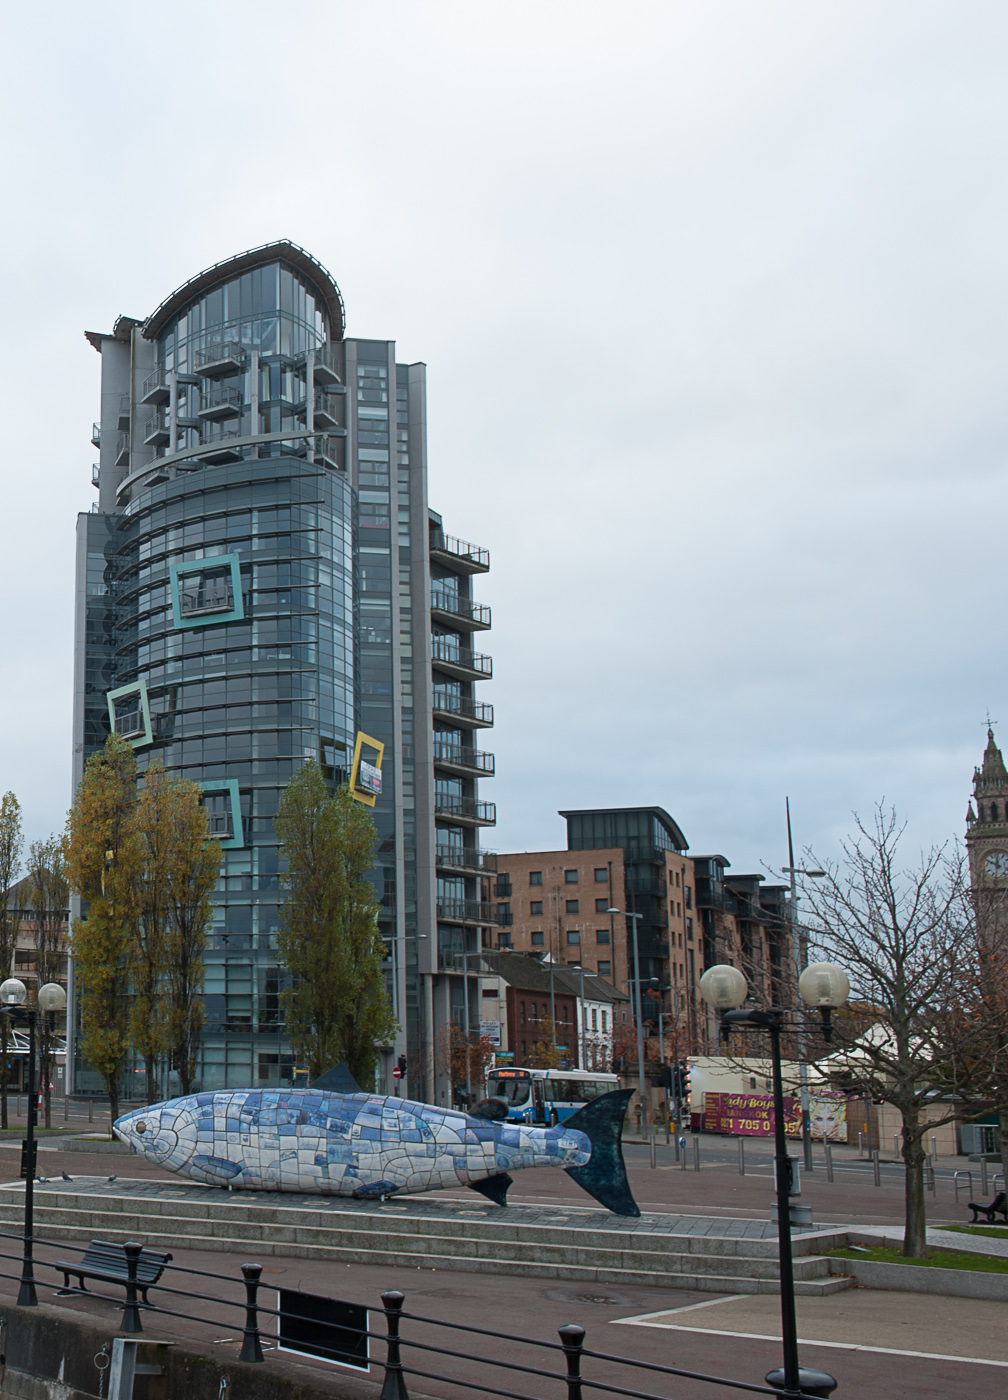
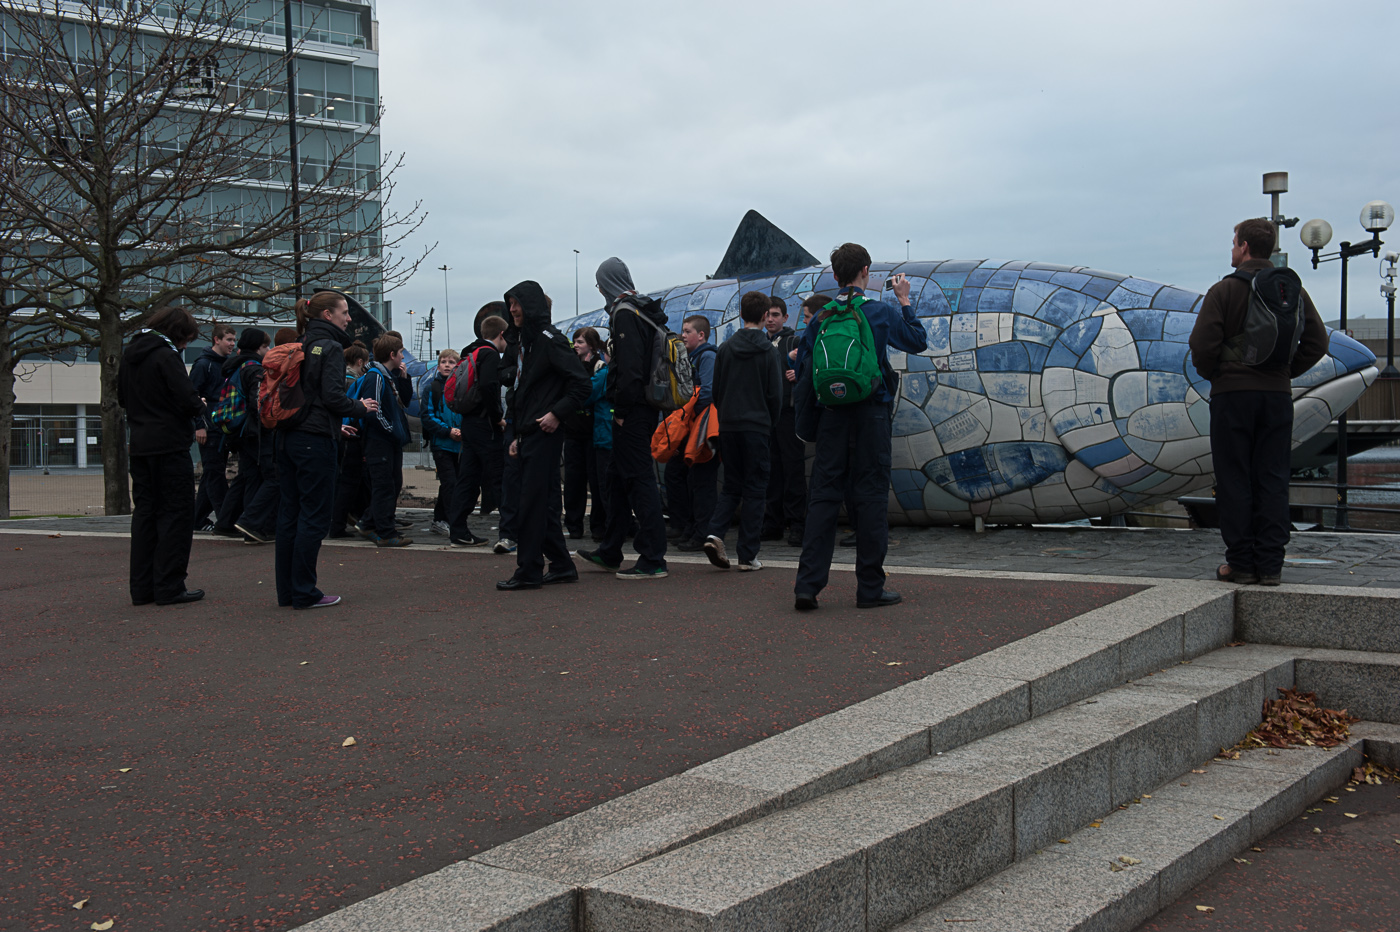
The aim of this exercise was to, in a fairly compact location, take 20 photographs in portrait format. Then another 20 shots, by shooting a horizontal version of every vertical composition. You can see the results below.

small LanPor -3027 small LanPor -3026

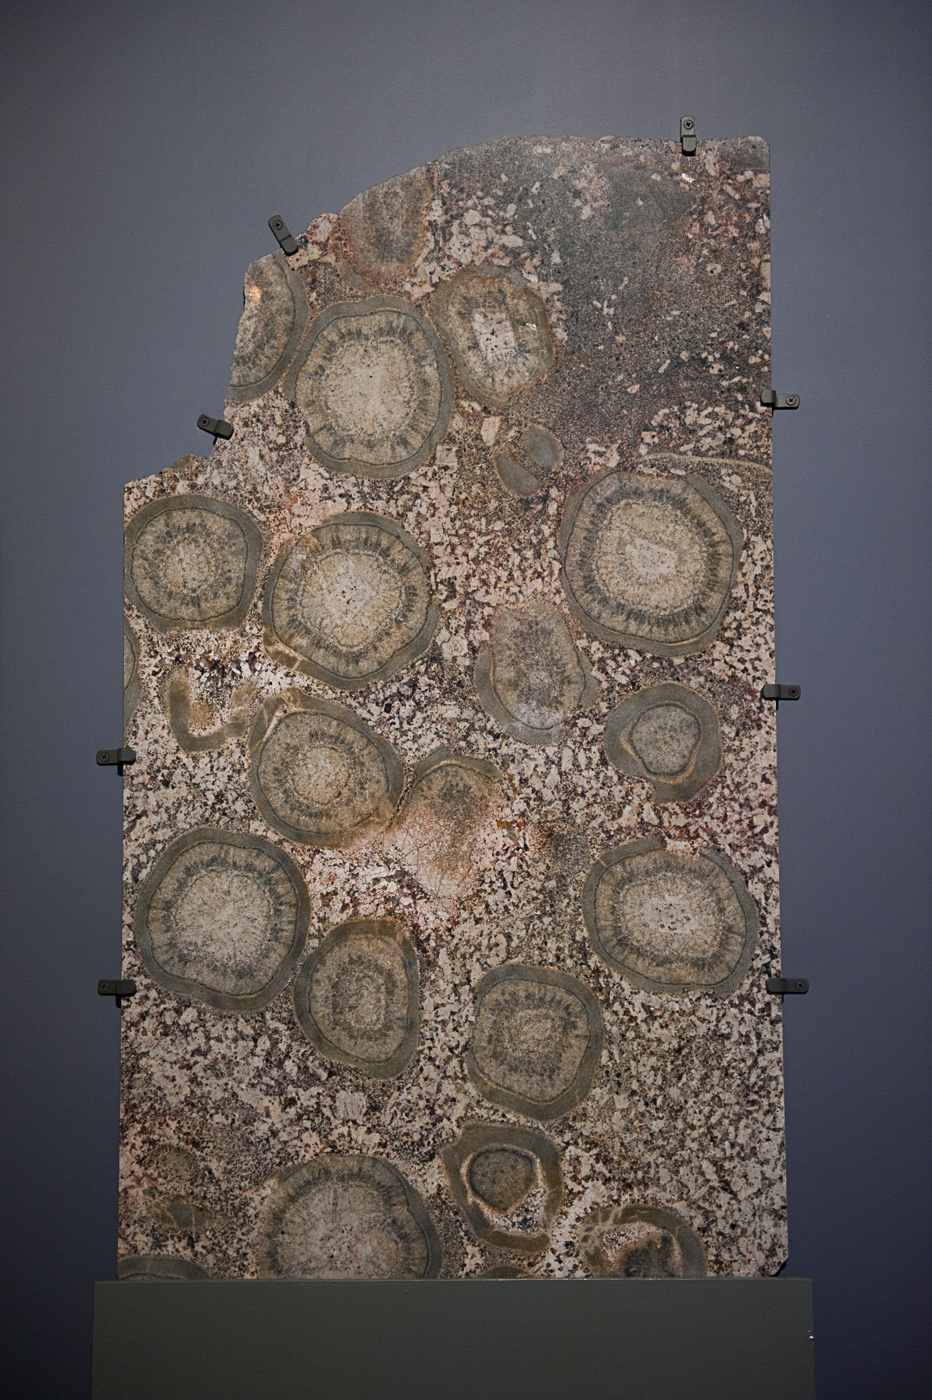
This was definitely a subject best shot vertically. One a came to shoot it horizontally I was torn between this eccentric composition or filling the frame with the pattern of the fossils. On hindsight I should probably have went with filling the frame.

small LanPor -3025small LanPor -3024

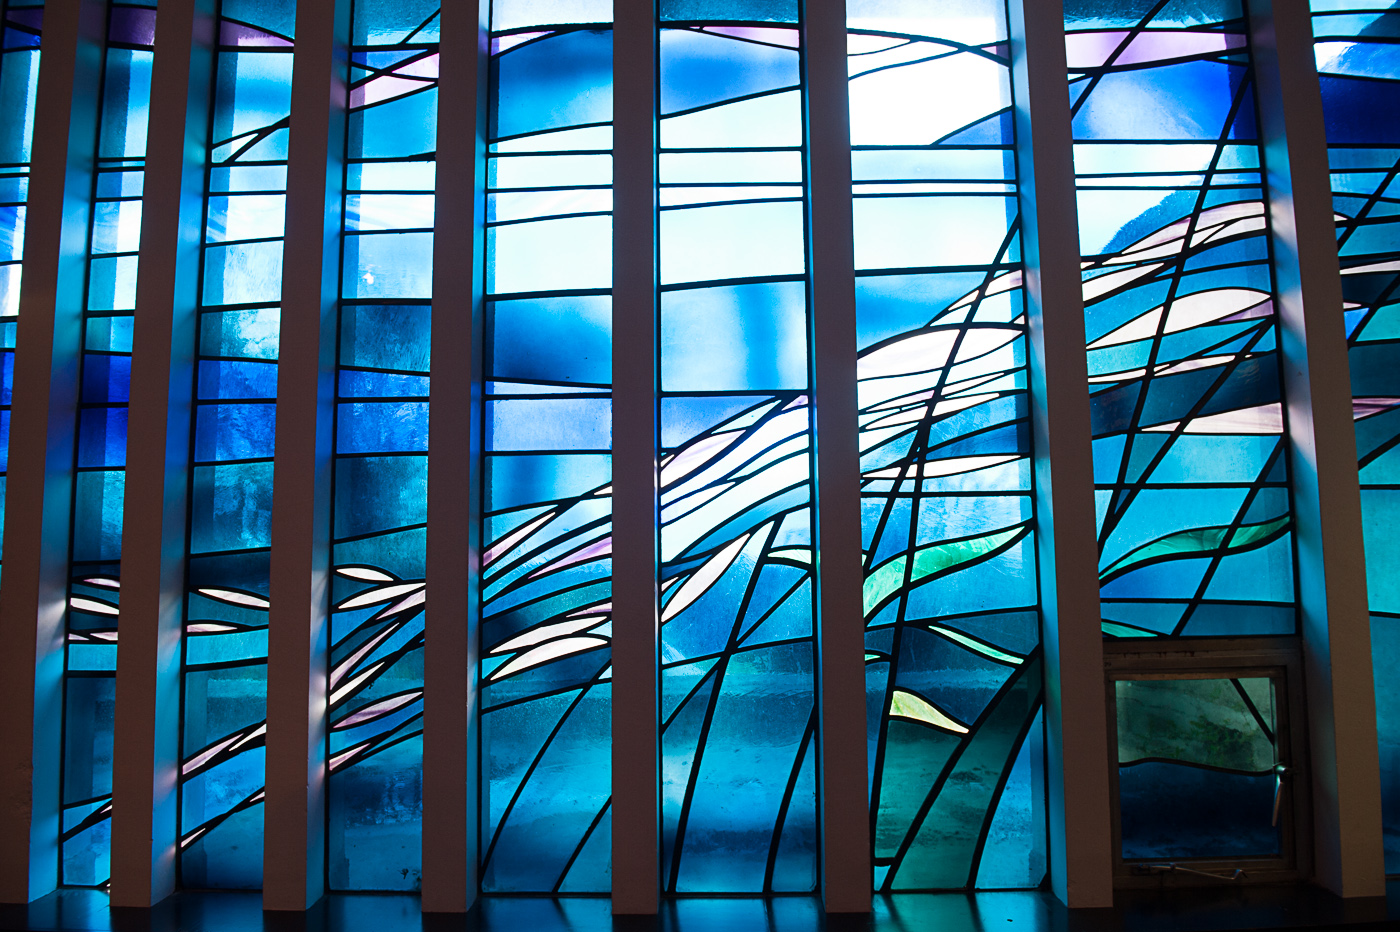
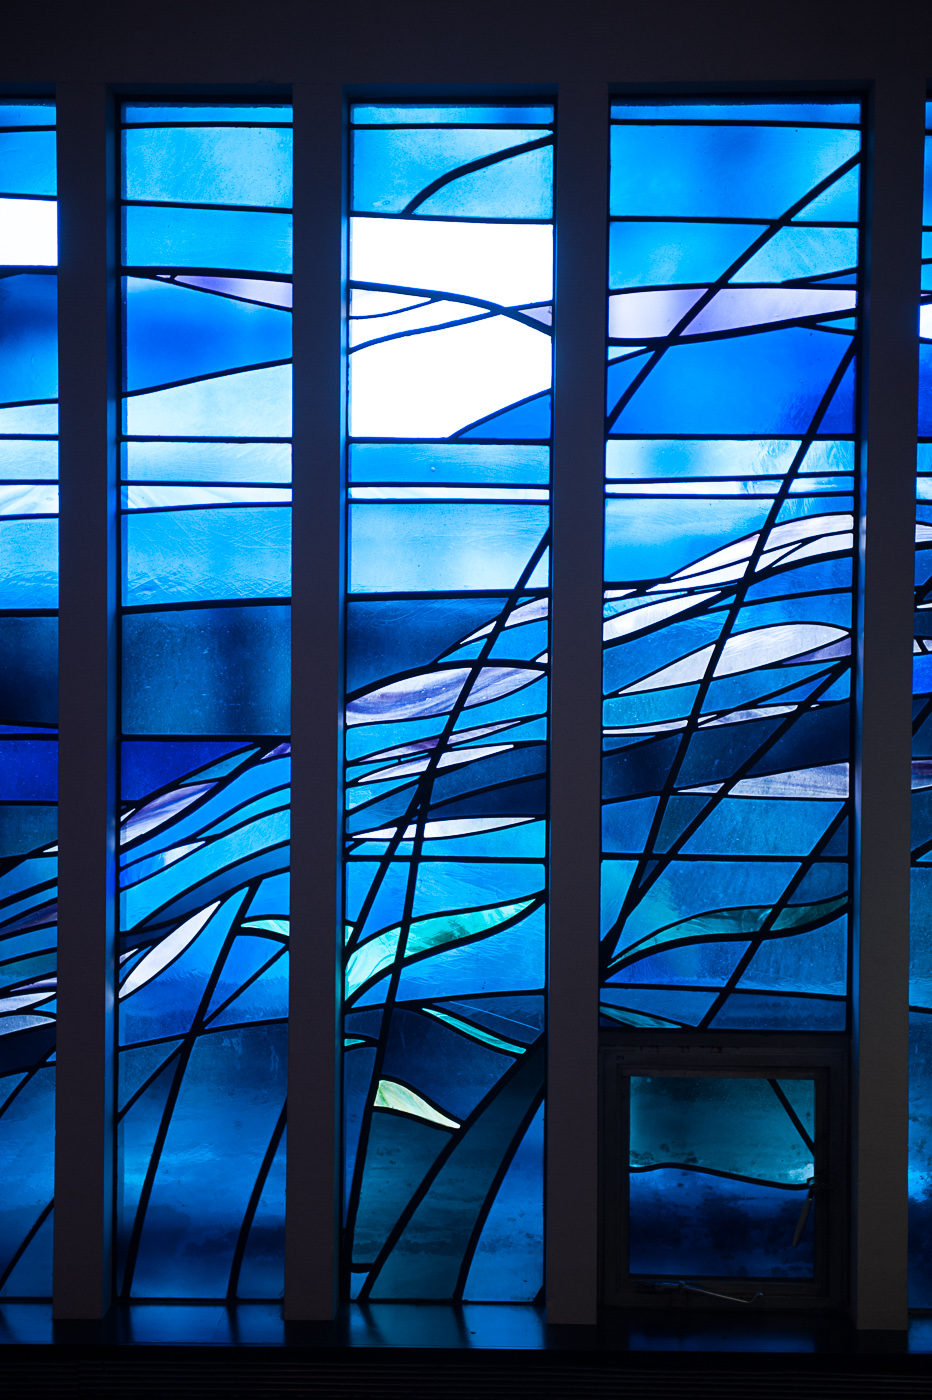
As these windows run vertically I assumed that they would be ideal for a vertical shot , but as you can see the horizontal shot is a much more satisfying image. The sloppy composition of the vertical shot probably has an impact on this also.

small LanPor -3023small LanPor -3022

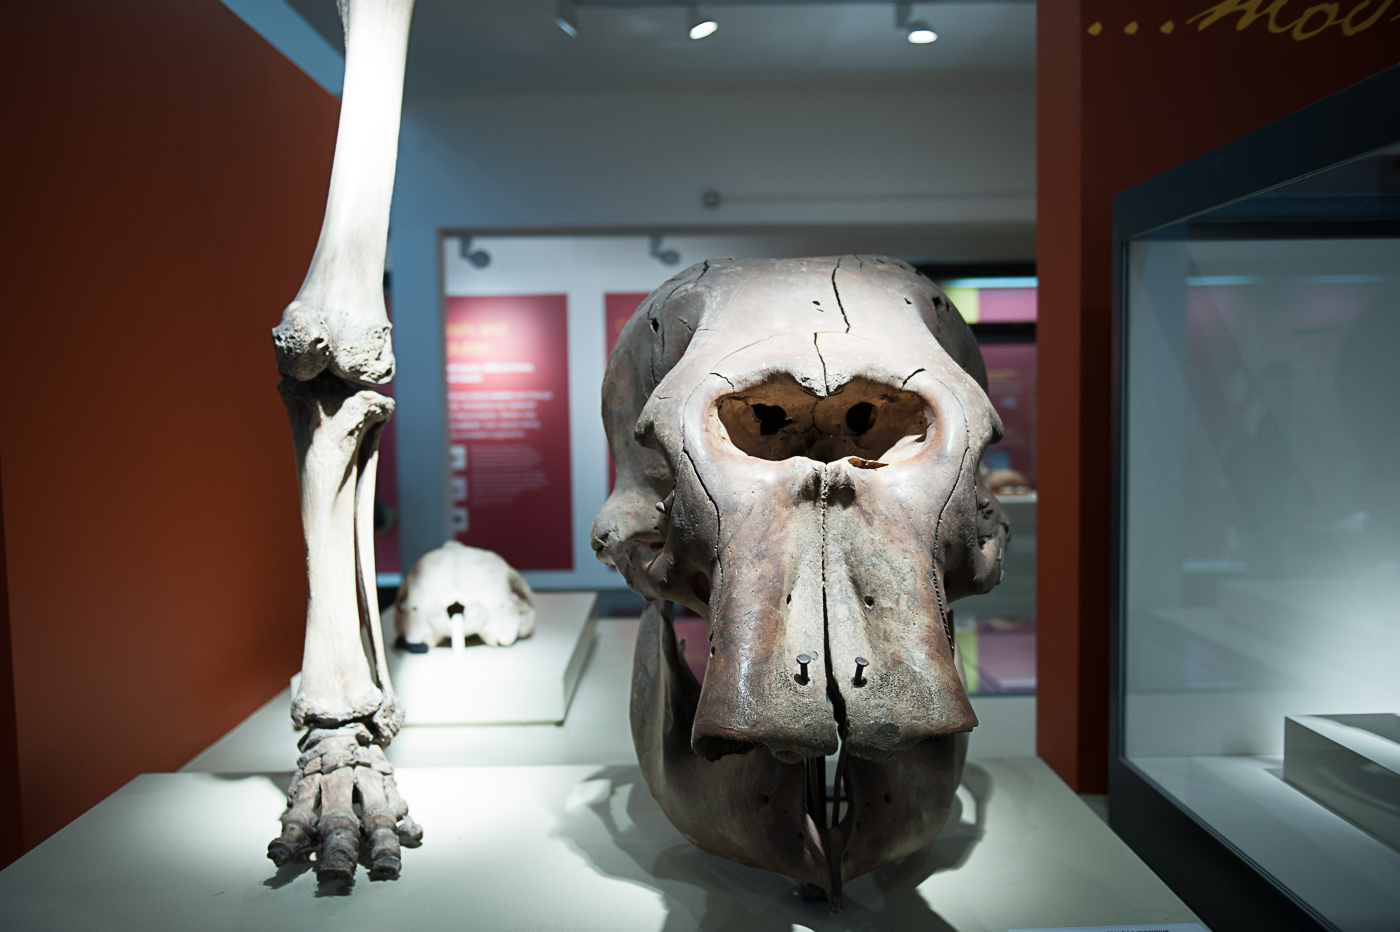
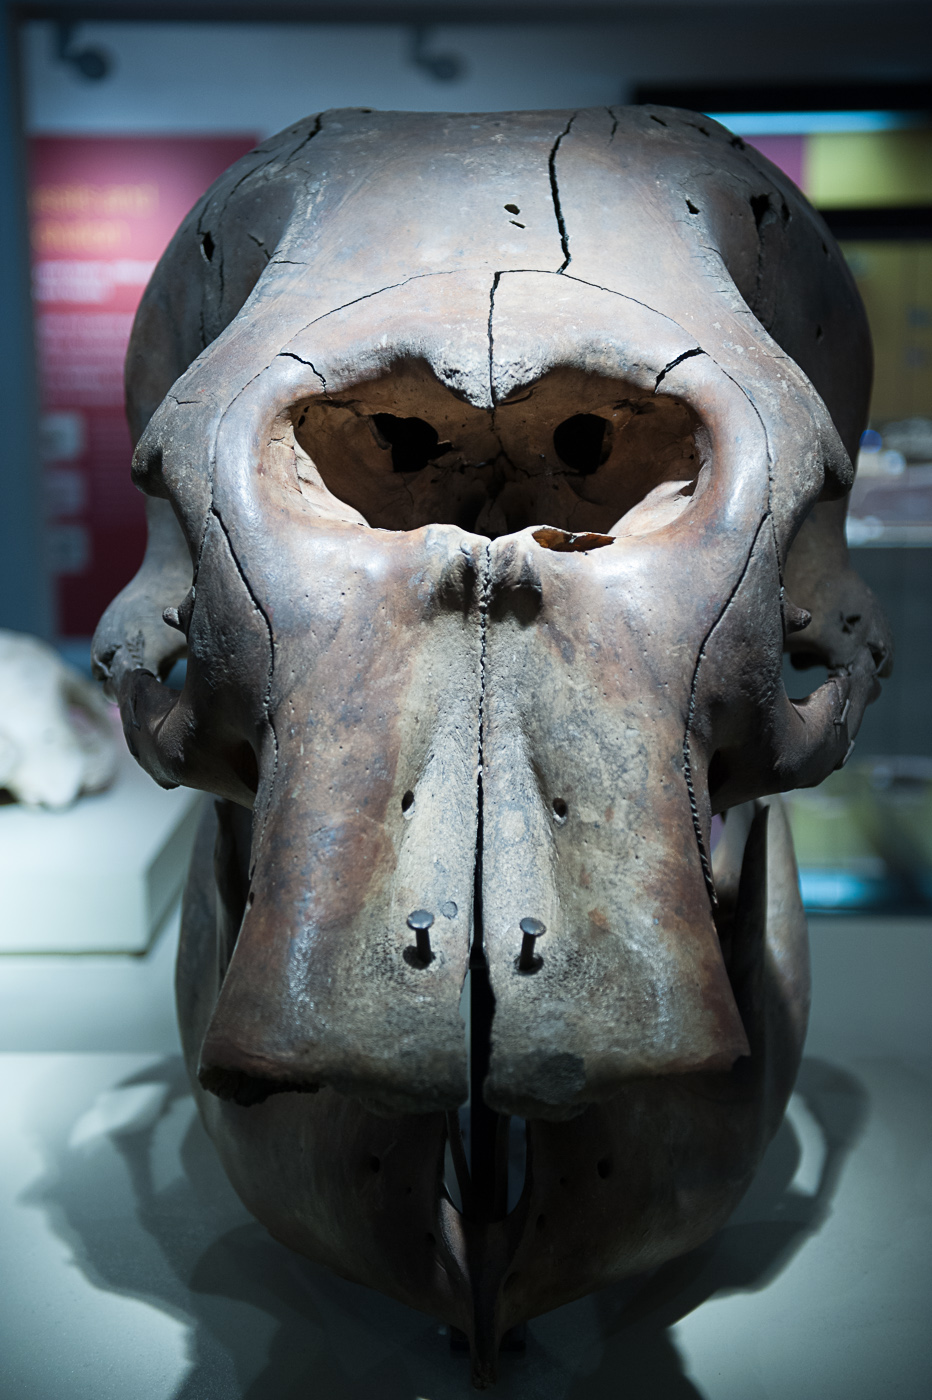
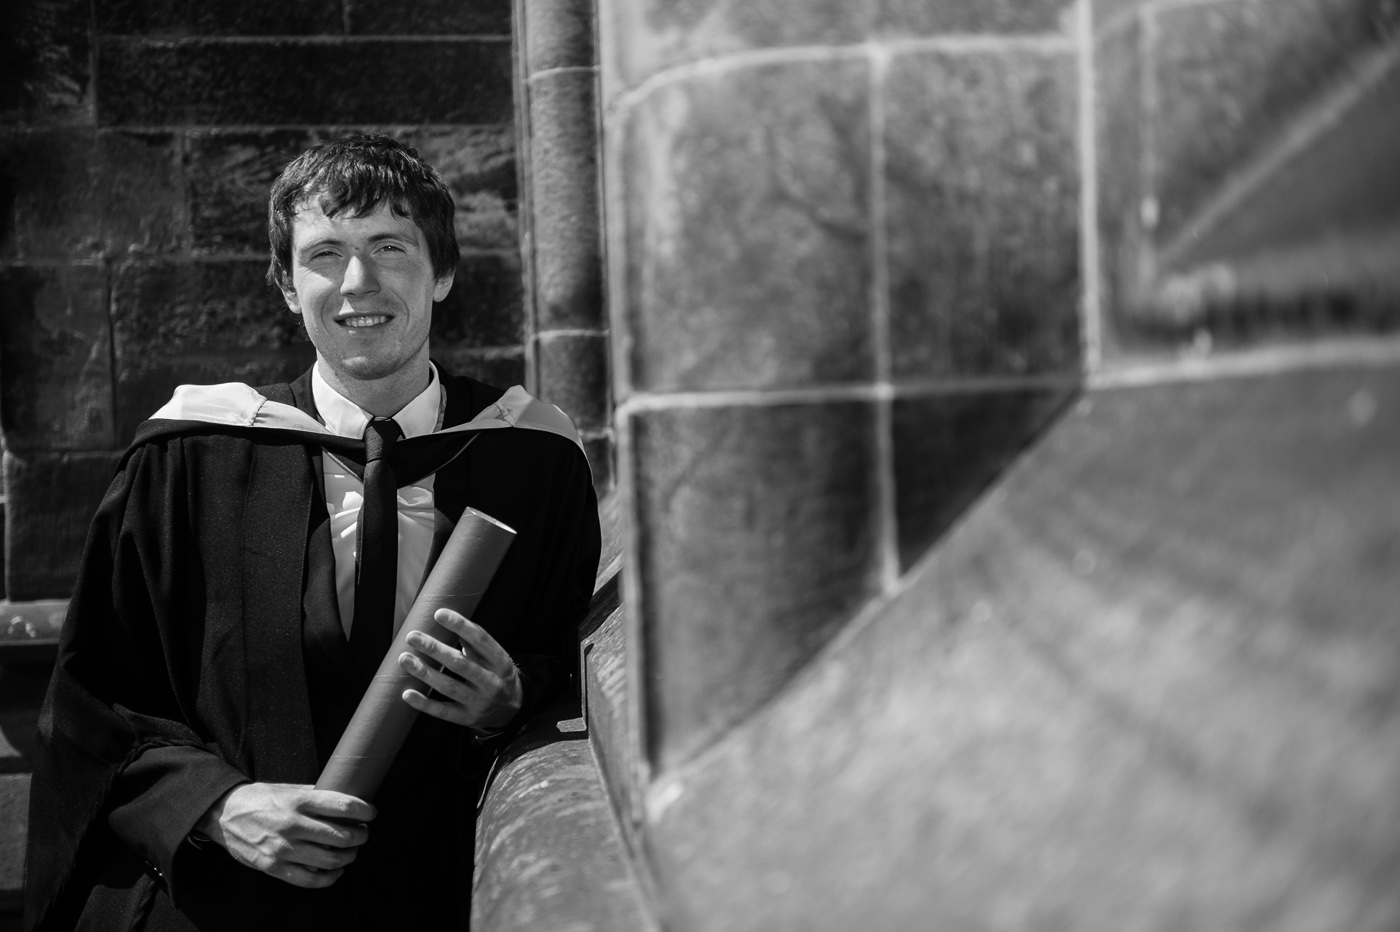
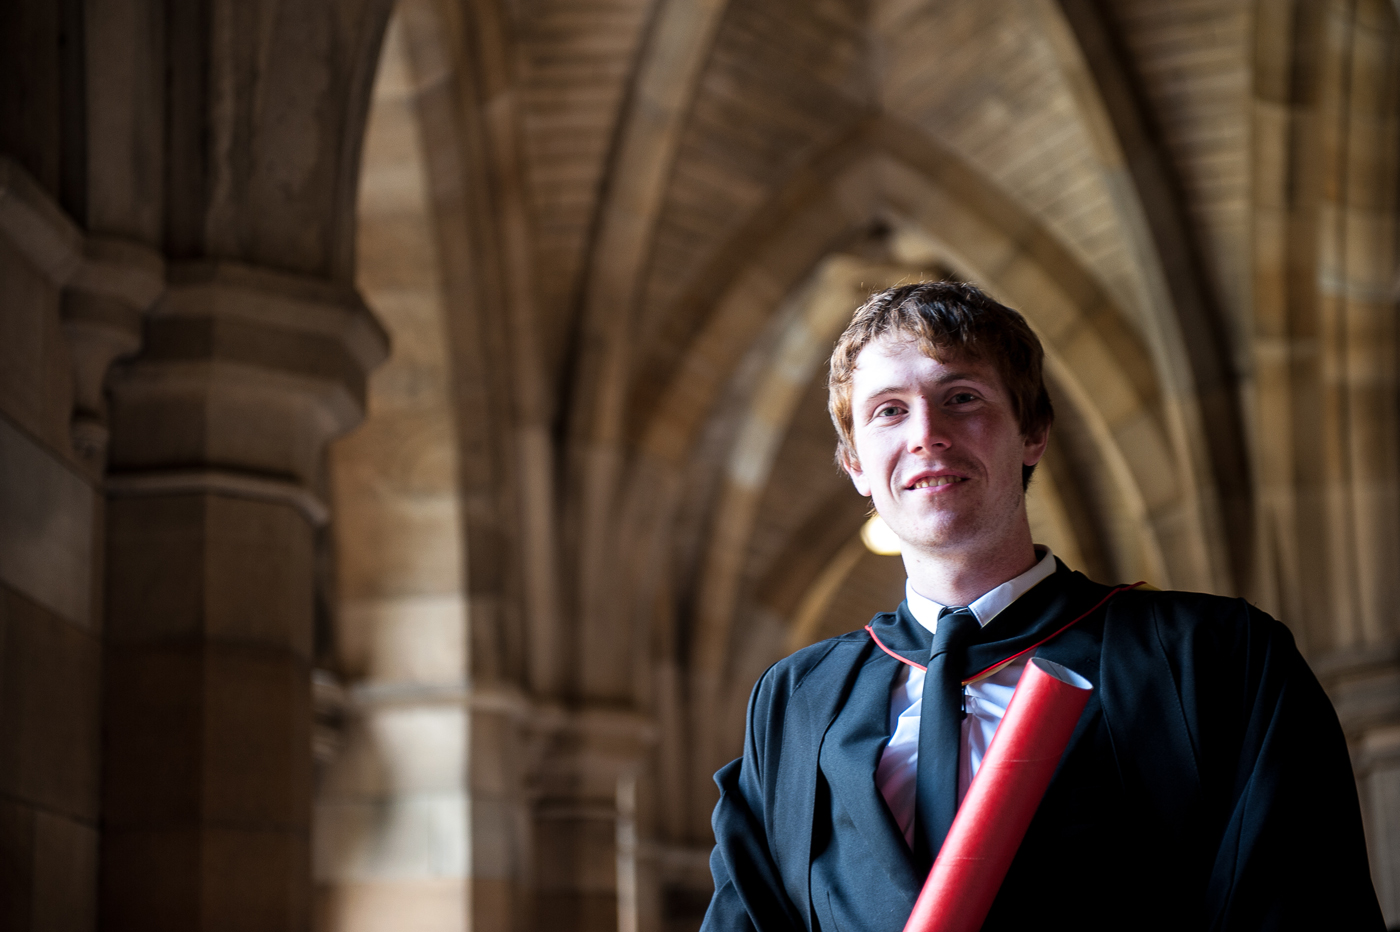
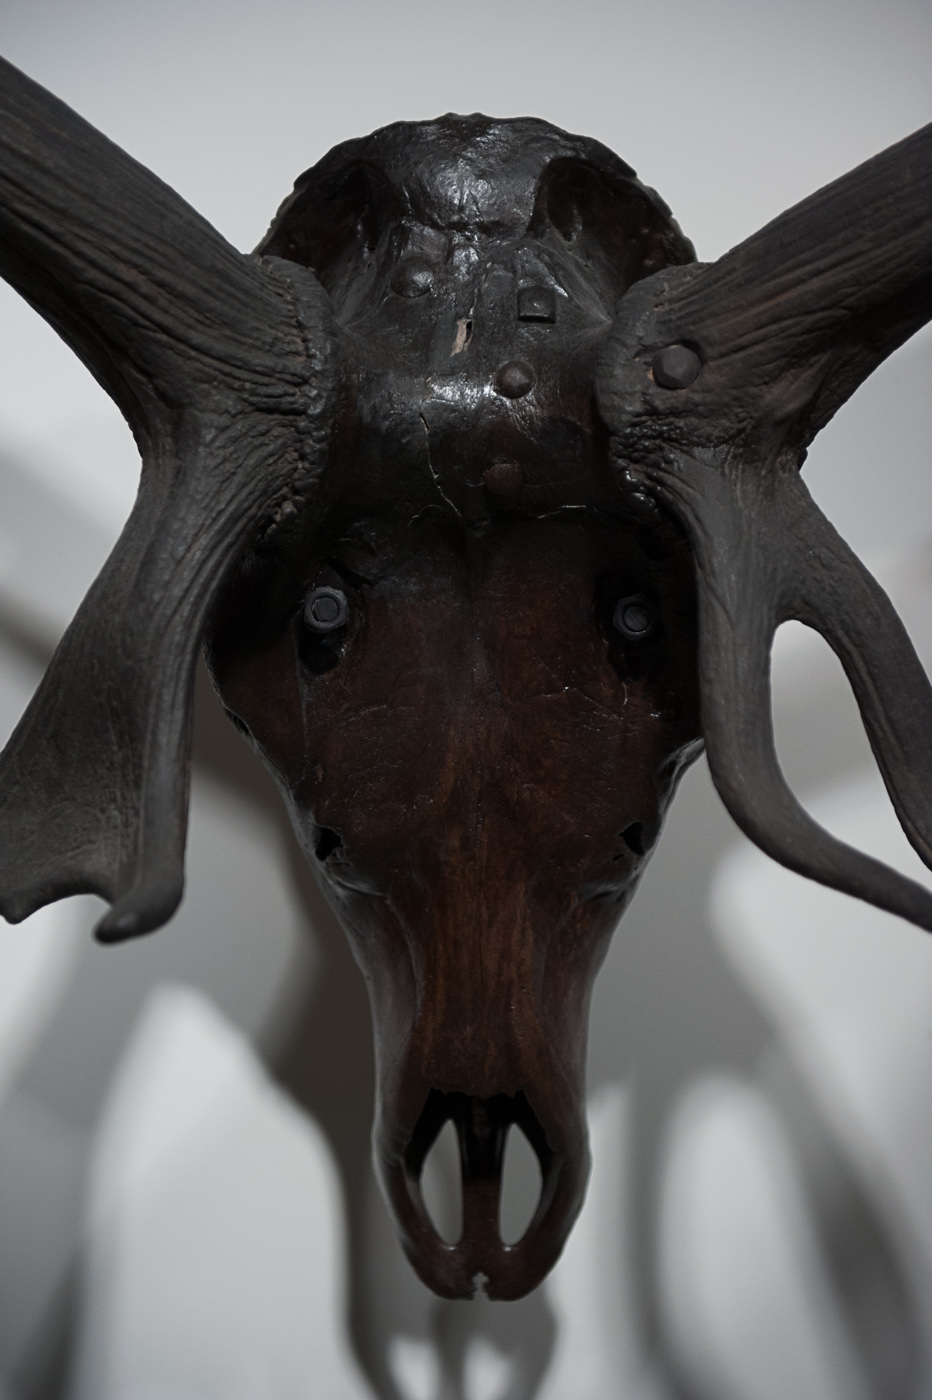
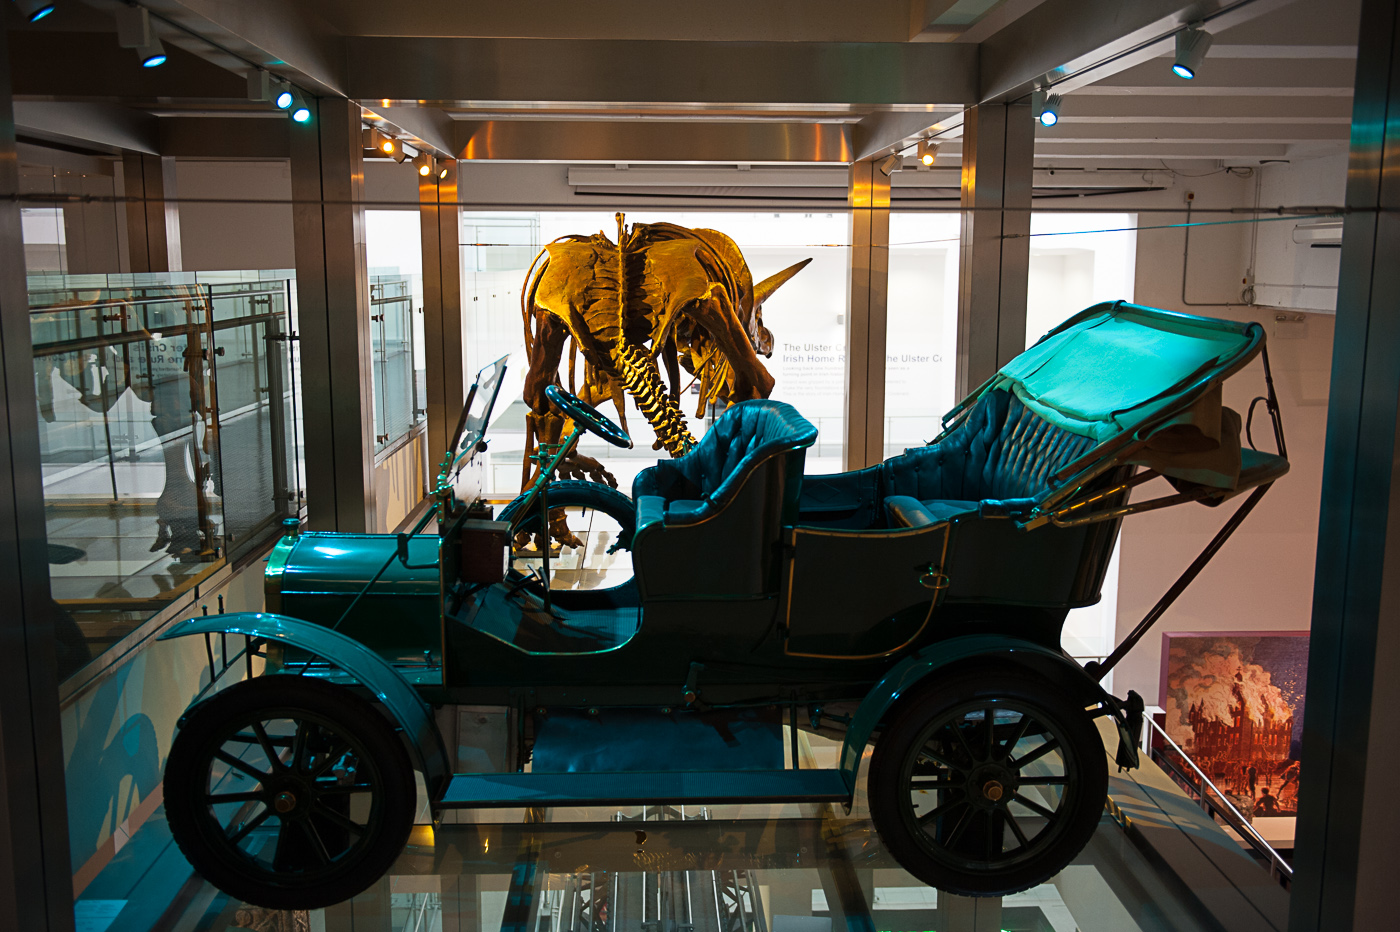
The big skull is much better vertically because the photograph has symmetrical balance whereas the horizontal framing is unbalanced with a display case on the right adding an unpleasant tension to a photograph. As with so many of these vertically composed photographs, when I returned to shoot the horizontal composition it was difficult to find a satisfying composition.

small LanPor -3021small LanPor -3020

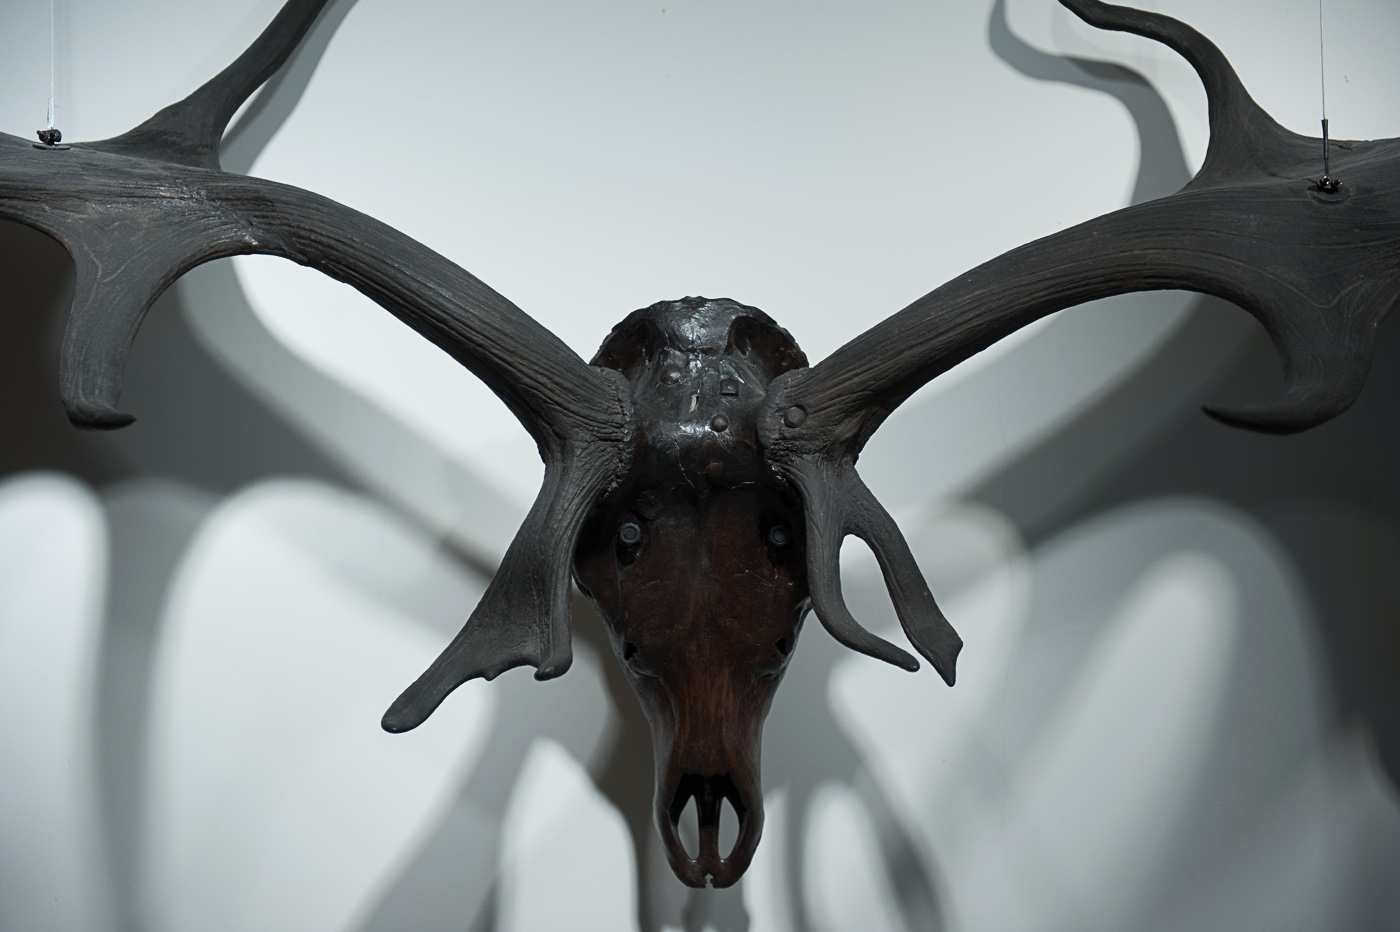
With the stag’s head, the vertical composition creates an interesting photograph which is not instantly recognisable as a stag and in fact seems almost insectlike. When I returned to compose horizontally I was able to include much more of the antlers giving the viewer understanding of what they are looking at. This is one of the powers of photographs were I have trouble deciding which is the better composition. I like the unsettling effect of the vertical photograph, but I also like the cemetery afforded by the extended antlers in the horizontal photograph.

small LanPor -3019small LanPor -3018

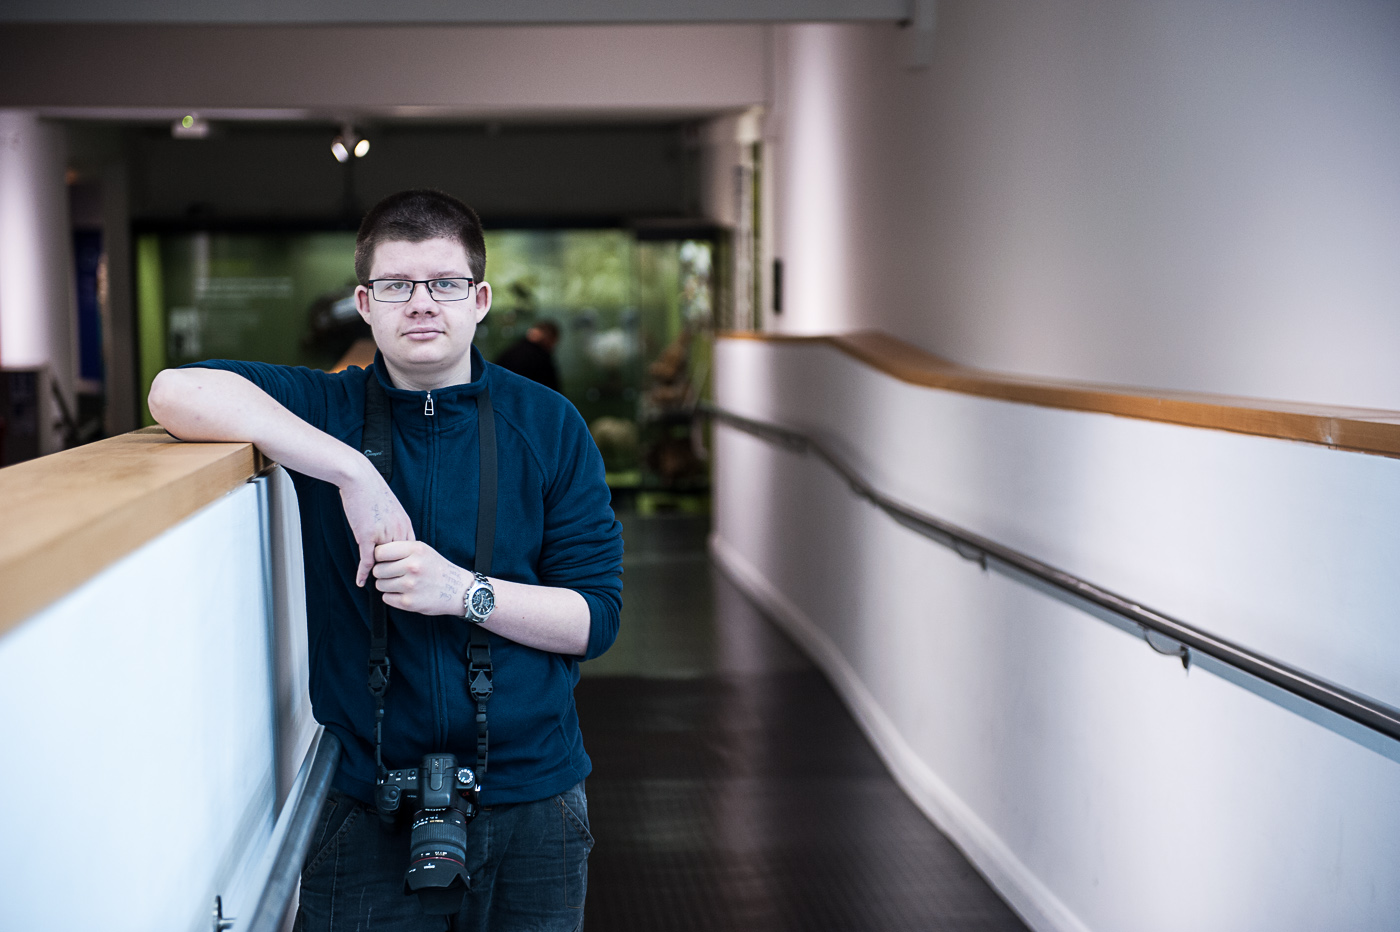
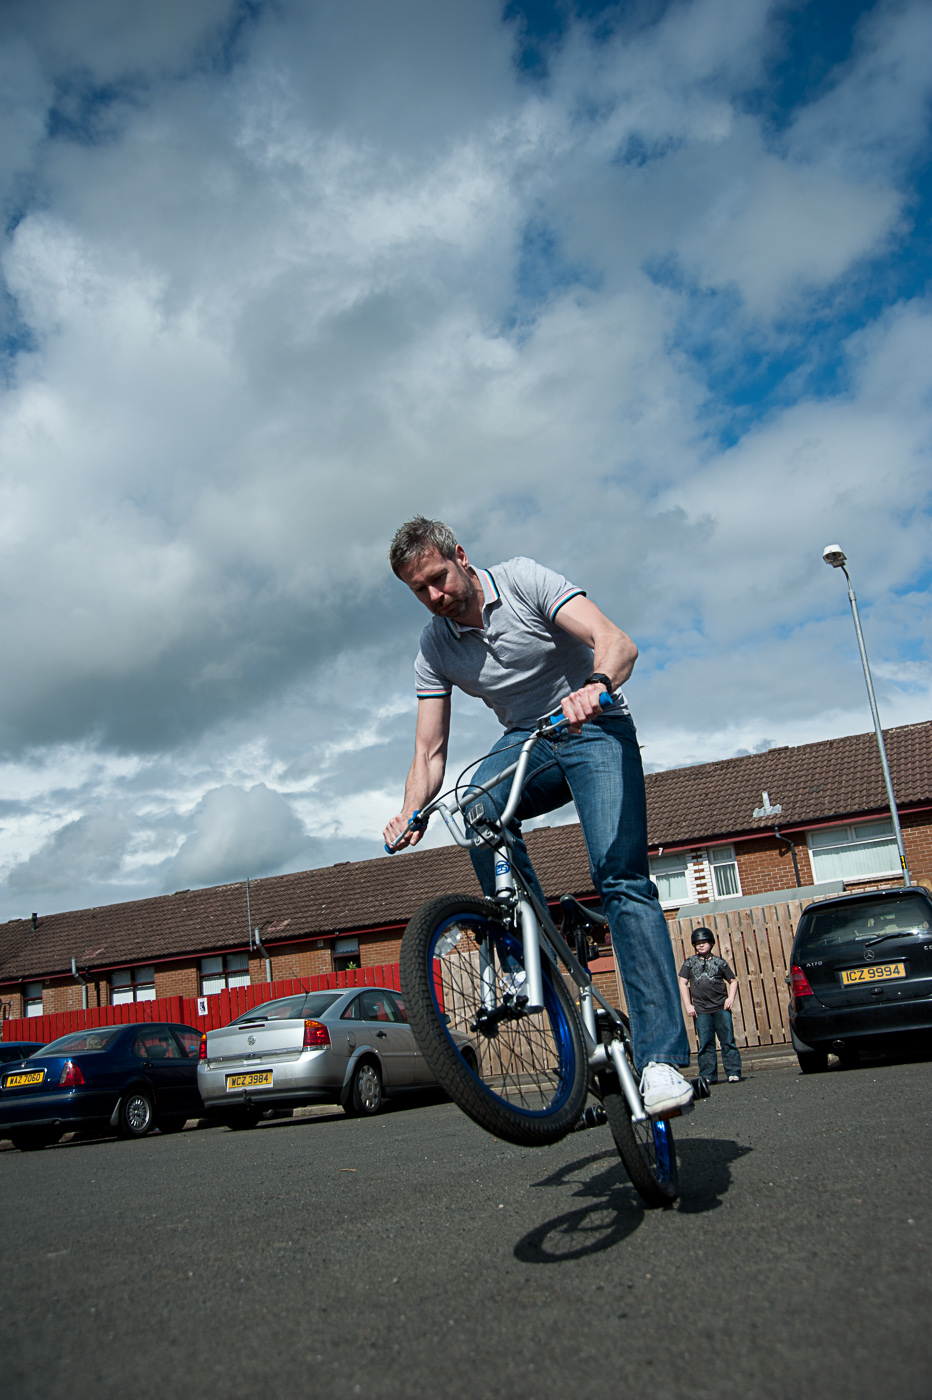
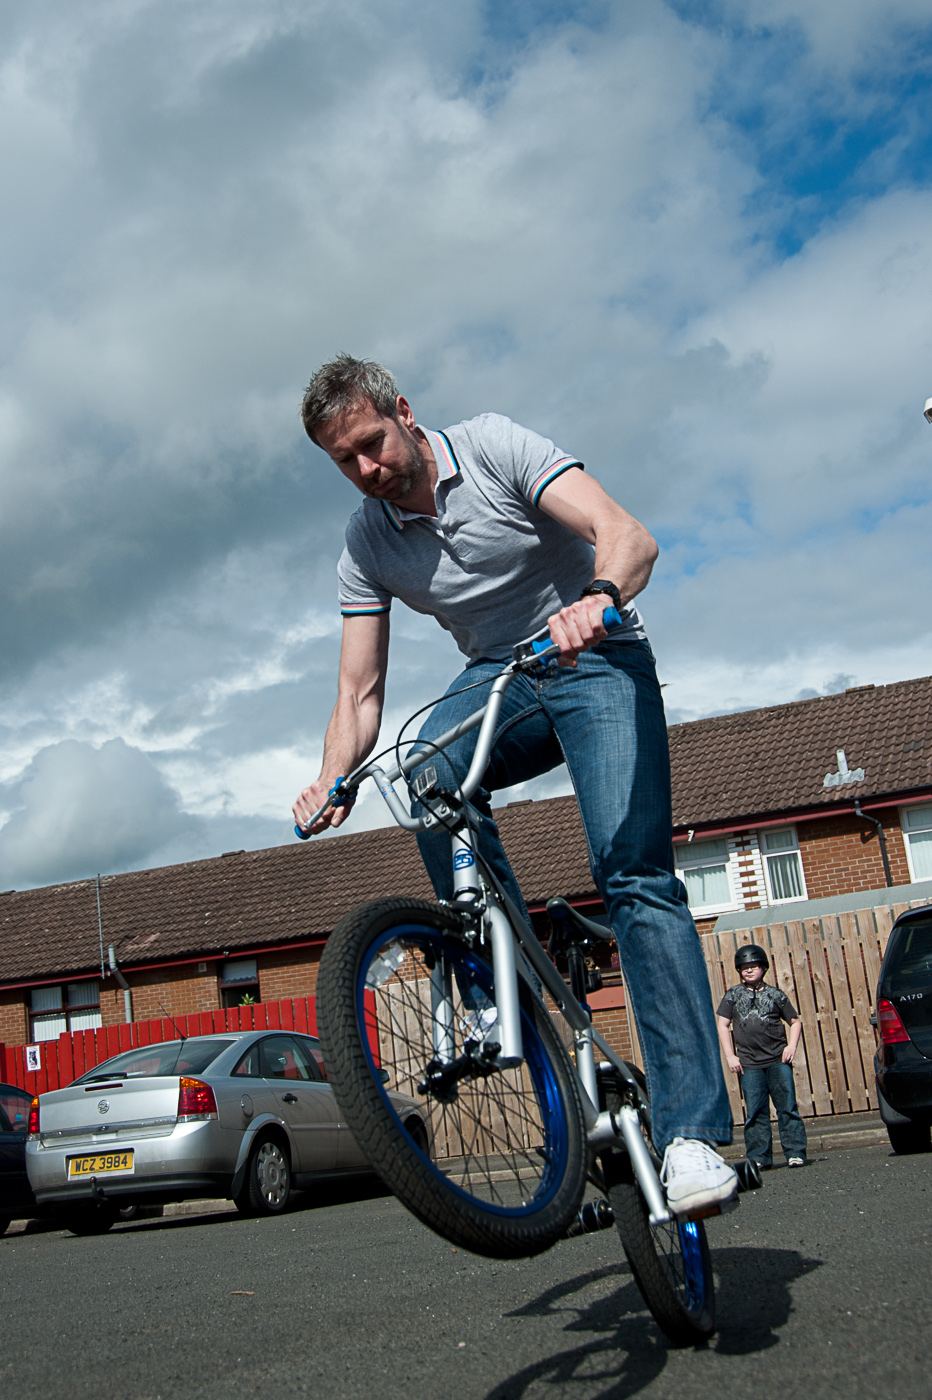
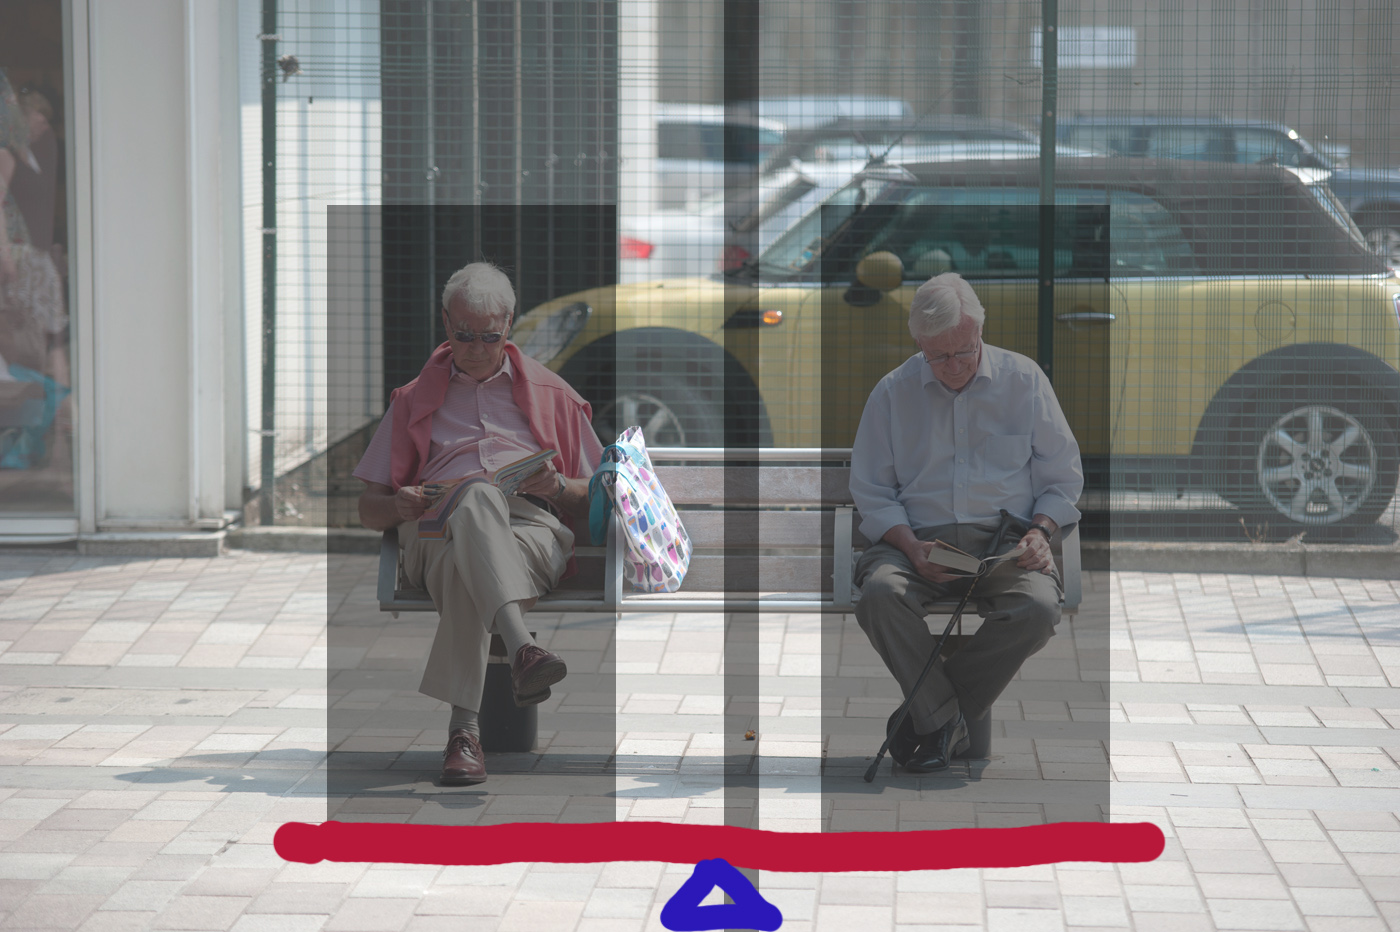
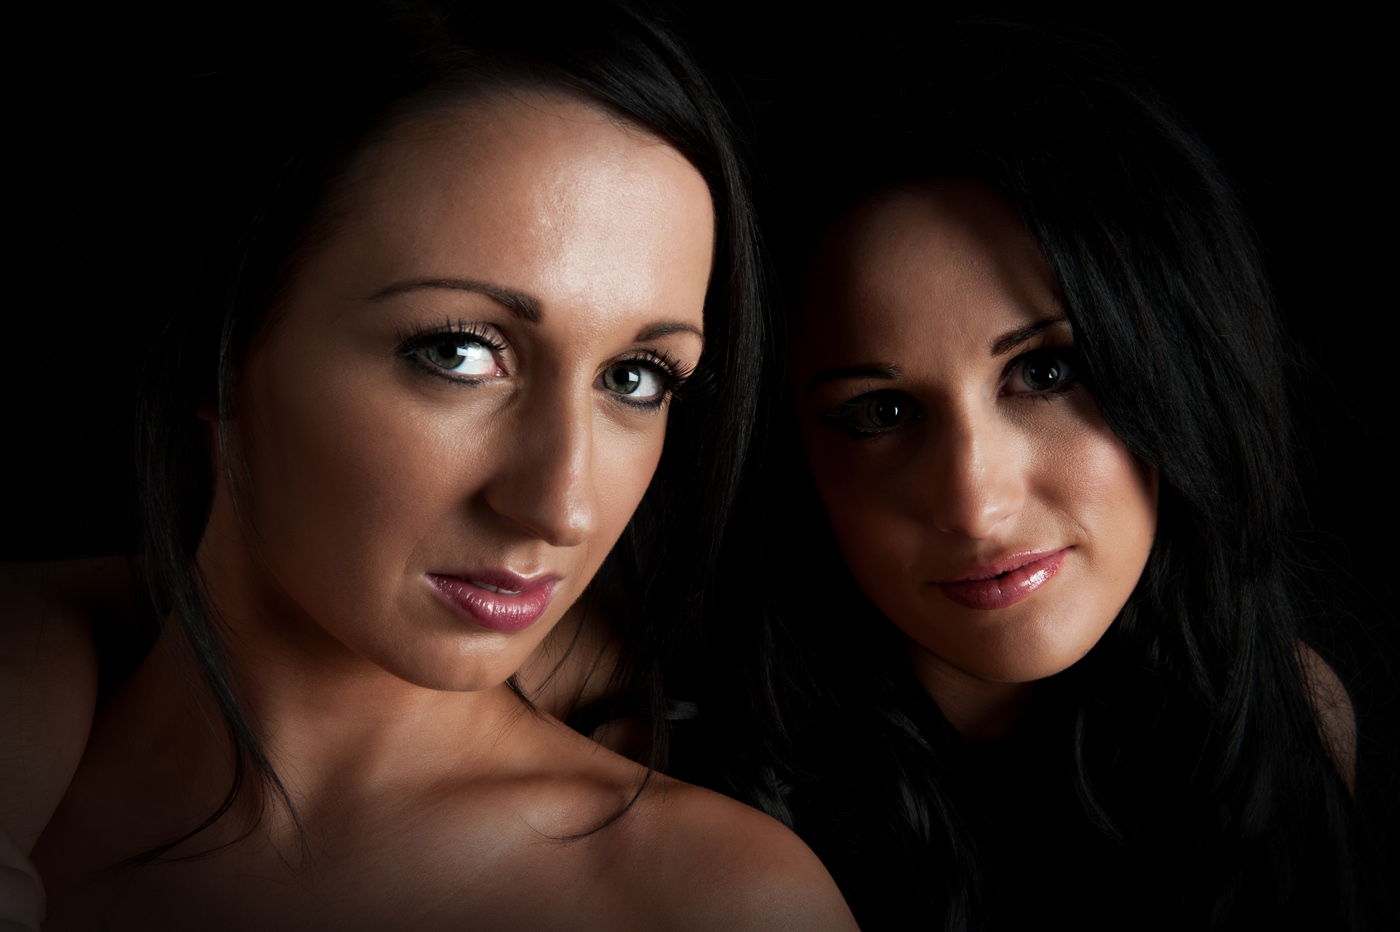
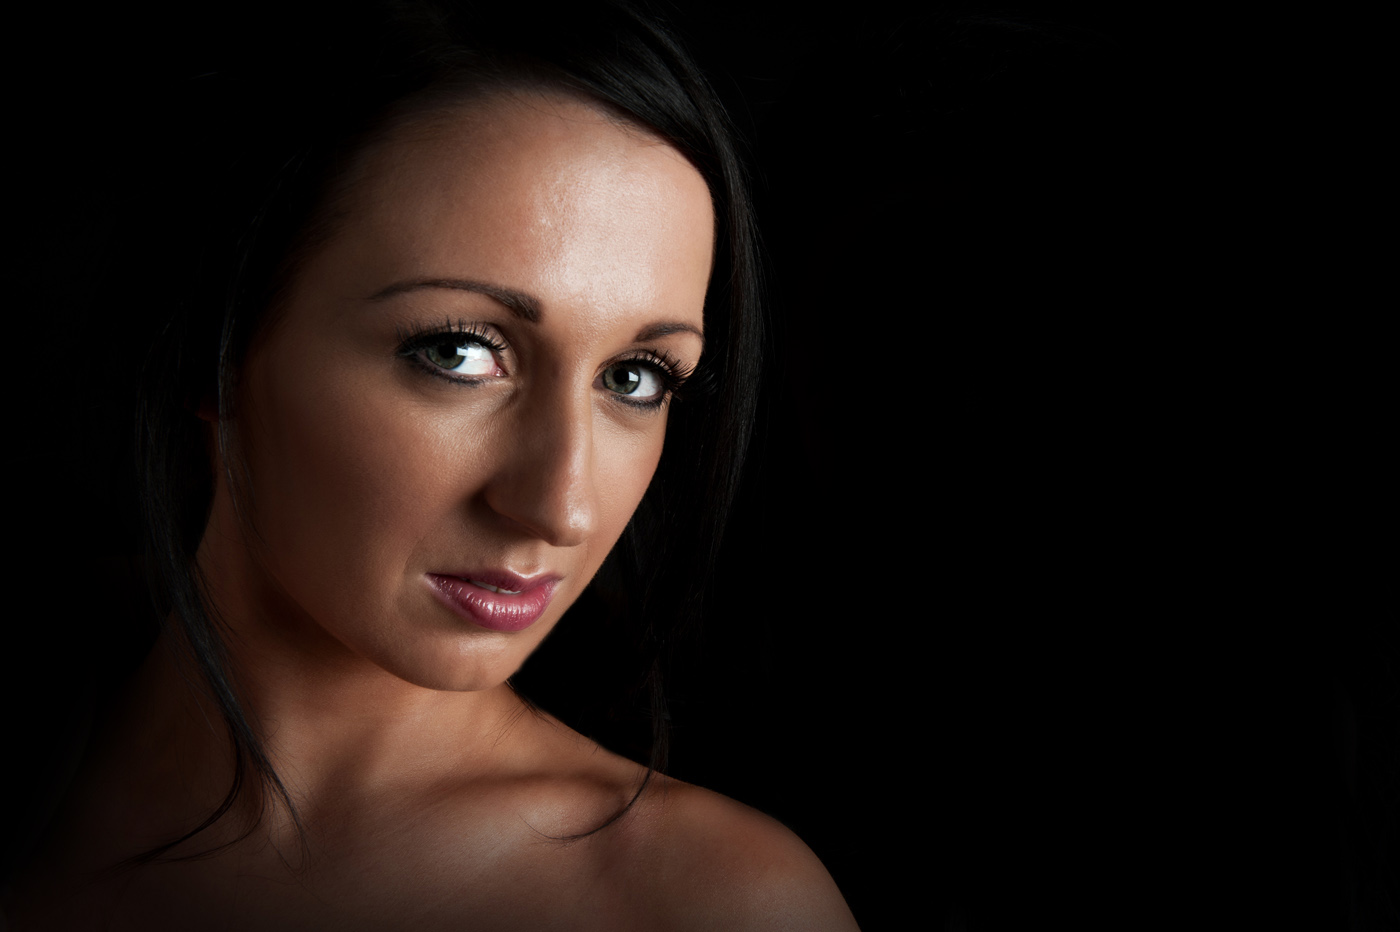
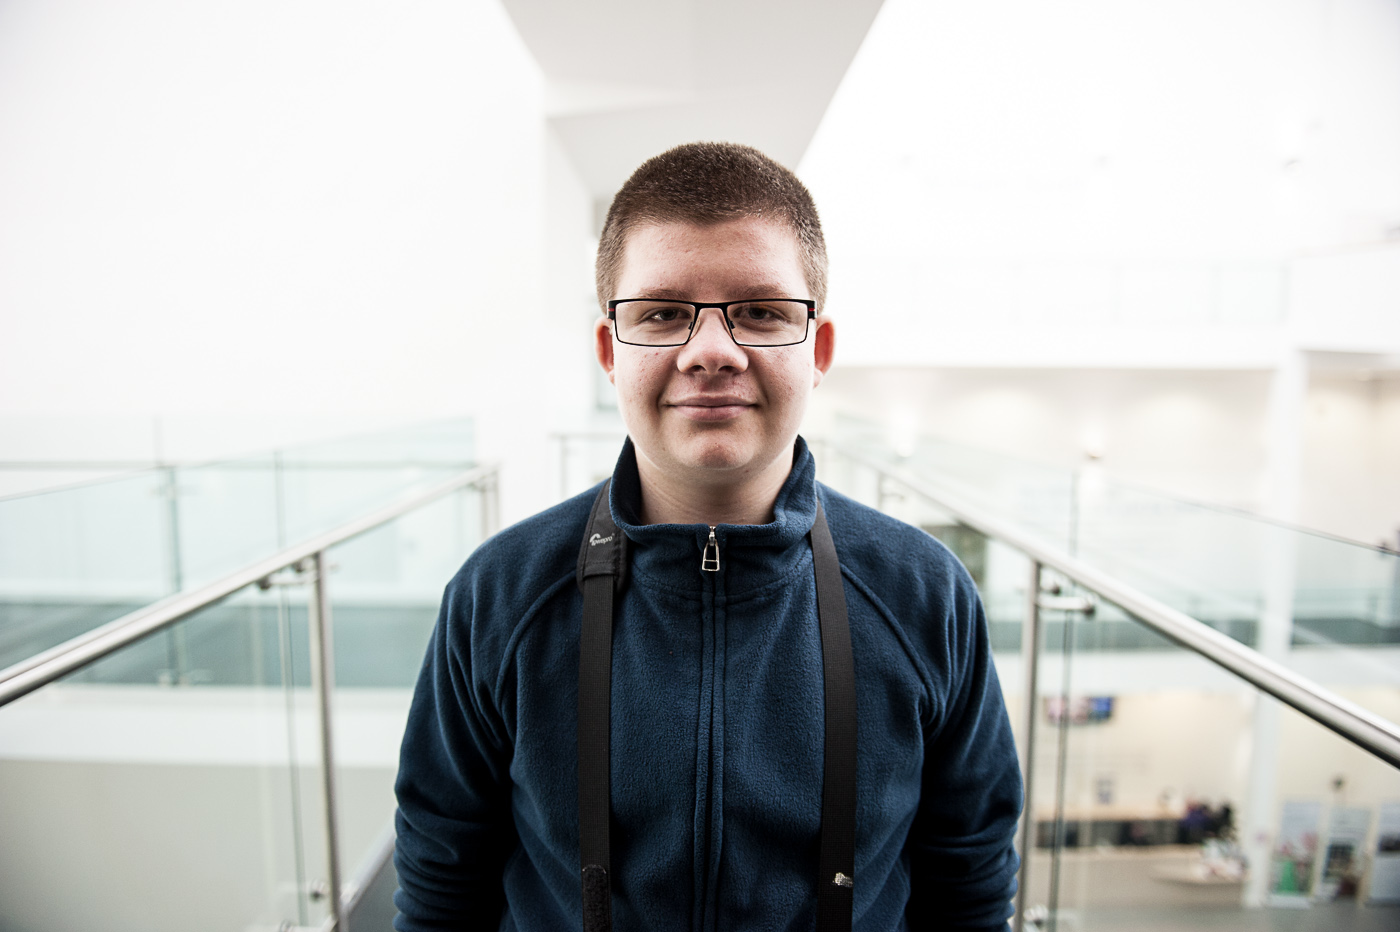
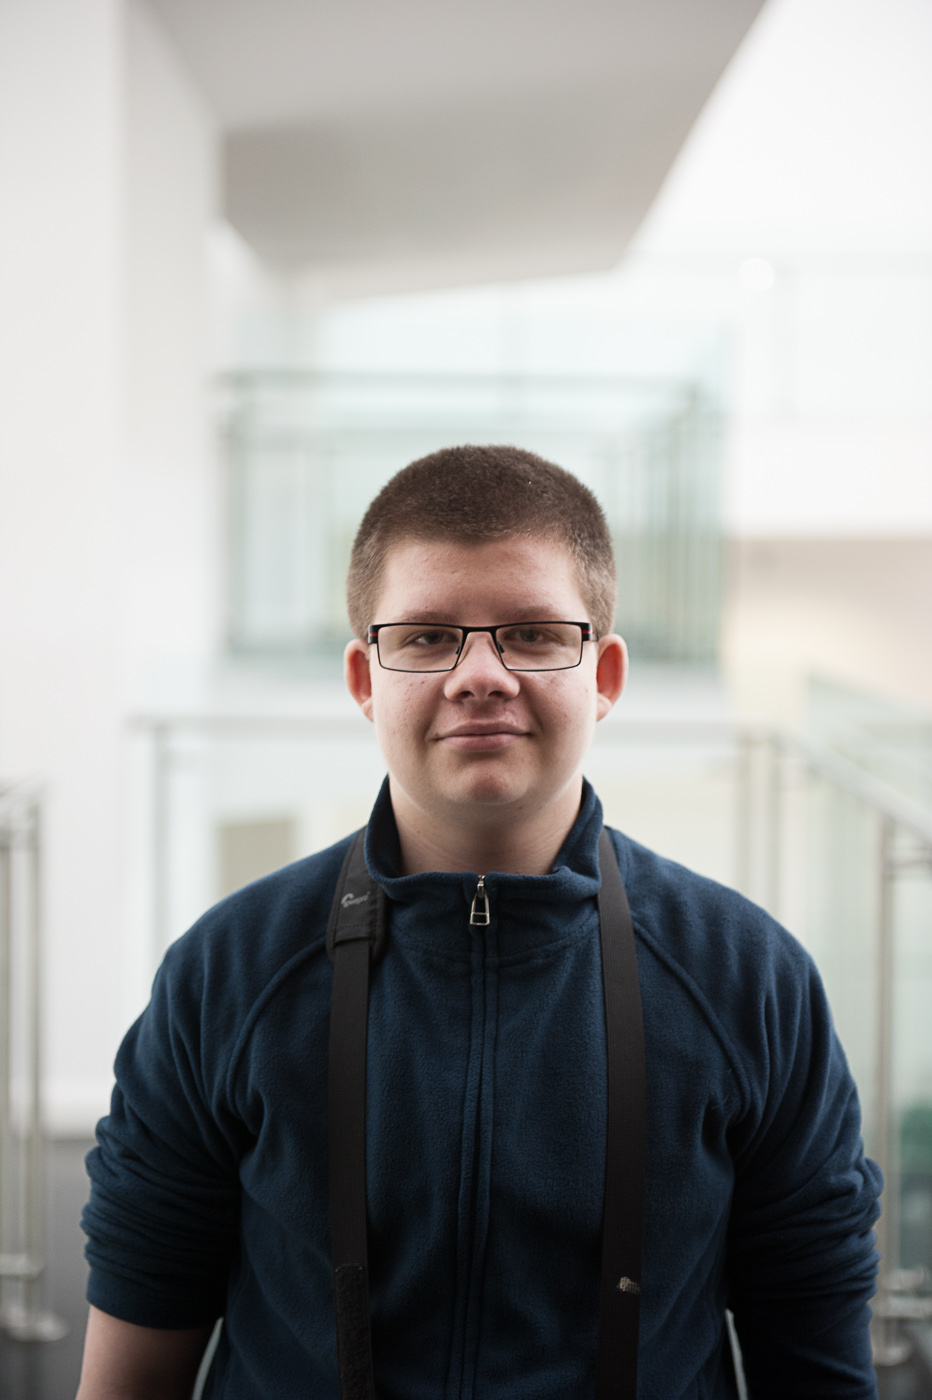
In this pair of photographs the subject (my son Jacob) is undeniably vertical so you would expect the vertical composition and vertical frame to be the better picture. In fact the opposite is the case. With a horizontal composition here we have a stronger leading wine on the right-hand side bring in the viewer’s eye to the subject and the framing of the subject by the room in the background of the photograph is more symmetrical and gives a much better balance to the horizontal image.

small LanPor -3017small LanPor -3016

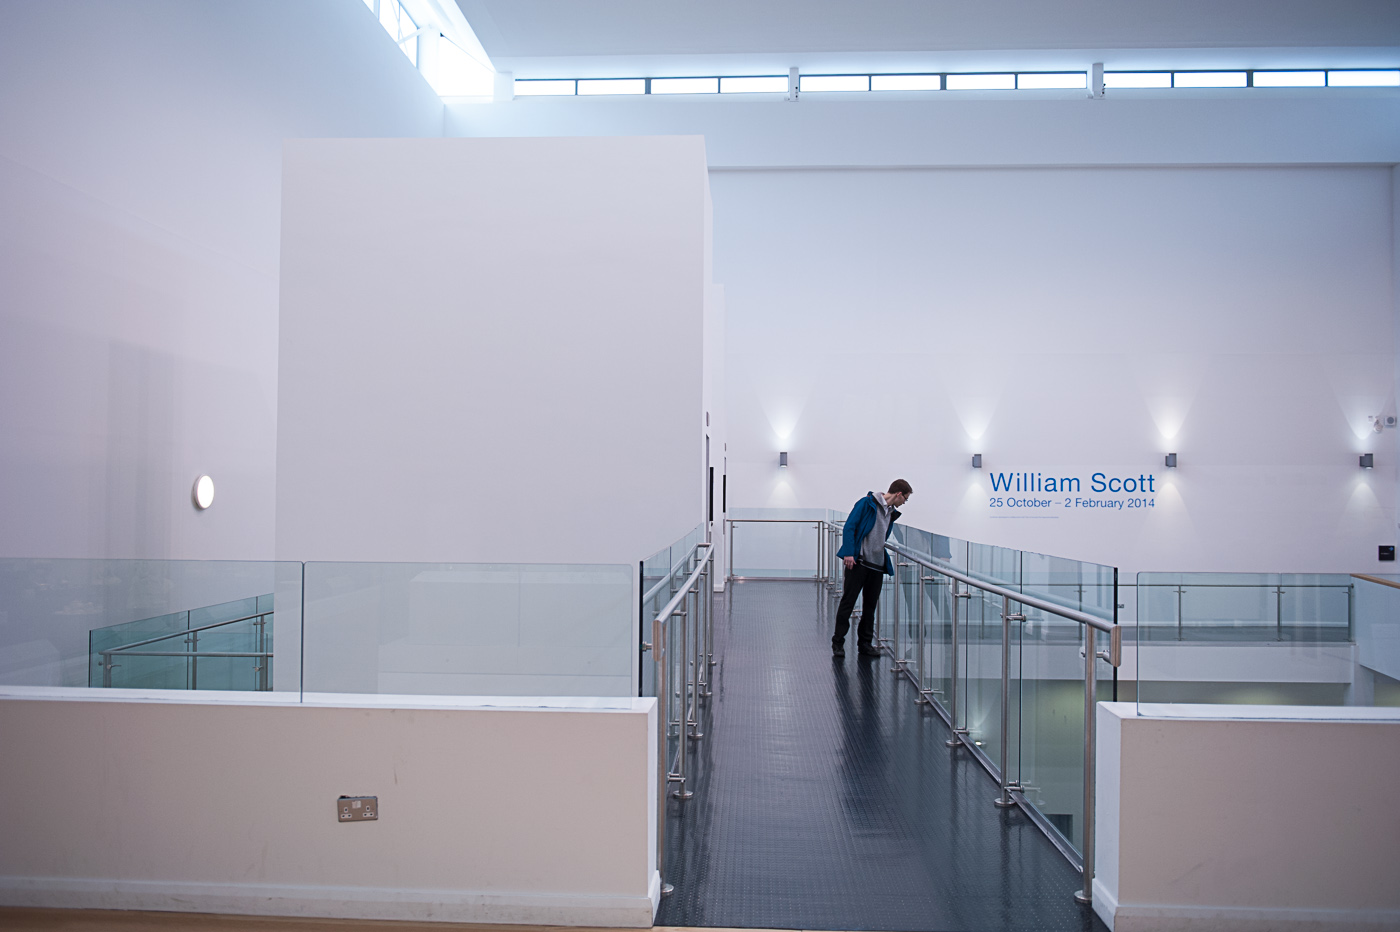
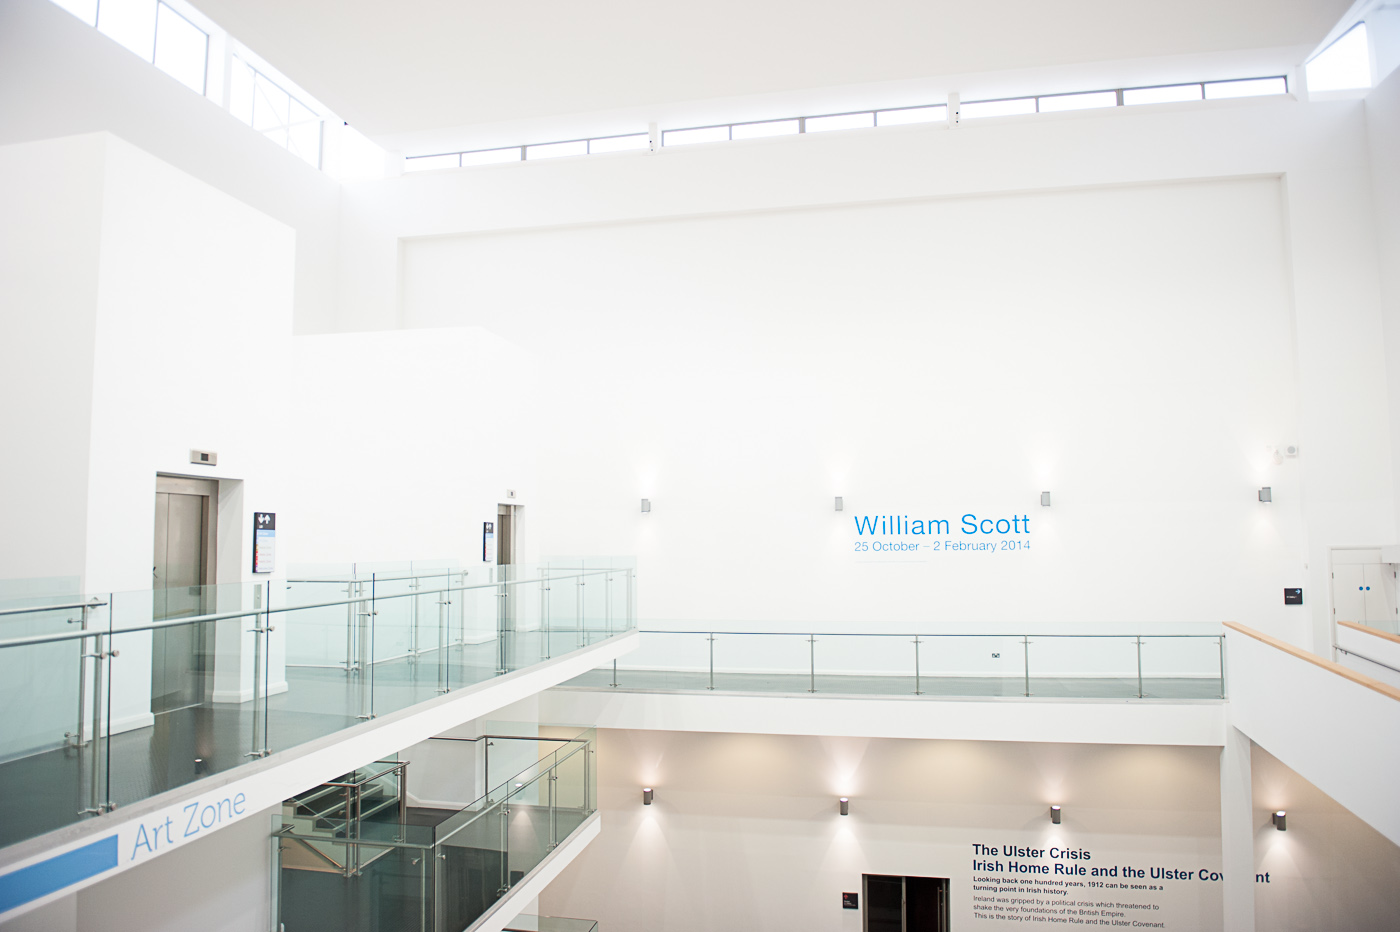
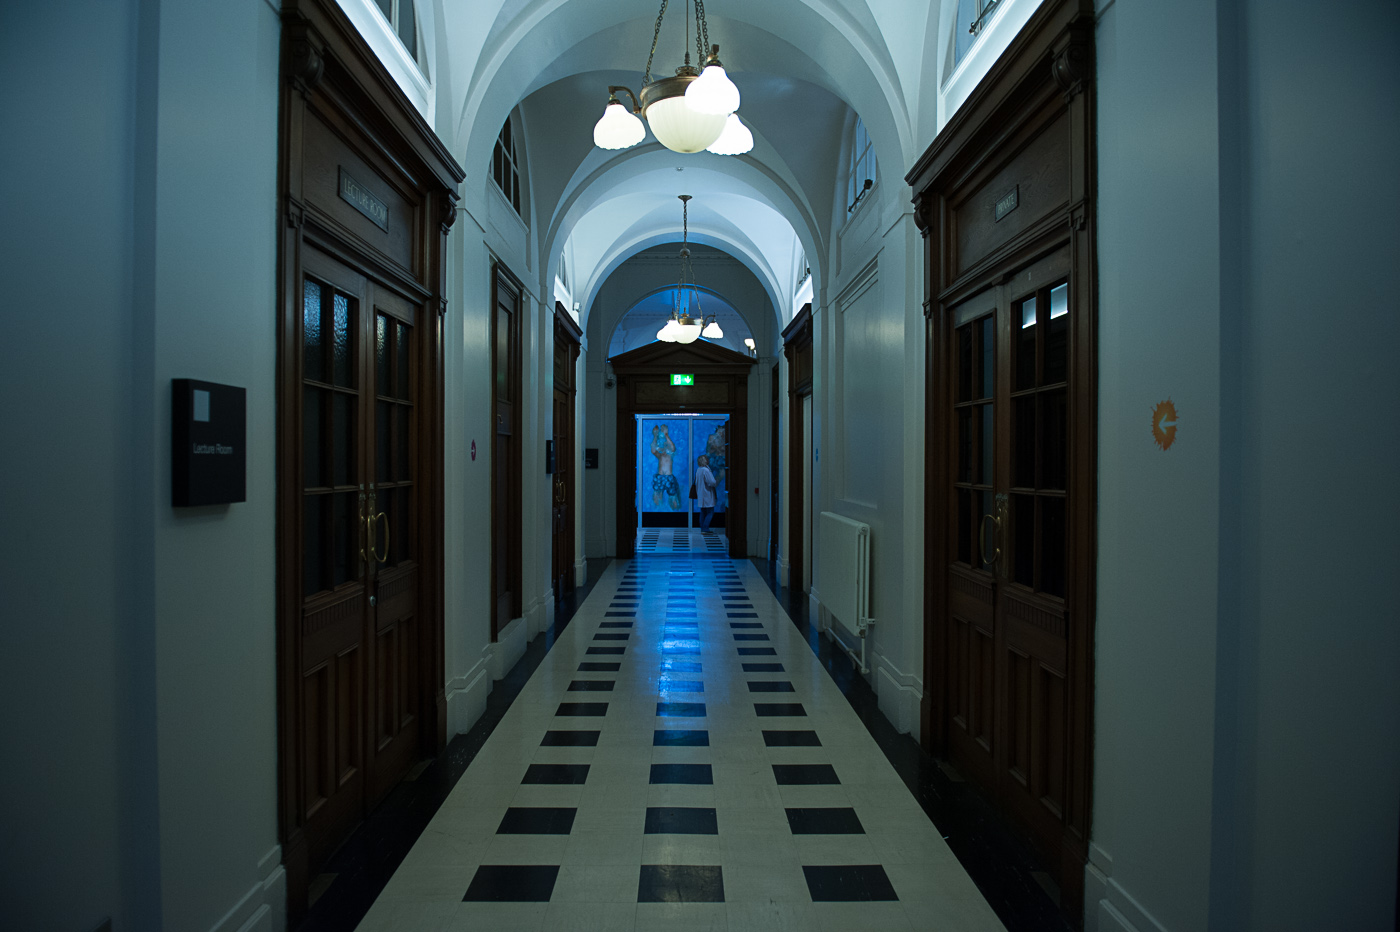
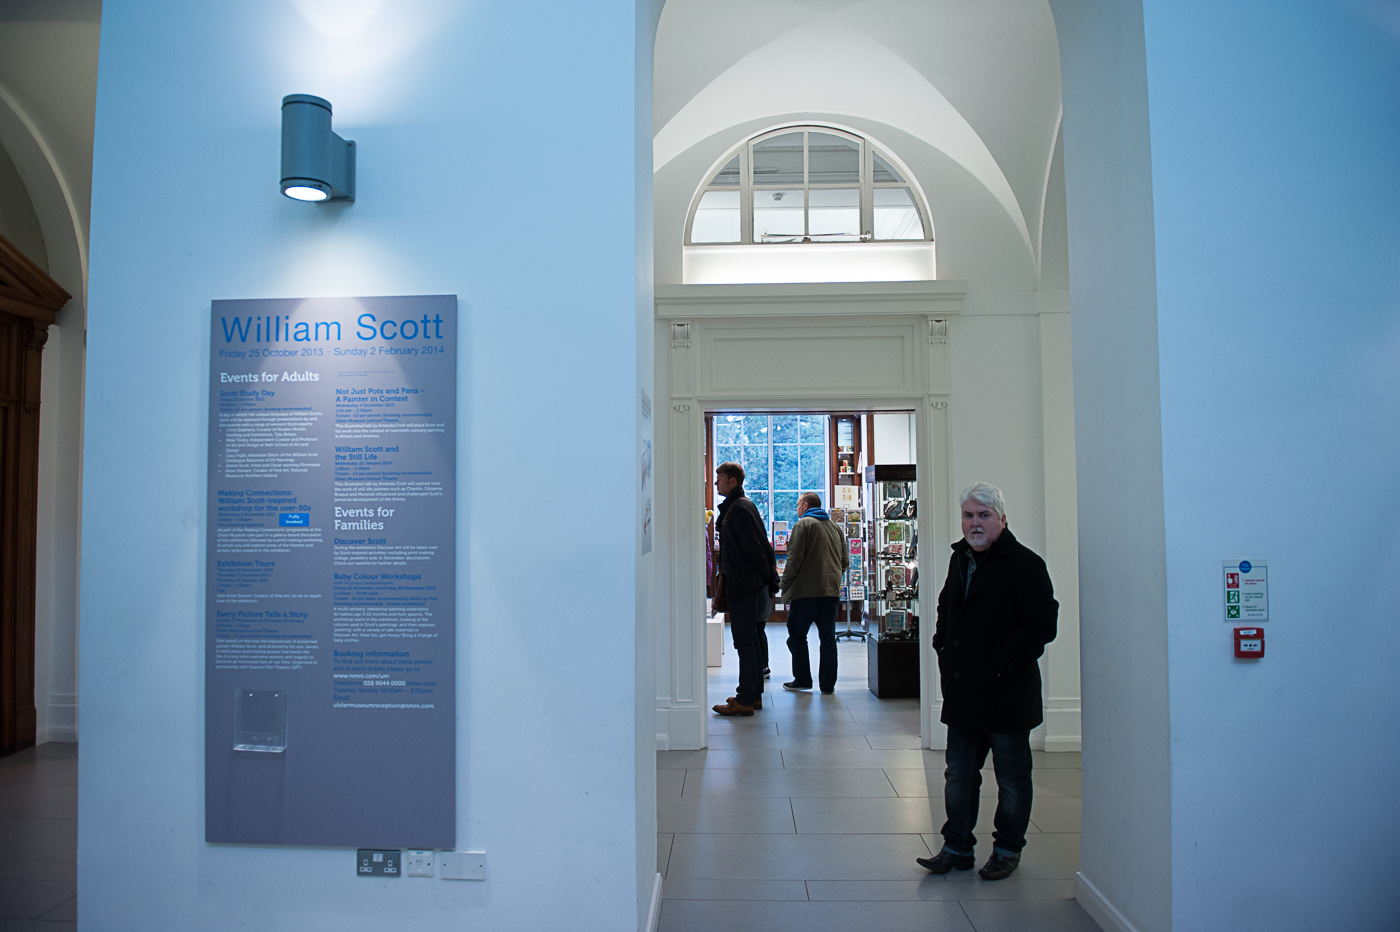
In this photograph of the museum walkway I prefer the vertical composition. Although there is more of interest in the horizontal photograph (i.e. the human subject and the William Scott sign) the vertical image has more pronounced lines and shapes making it a stronger and bolder photograph, and the exclusion of any people makes the viewer struggle a little bit for context in the picture.

small LanPor -3015small LanPor -3014

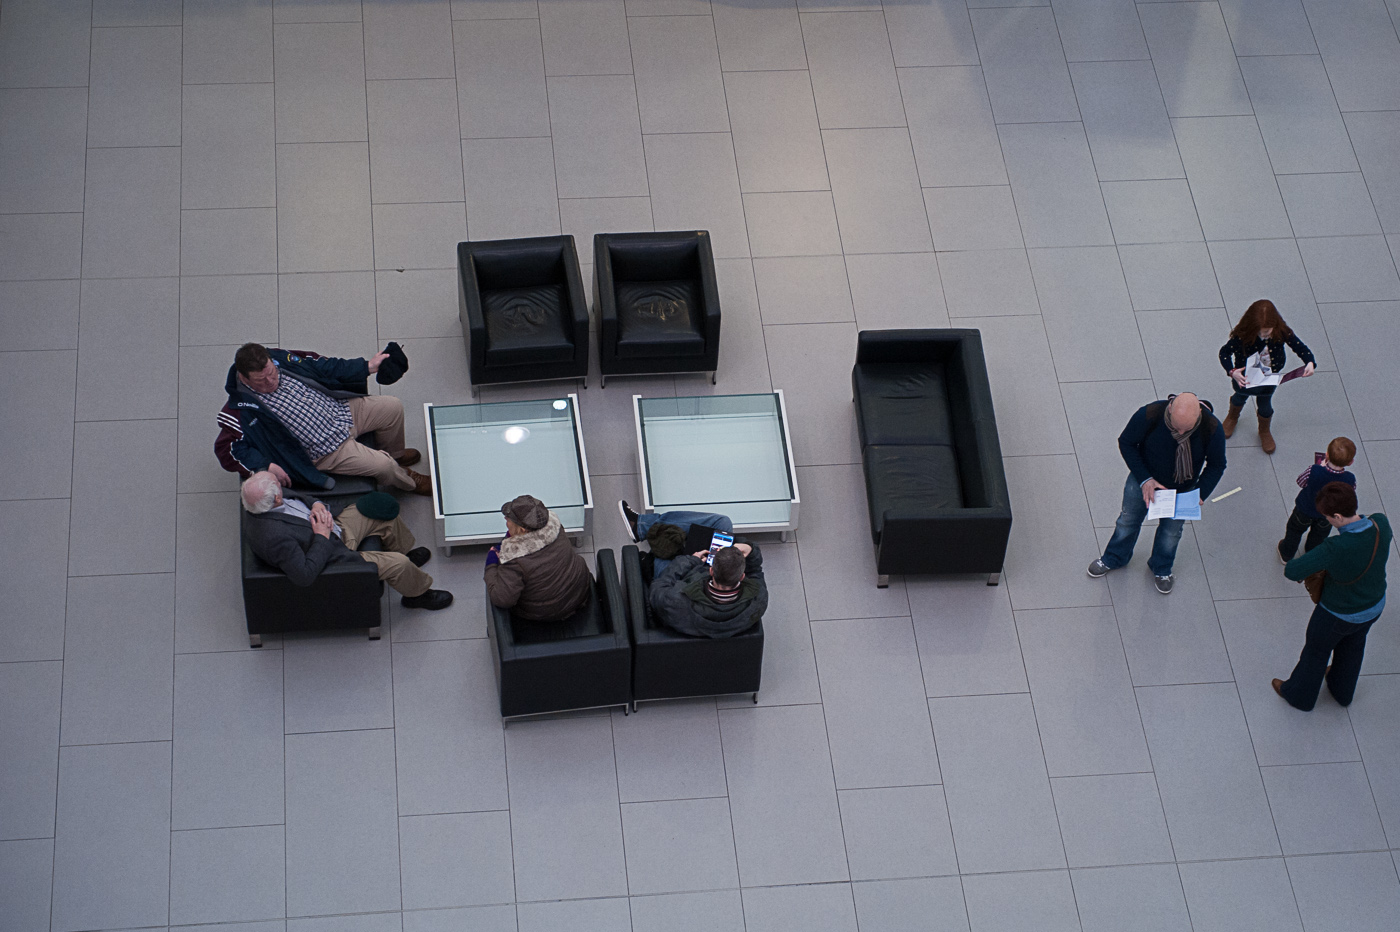
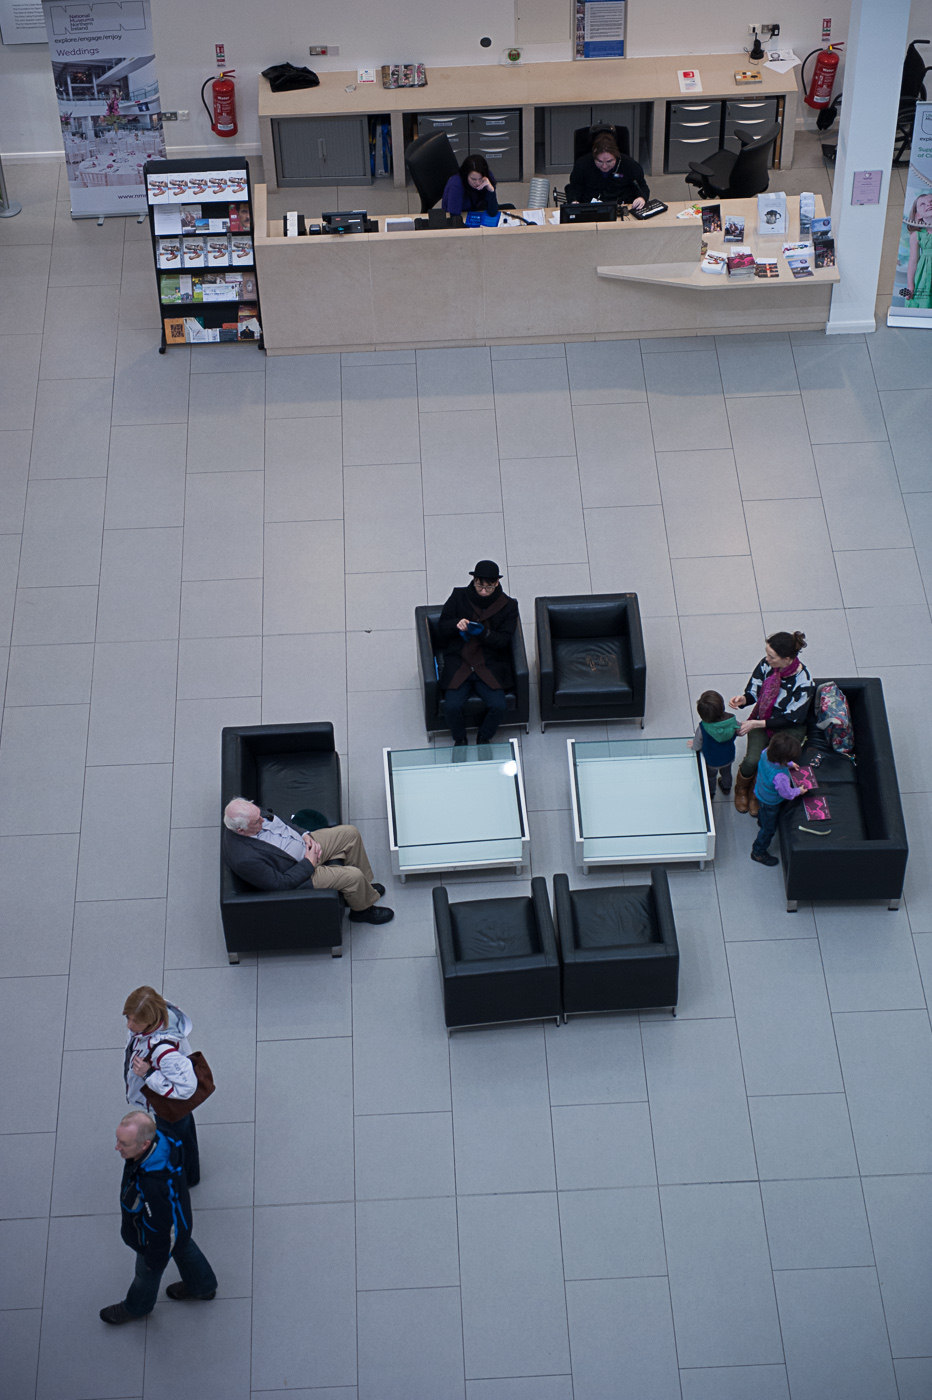
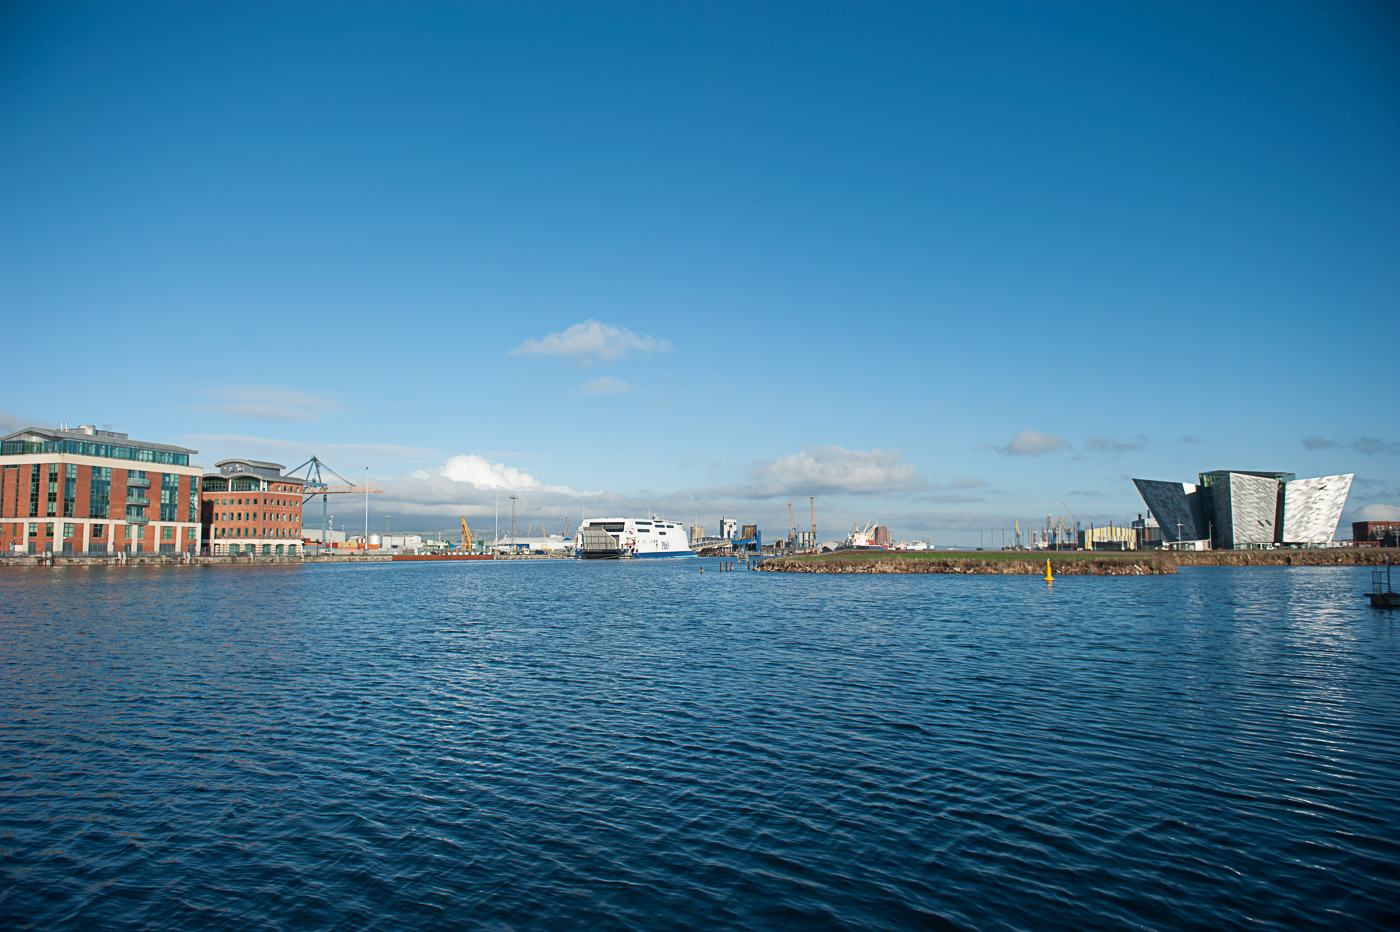
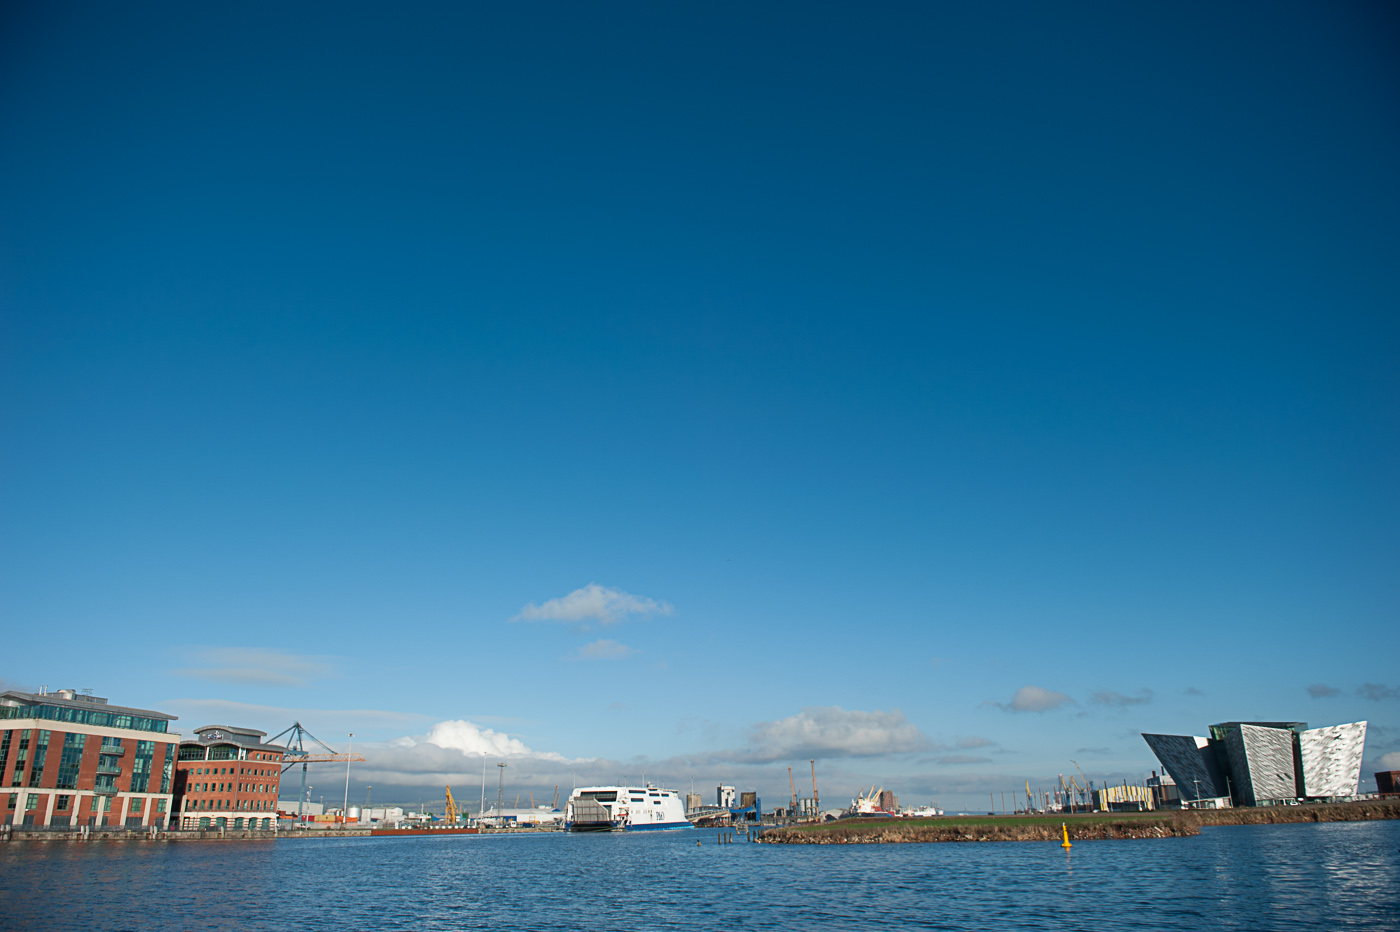
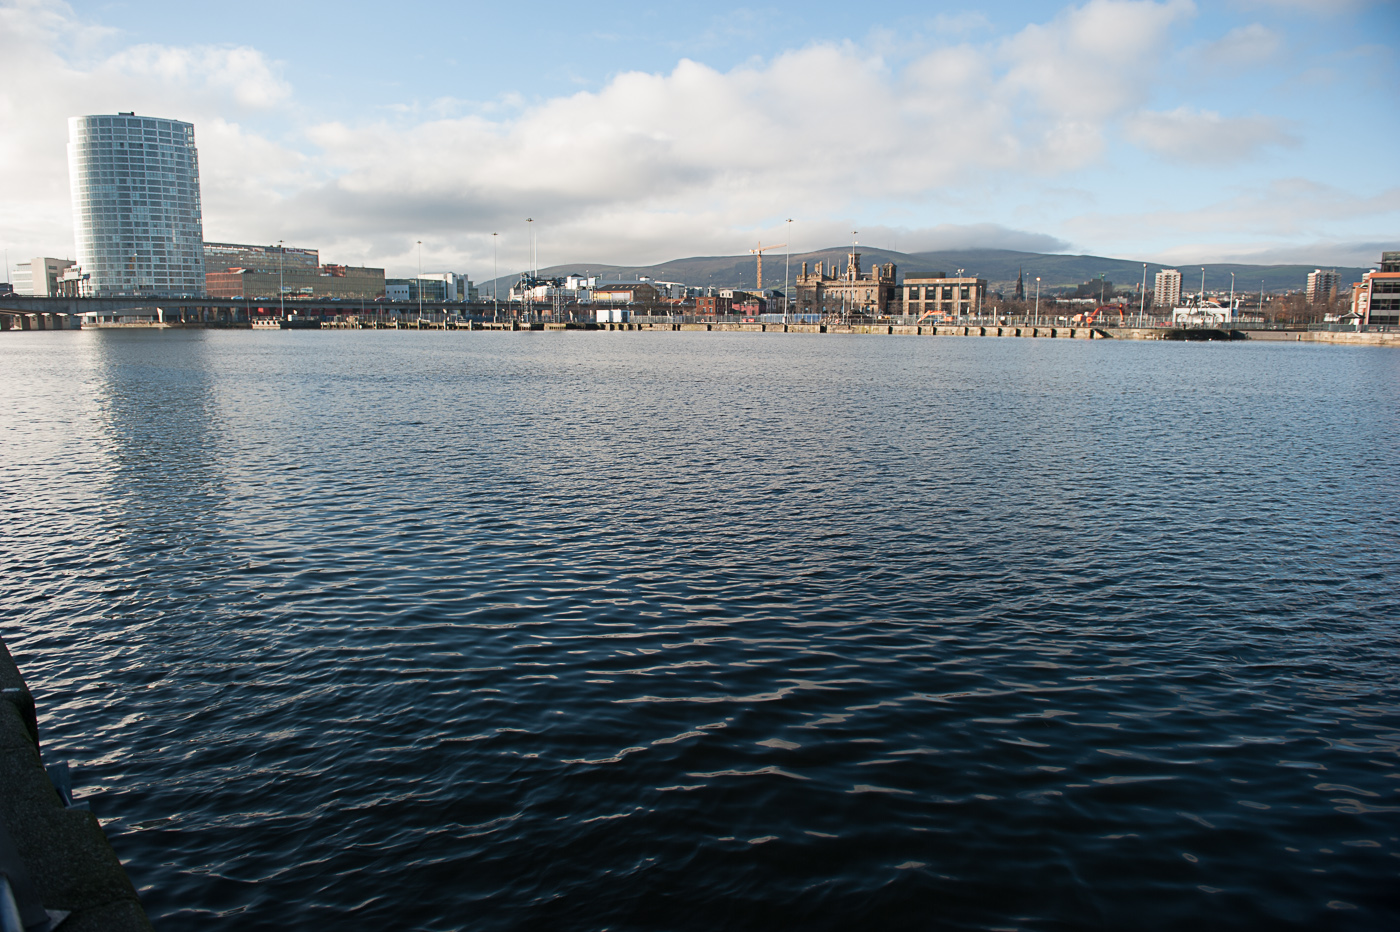
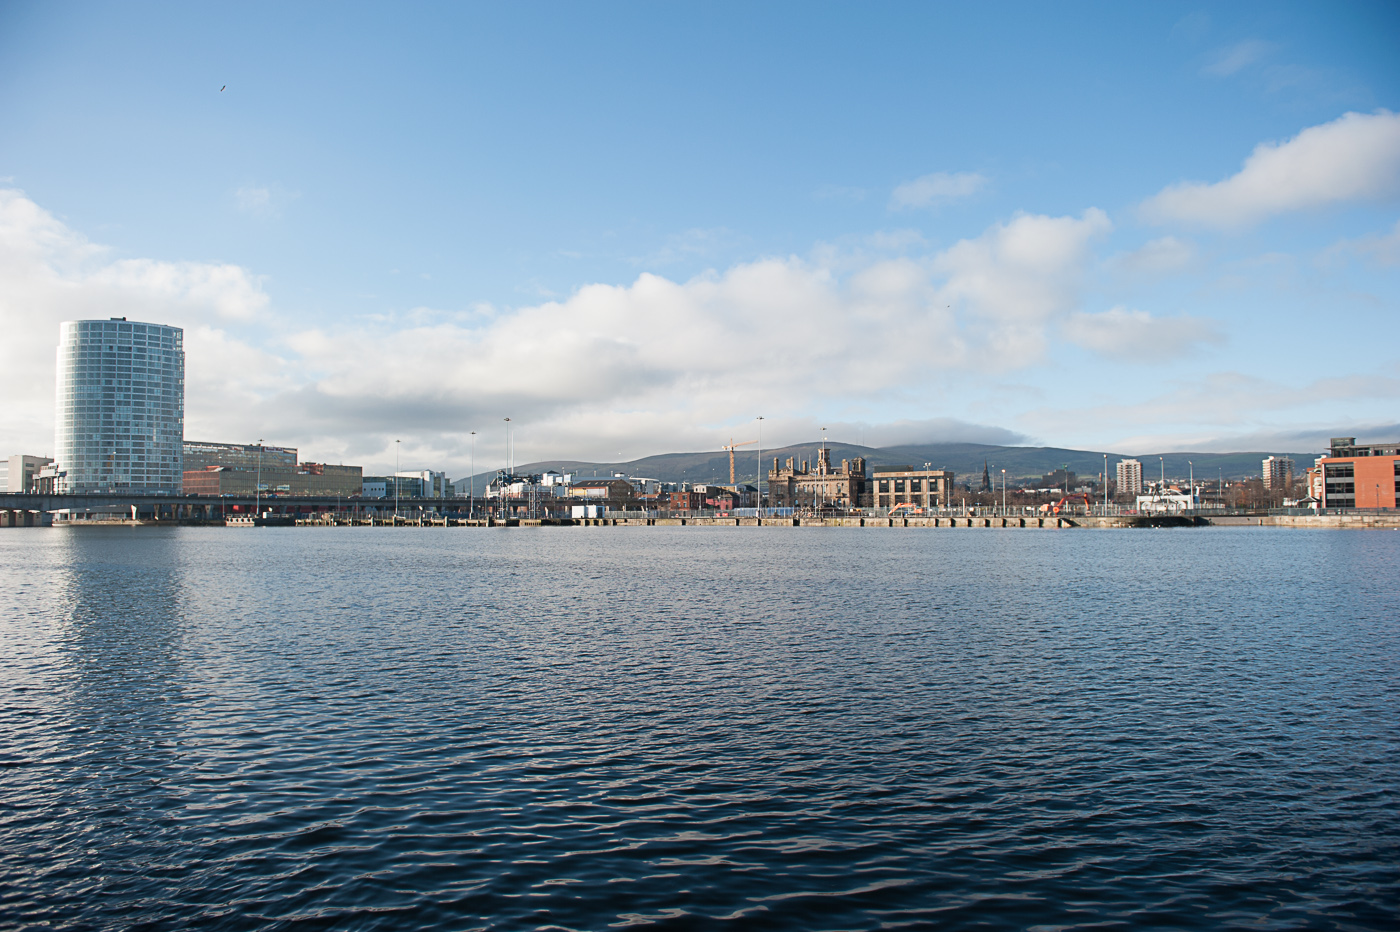
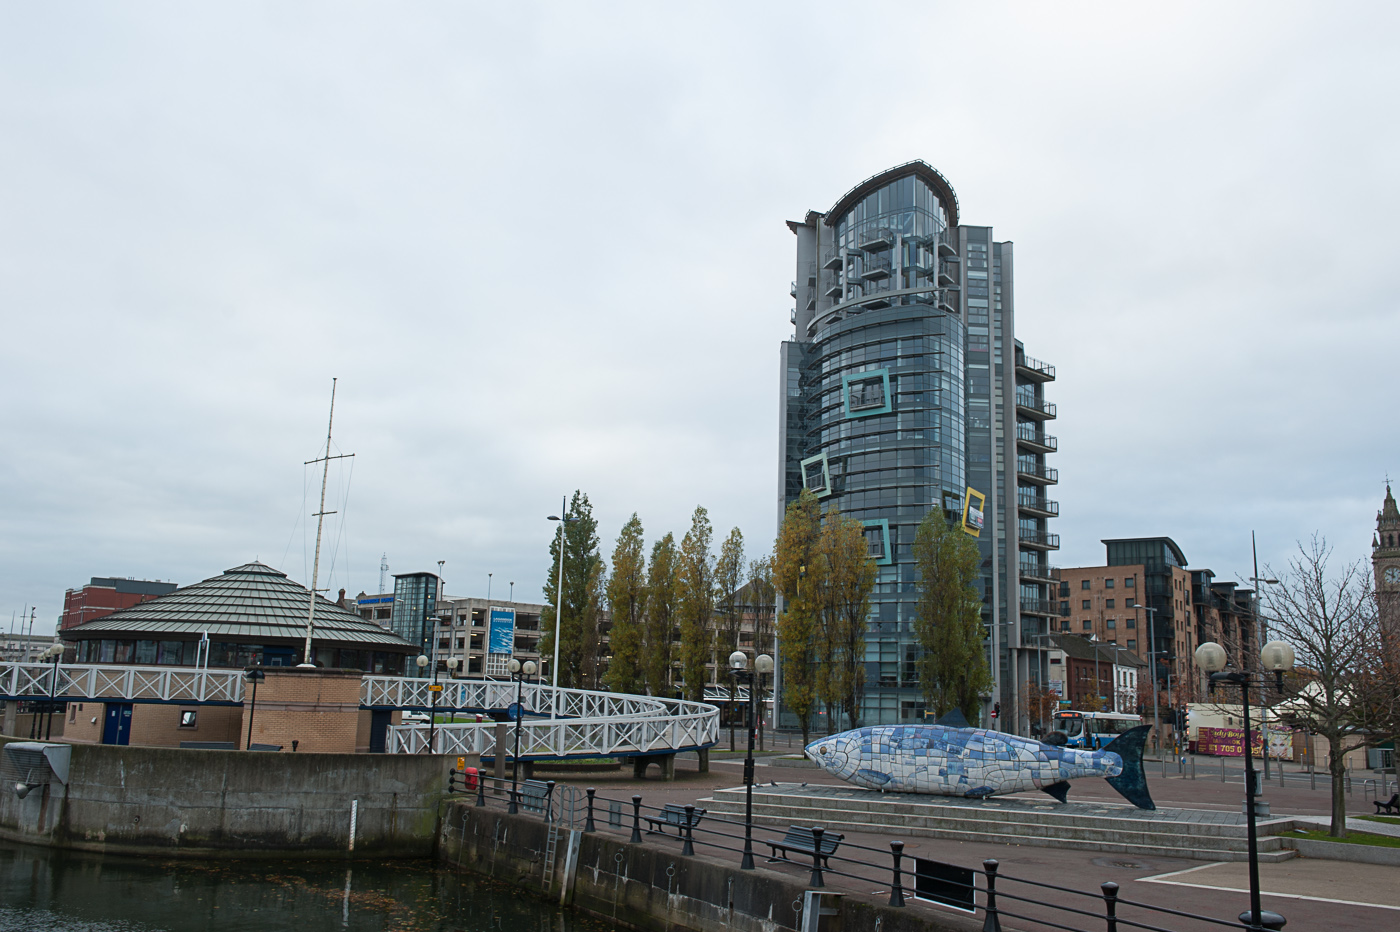
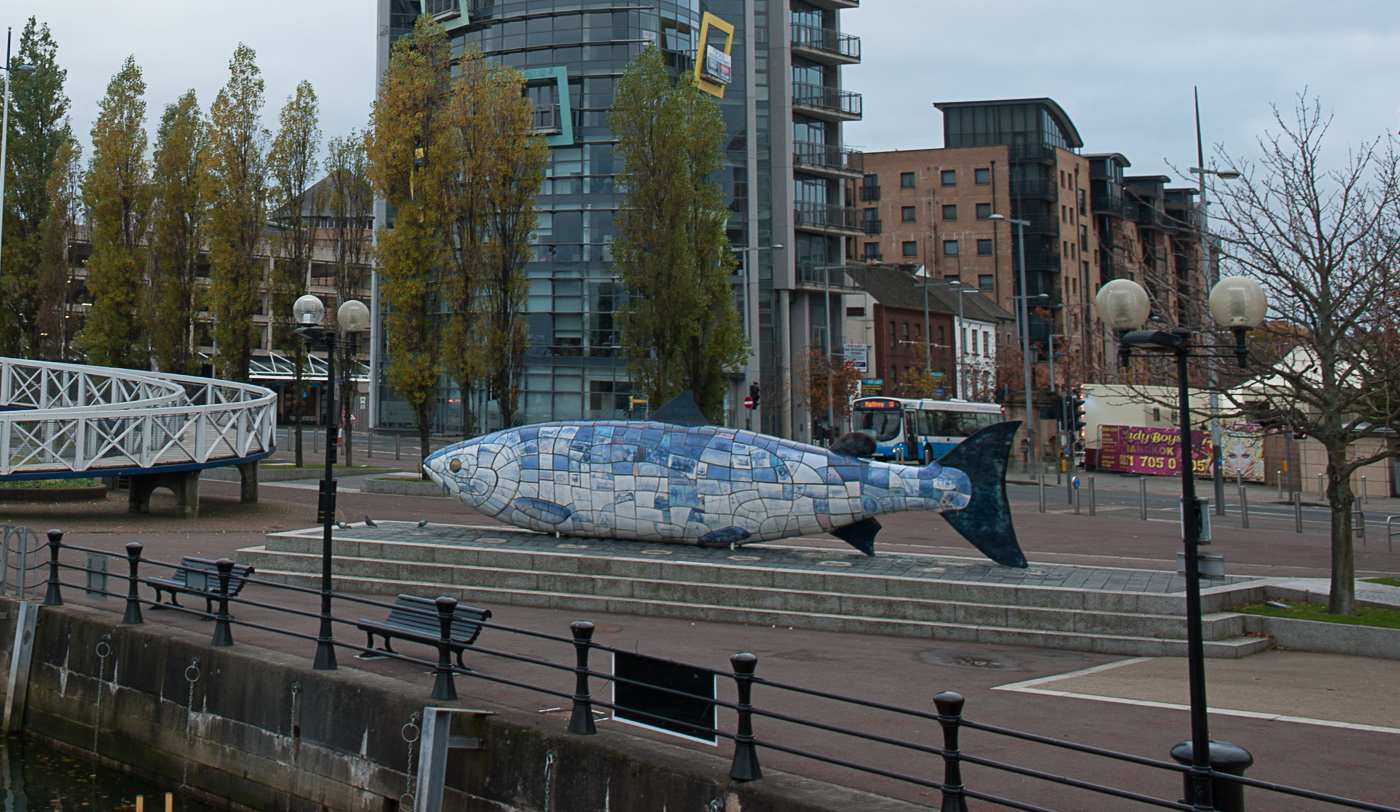
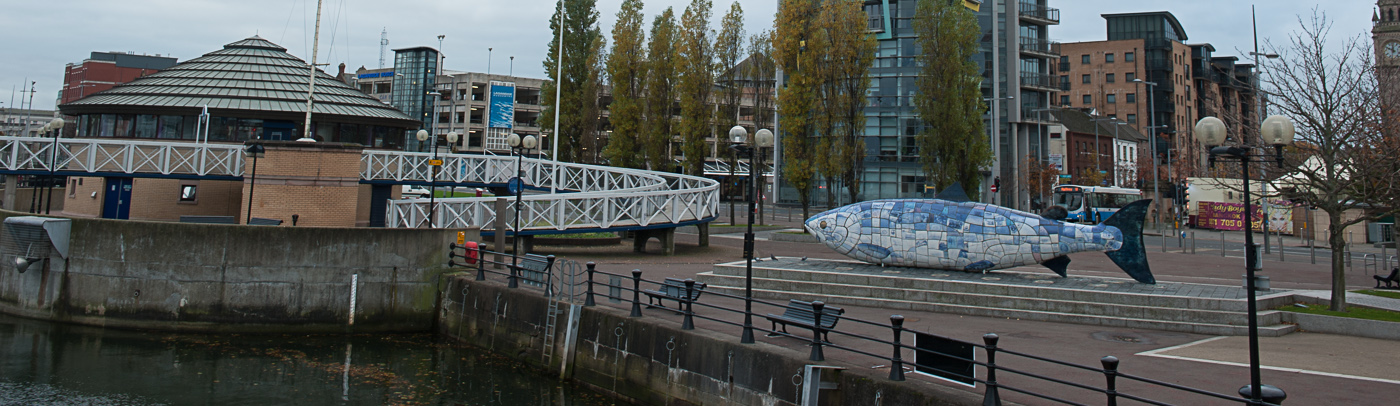
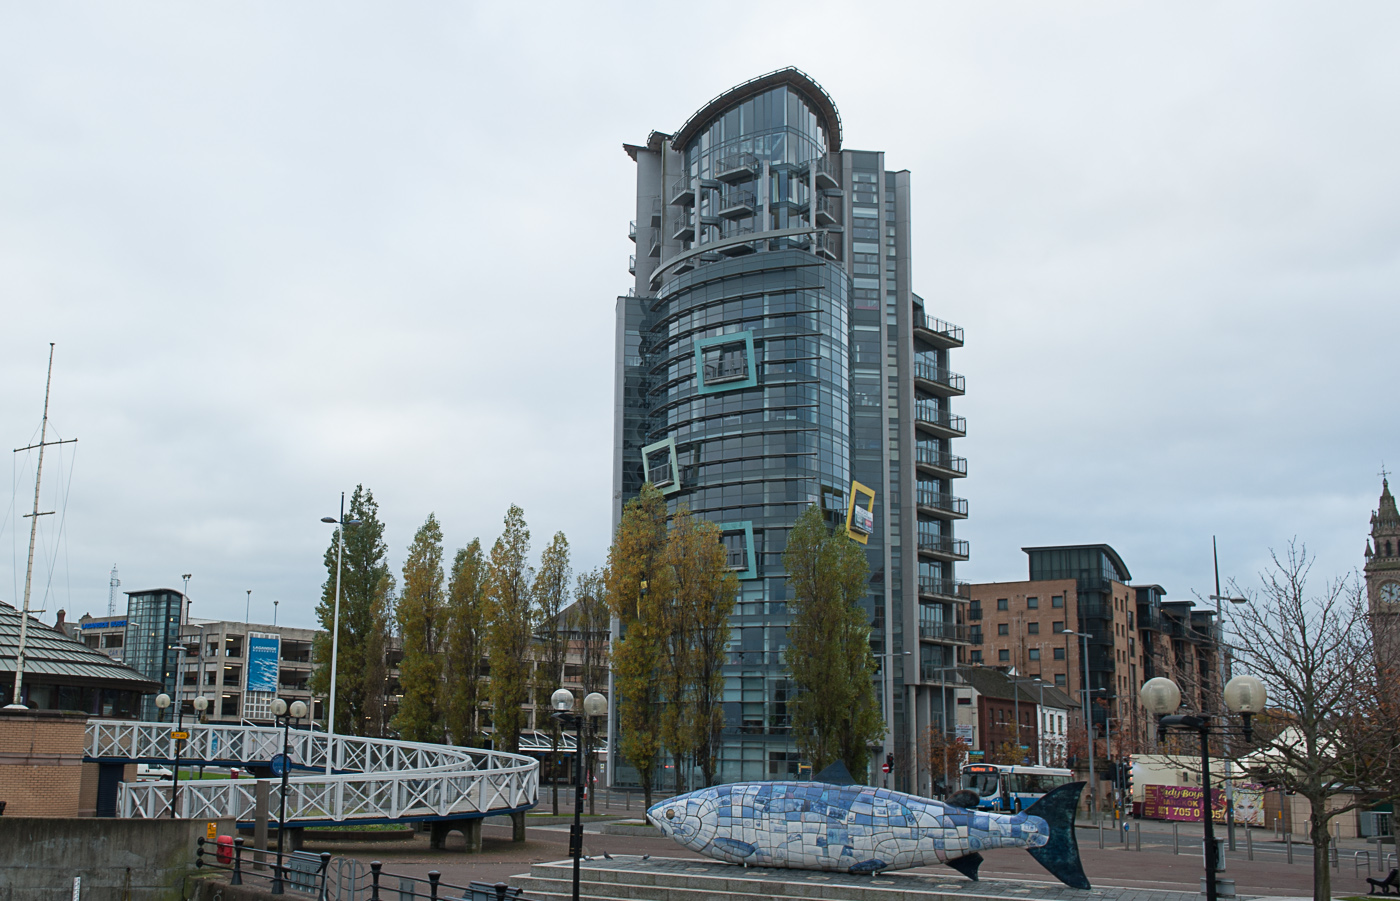
The pair photographs above were taken from a vantage point roughly 20 m above the subjects and this has the effect of day leading the difference between vertical and horizontal. The photographs look like different crops of the same shot.

small LanPor -3013small LanPor -3012

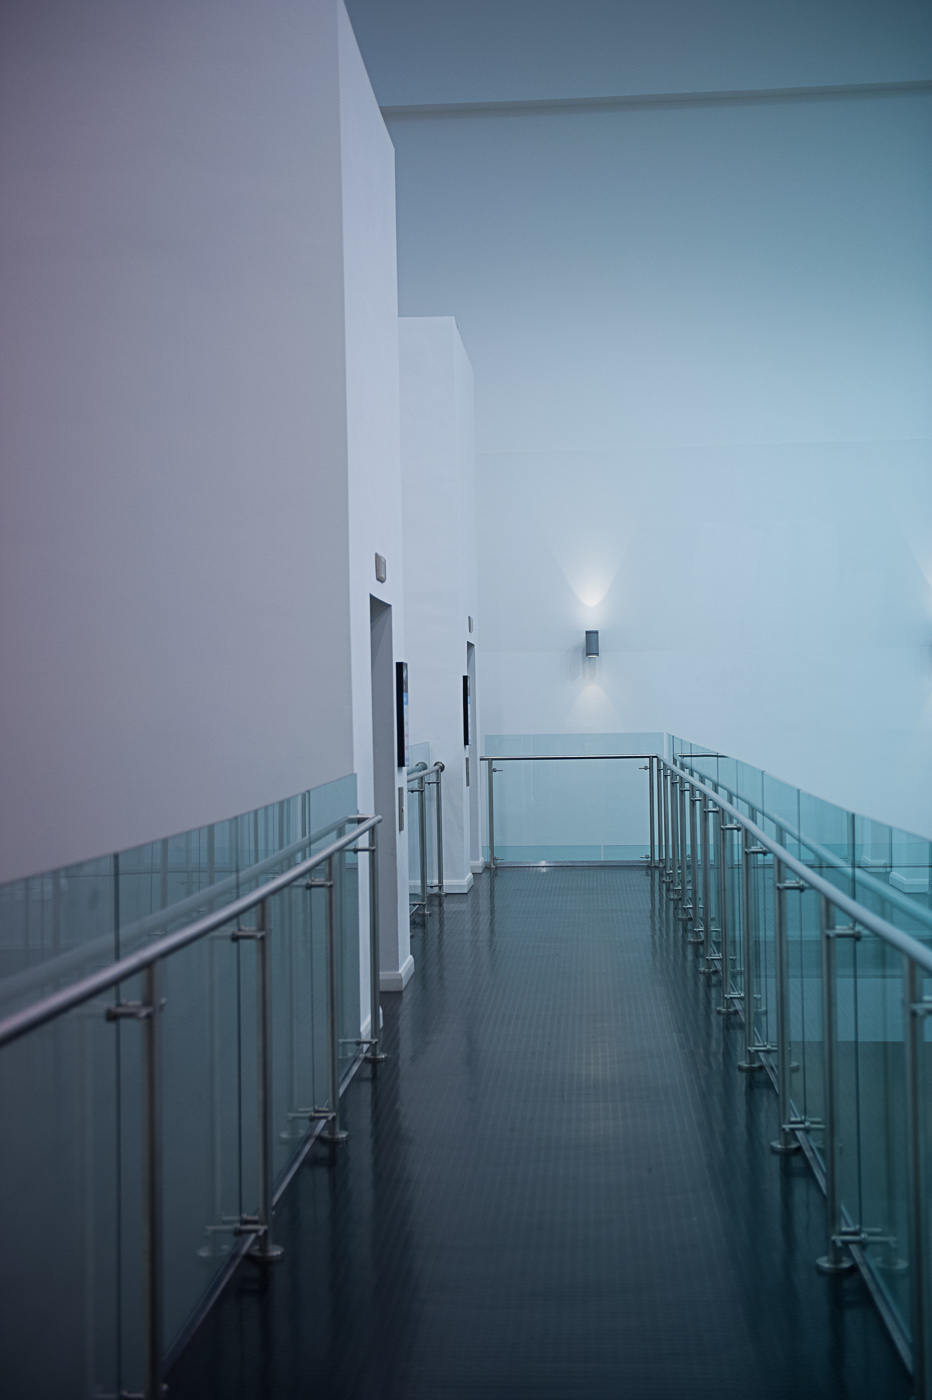
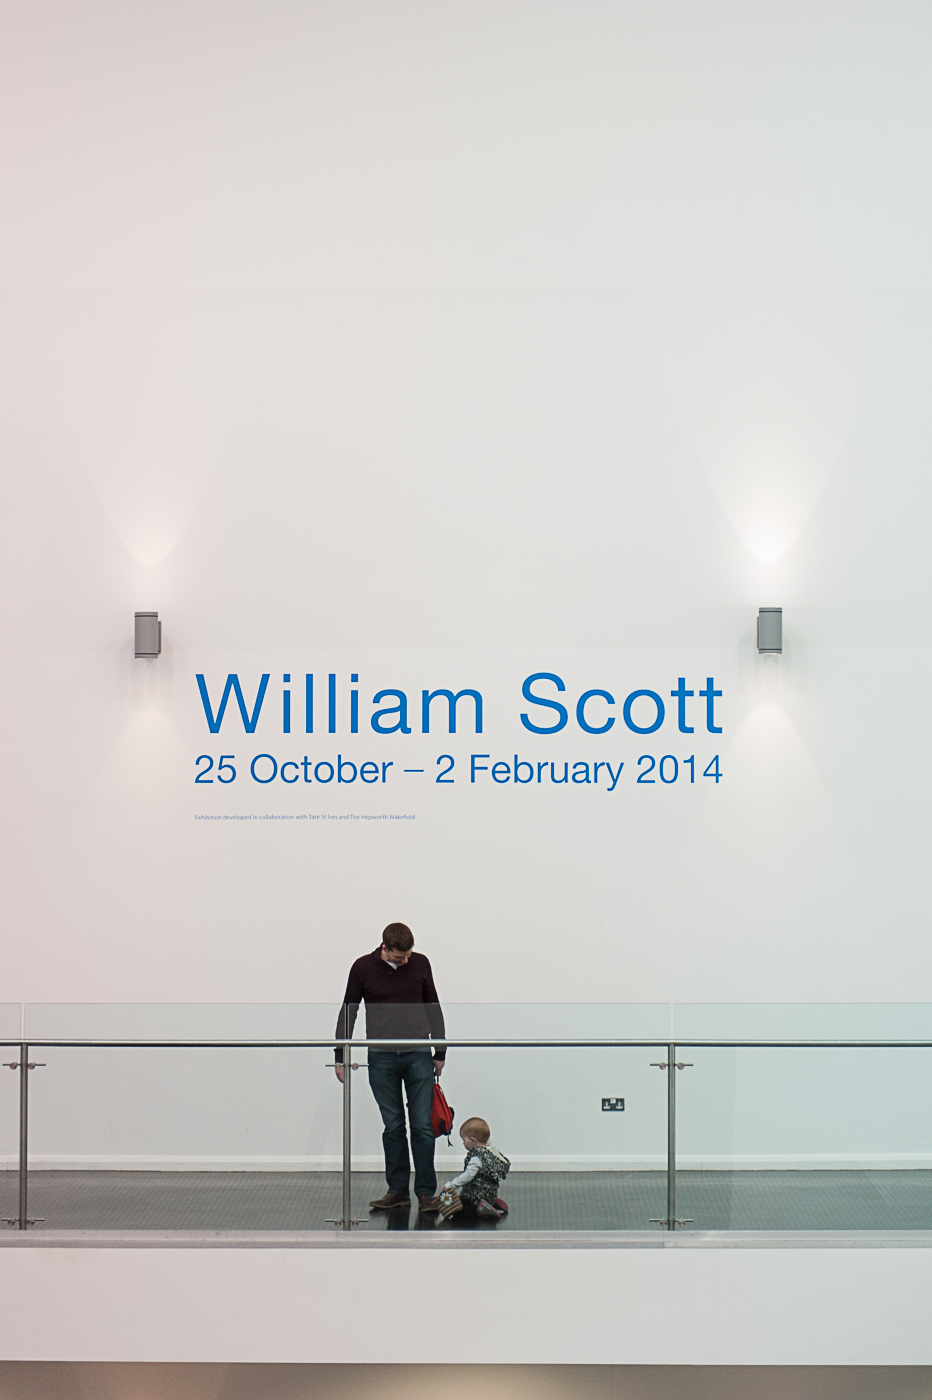
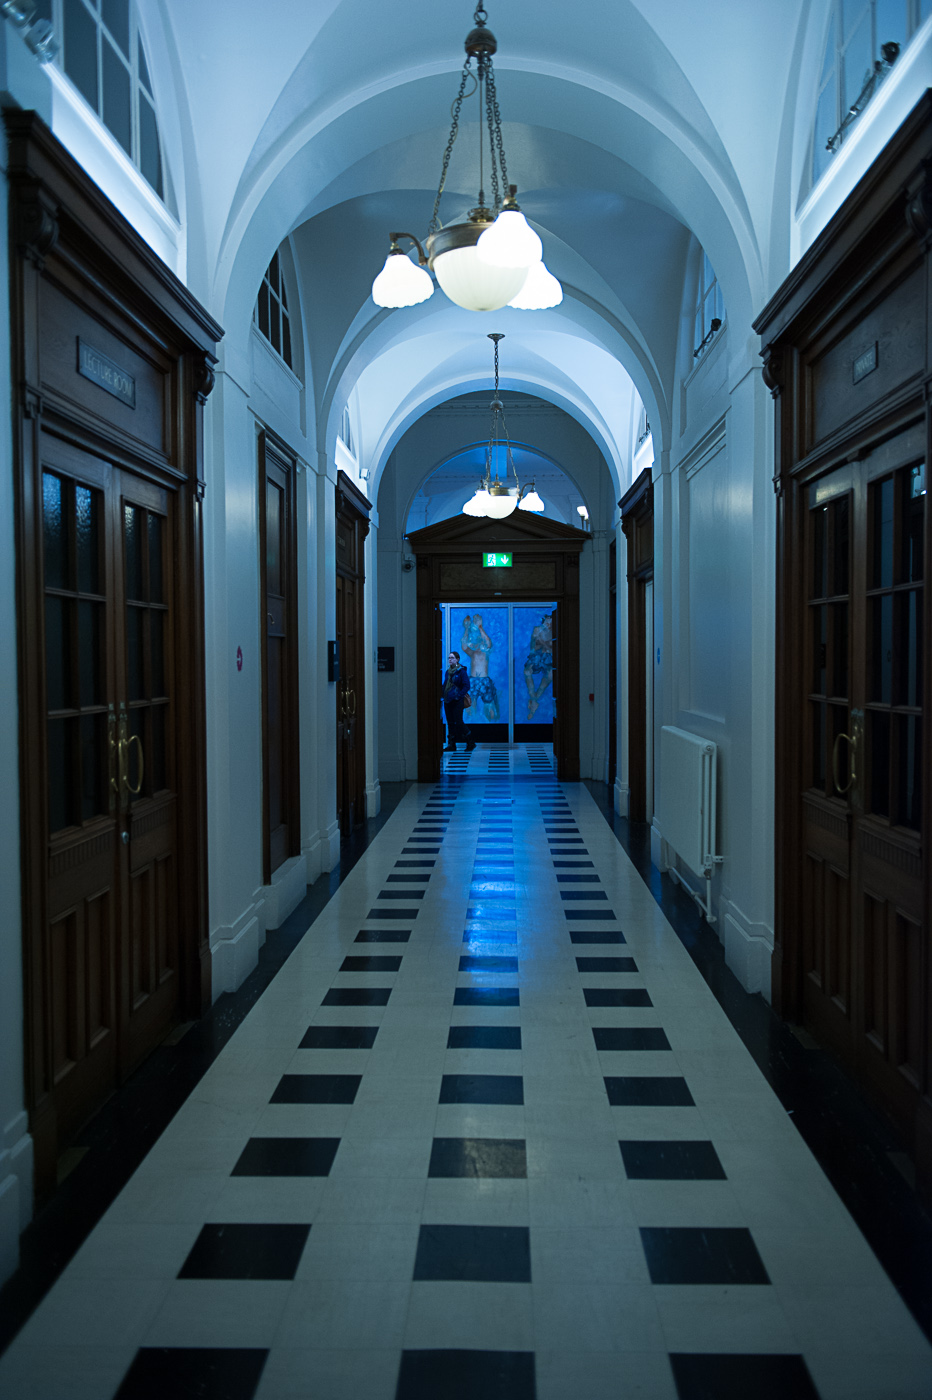
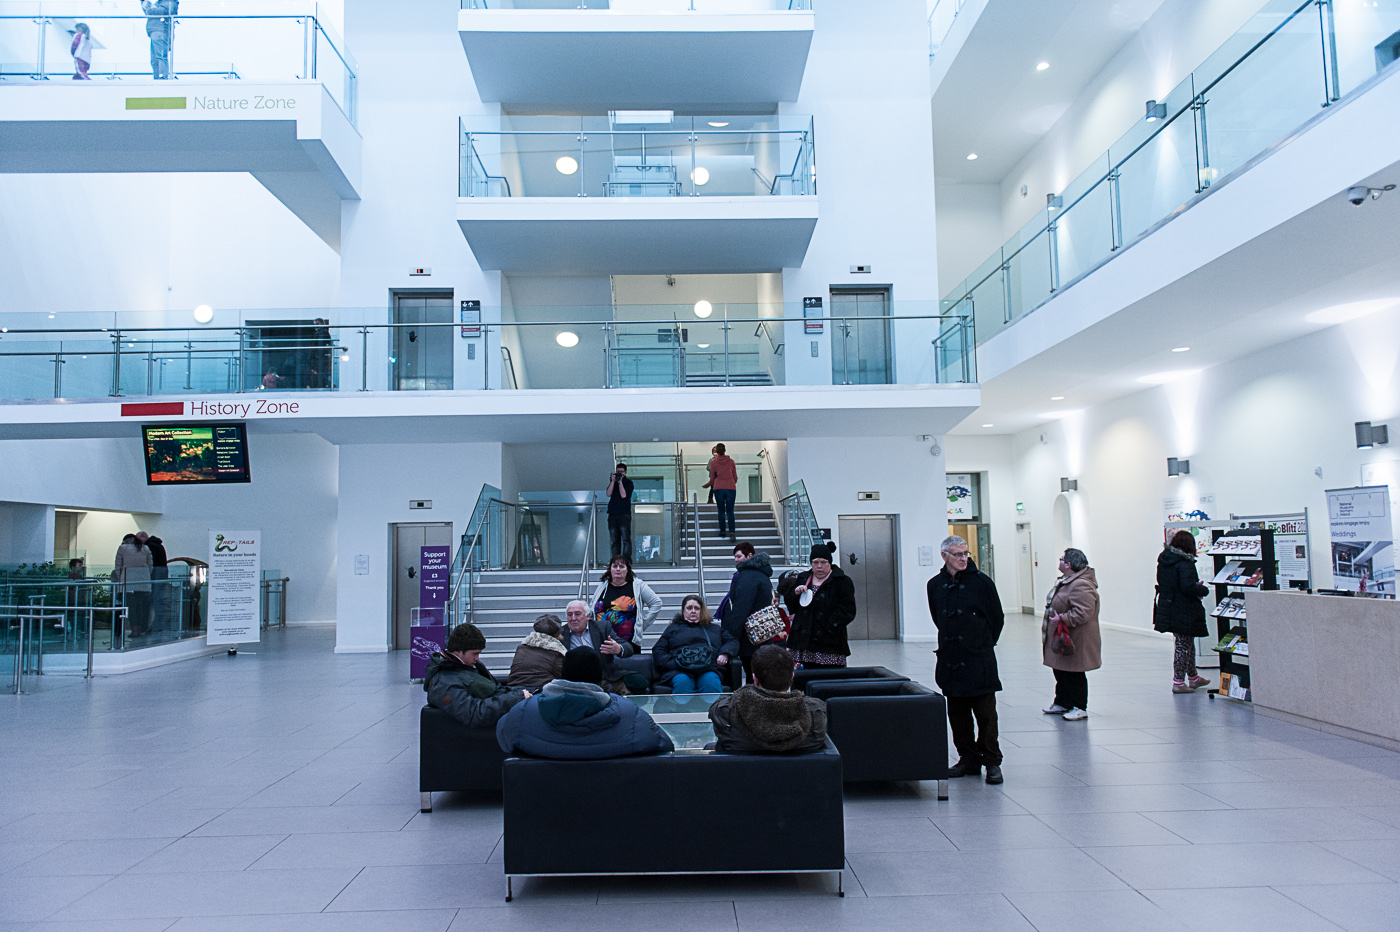
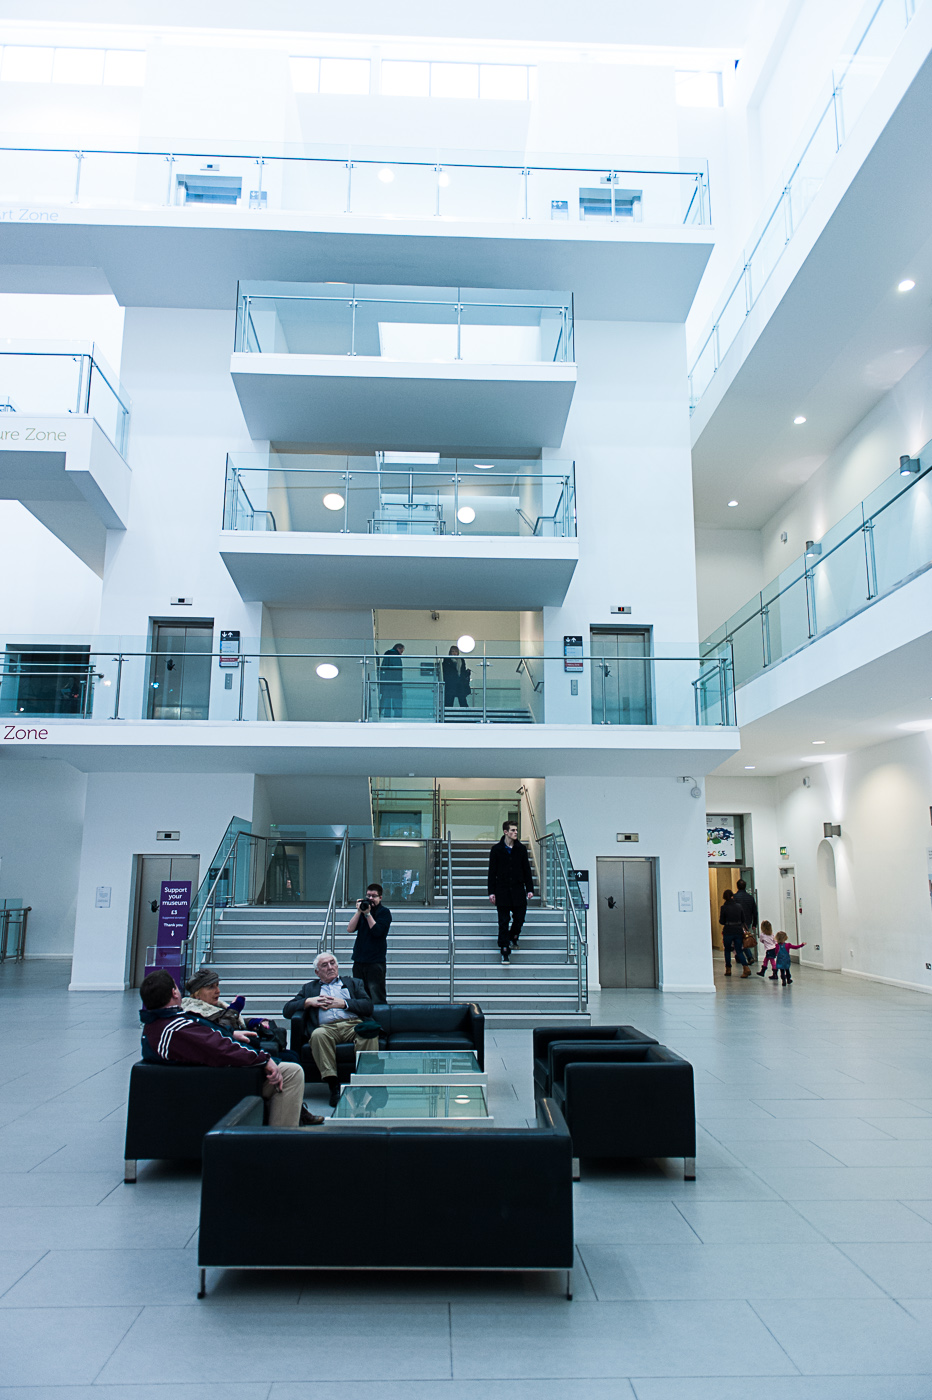
Here again we have two views of the museum walkway. The vertical image is the stronger of the two. Vertical asymmetry and use of negative space at the top of the photograph make it more pleasing than the wide angle horizontal image and in this case the addition of people adds some much needed context to the photograph in fact without the people there would be no sense of scale and we would simply be looking at a name and some horizontal lines. One thing that lets the photograph time is the true composition (i.e. the placing of the subjects within the frame is not truly symmetrical). This was annoying me so much that I had to crop the image to improve the symmetry as can be seen below.

small LanPor -1008

small LanPor -3011small LanPor -3010

small LanPor -3009small LanPor -3008

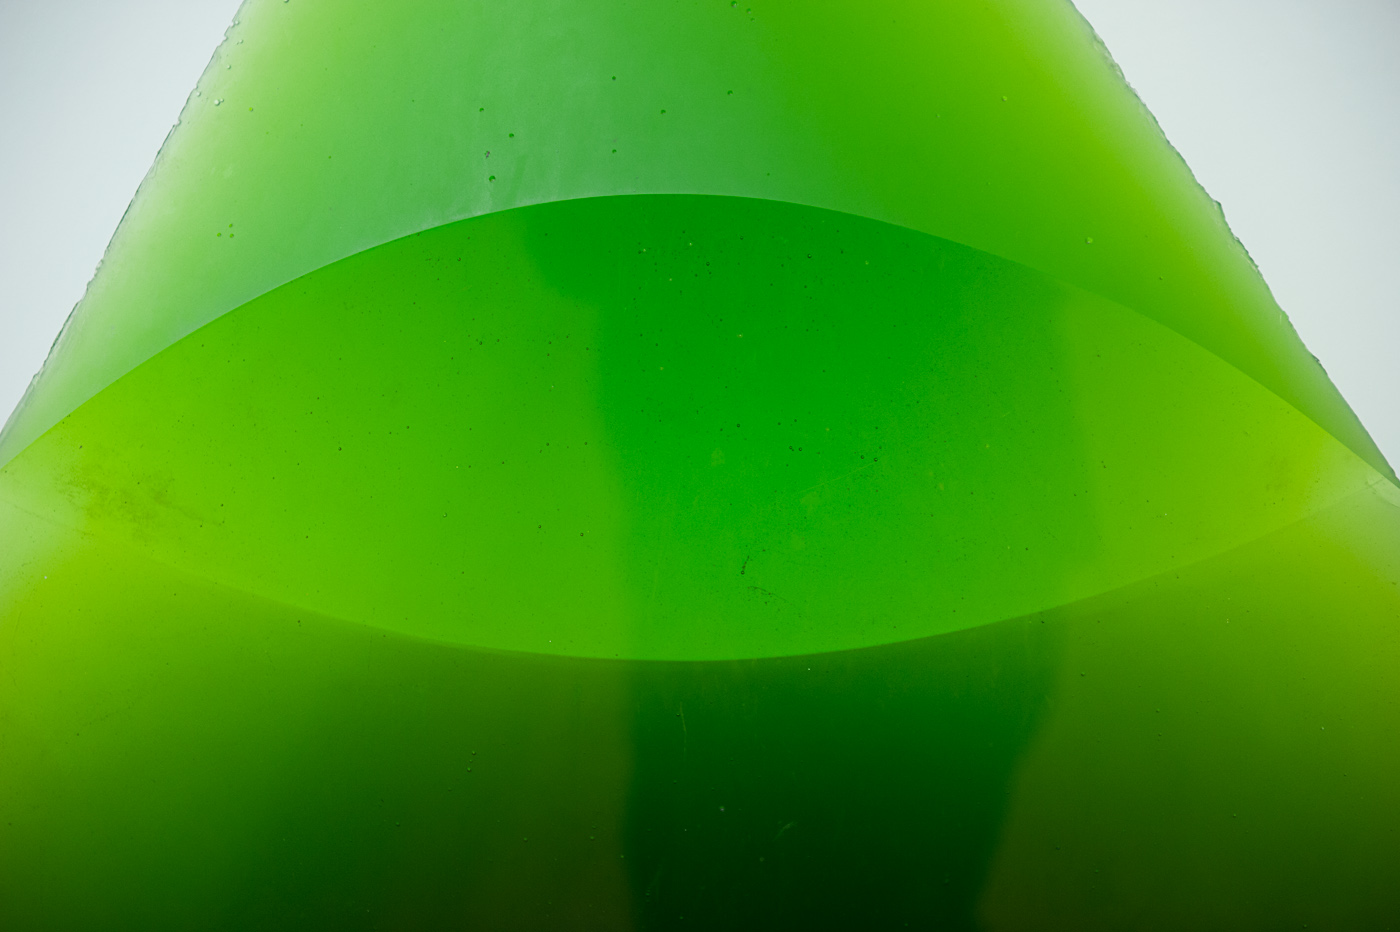
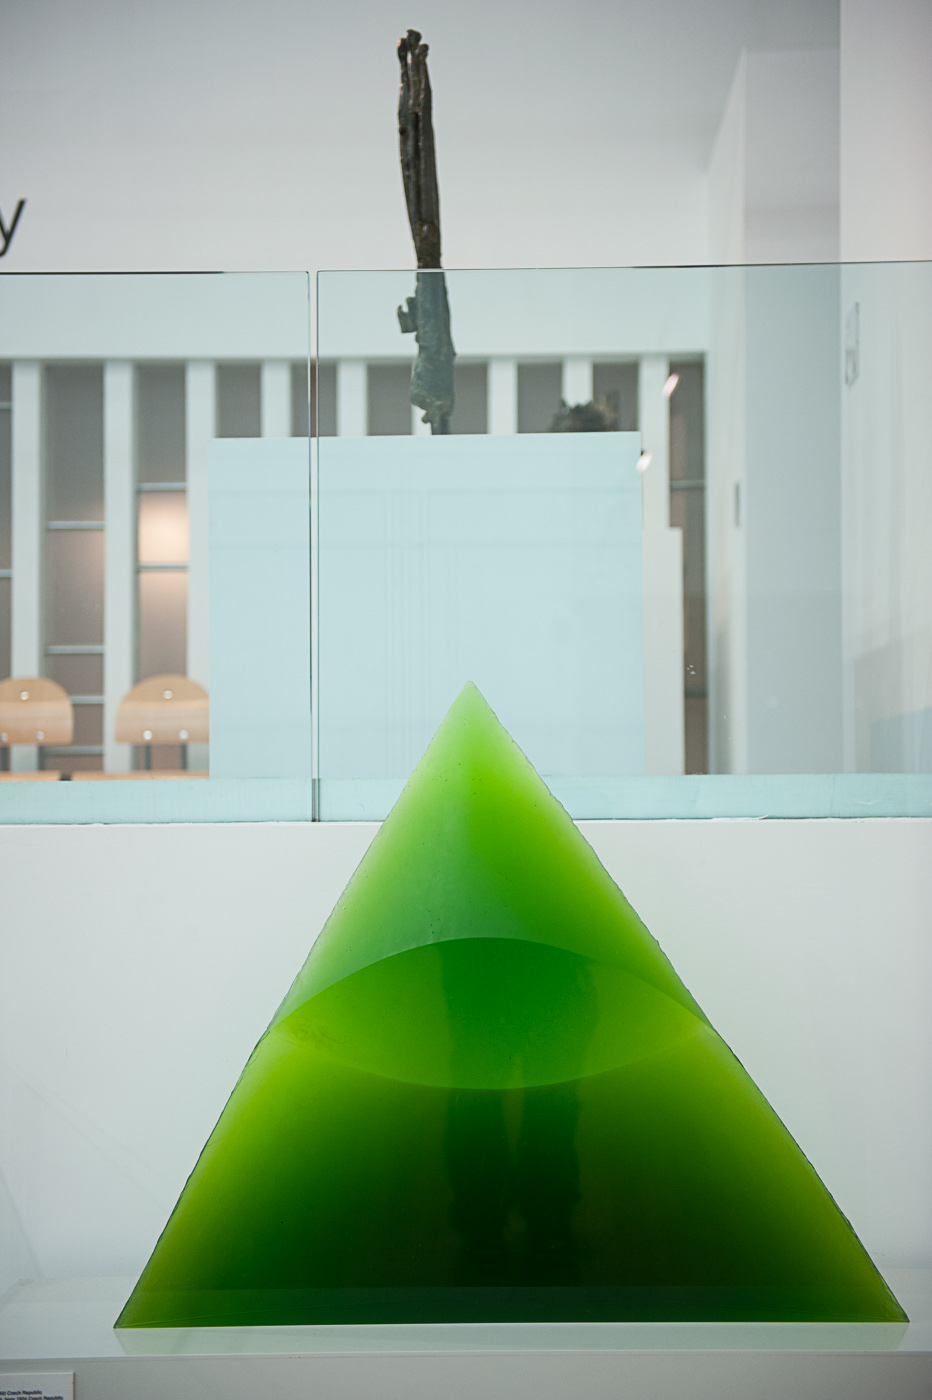
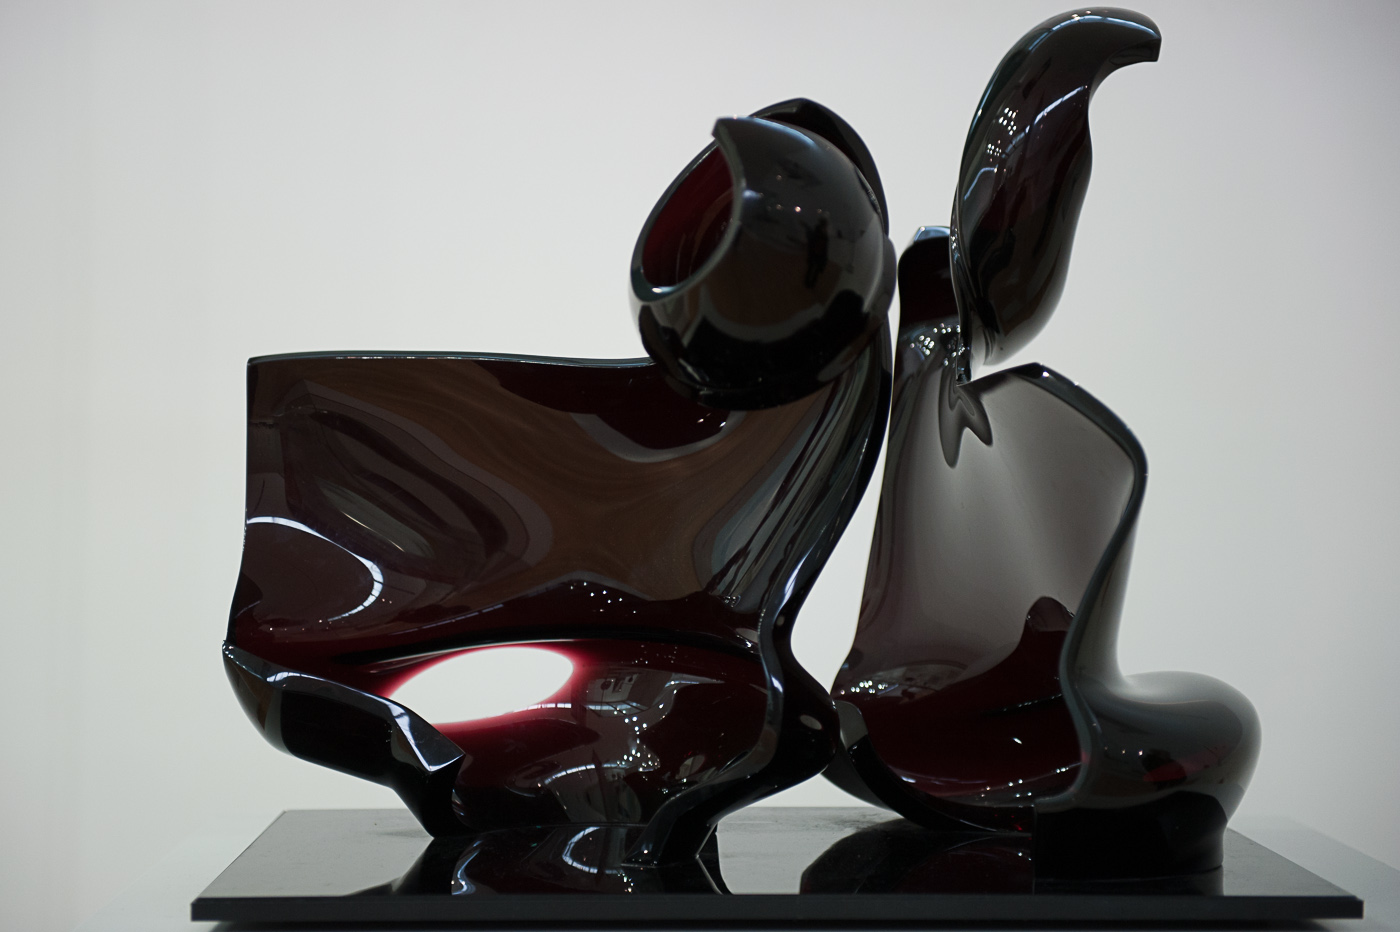
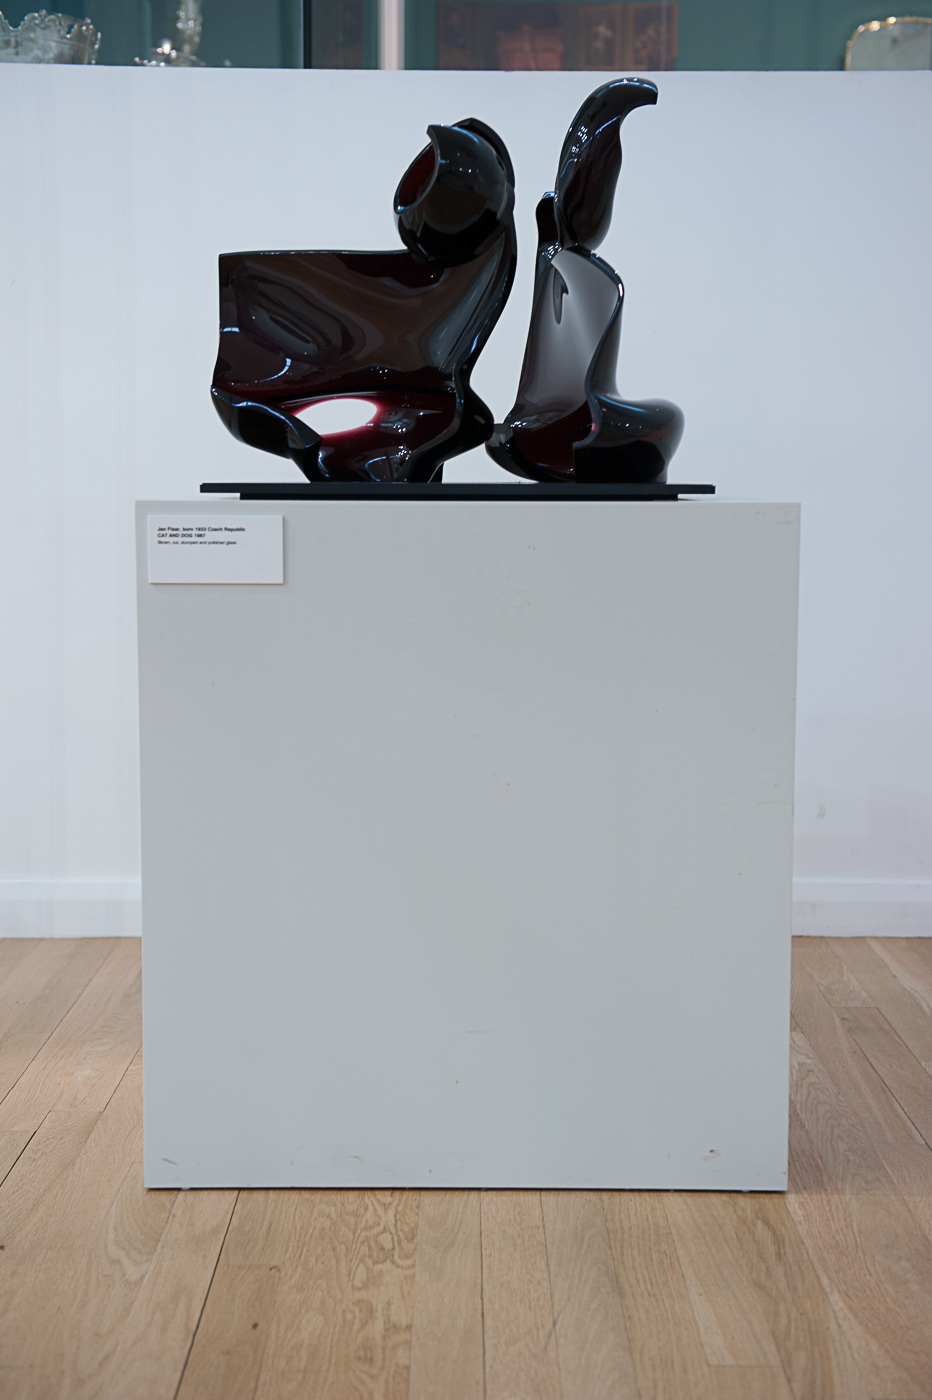
In the four photographs of the sculptures above I applied the same composition for both of the horizontal photographs but positioned the triangular sculpture in the bottom of the frame for the vertical image. This composition doesn’t really work for the green sculpture because it is not a long and all subject whereas the purple sculpture and its plinth make a cute vertical subject and it is a much more comfortable photograph to look at

small LanPor -3043small LanPor -3042

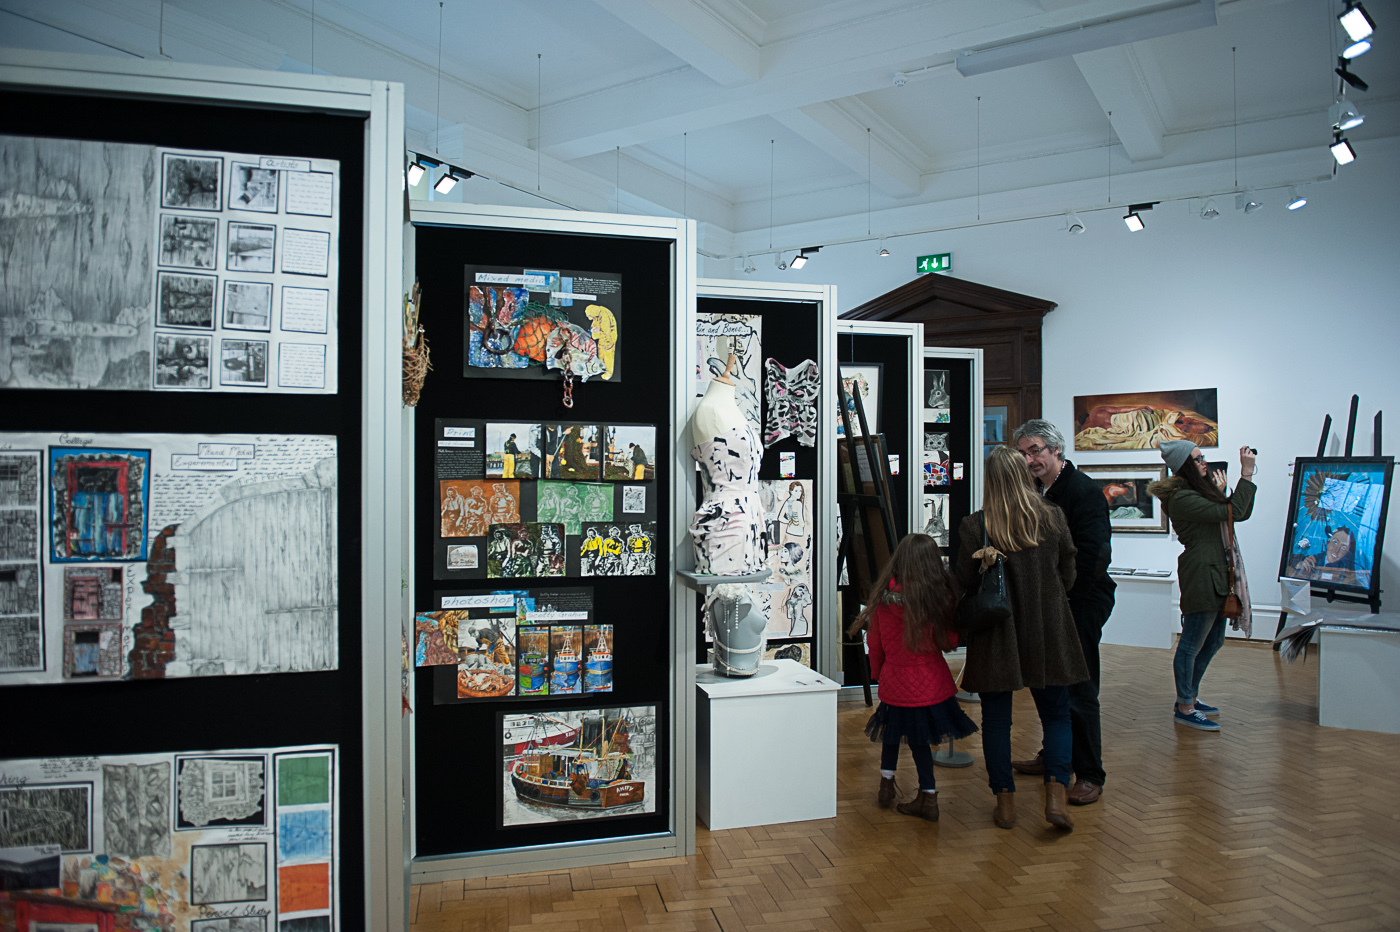
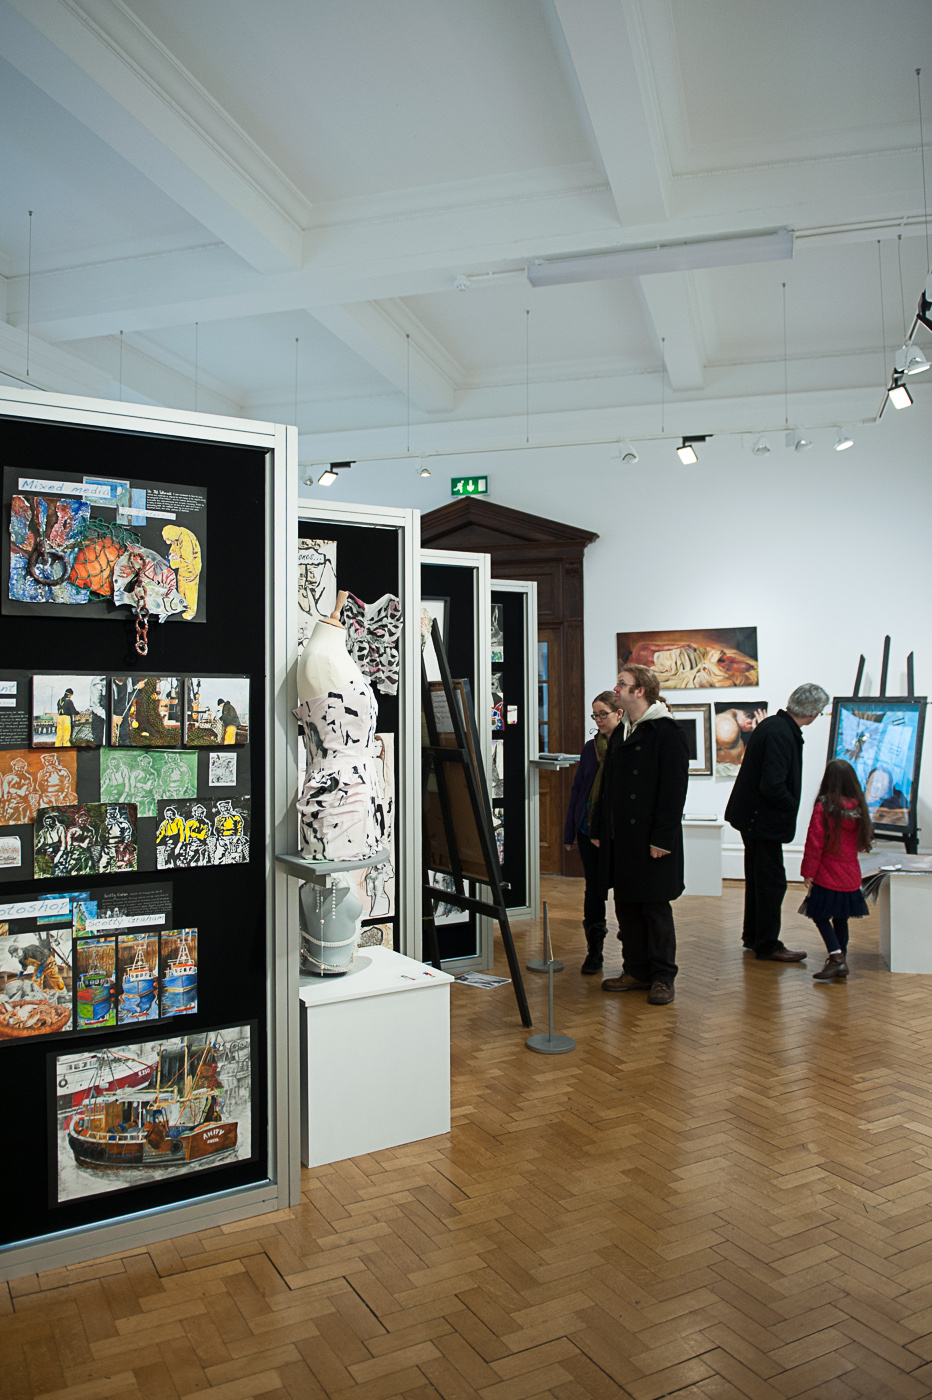
At this point in the exercise I was becoming a little tired and I was losing focus. this is evident in the photos of the gallery above. I was trying to shoot a vertical Image splitting the gallery vertically but it didn't quite come off.  In the horizontal composition the boards lead the viewers eye to the people viewing the art. and the large boards balance the smaller people on the right of the image.

small LanPor -3041small LanPor -3040

small LanPor -3039small LanPor -3038


small LanPor -3037small LanPor -3036

I started to focus on vertical composition again and out of the six images above, the vertical compositions are much stronger than their horizontal counterparts.

small LanPor -3033 small LanPor -3032

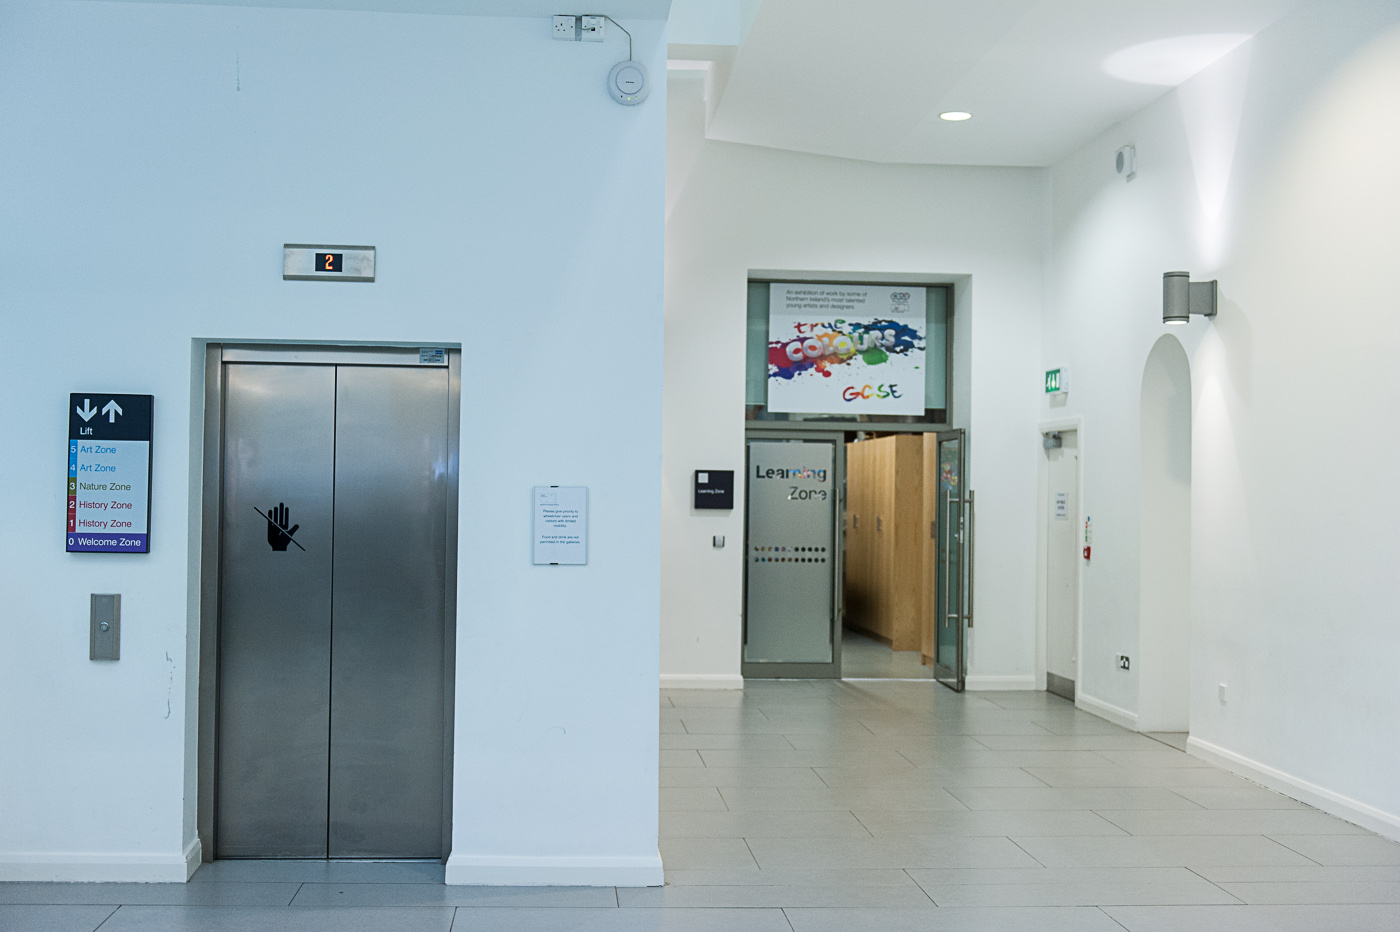
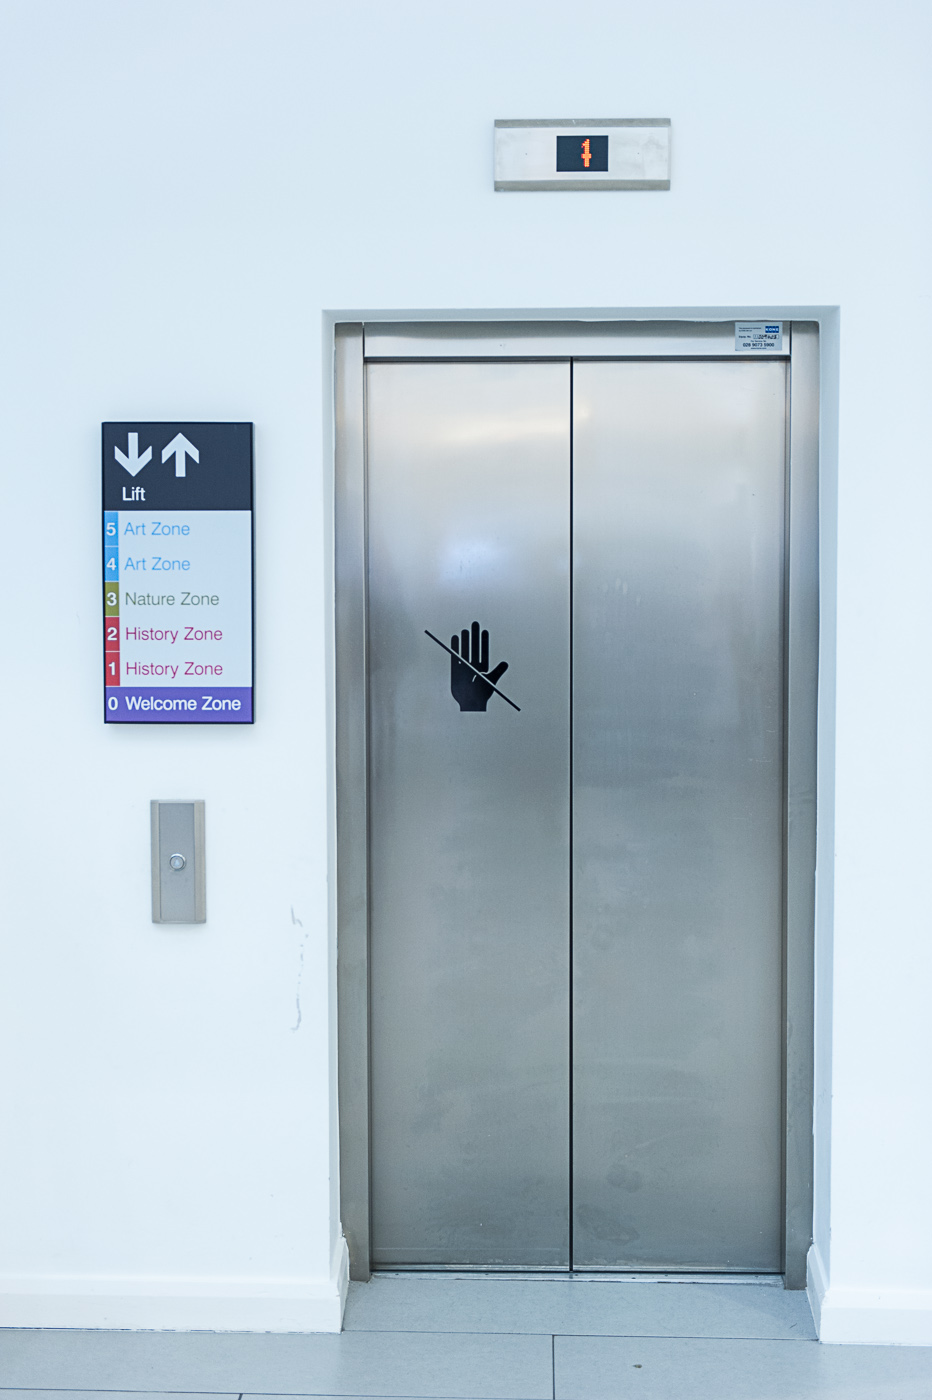
The vertical elevator photograph photo is a nice arrangement of four rectangles. This arrangement is lost in the chaos of the wider angle horizontal image.

small LanPor -3035 small LanPor -3034small LanPor -3031 small LanPor -3030small LanPor -3029small LanPor -3028 

In the last three sets of images the there is no clear winner between the vertical or horizontal images in my opinion.

Reflection

I thoroughly enjoyed this exercise. I was surprised how challenging it was to compose the horizontal Images having firstly chosen subjects which lend themselves to vertical composition.

The exercise got me thinking not only about the orientation of the frame, but also the frame itself.

The frame allows the photographer to decide what the viewer can see in the photograph.  "a photograph has edges, the world does not, the edges separate what is in the picture from what is not"  Shore (2007 : 54). This may seem like a very obvious statement but if we consider that in the two different orientations of framing in some of the photographs above, inclusion of additional content made the photos feel different even though they may have been taken in exactly the same spot.

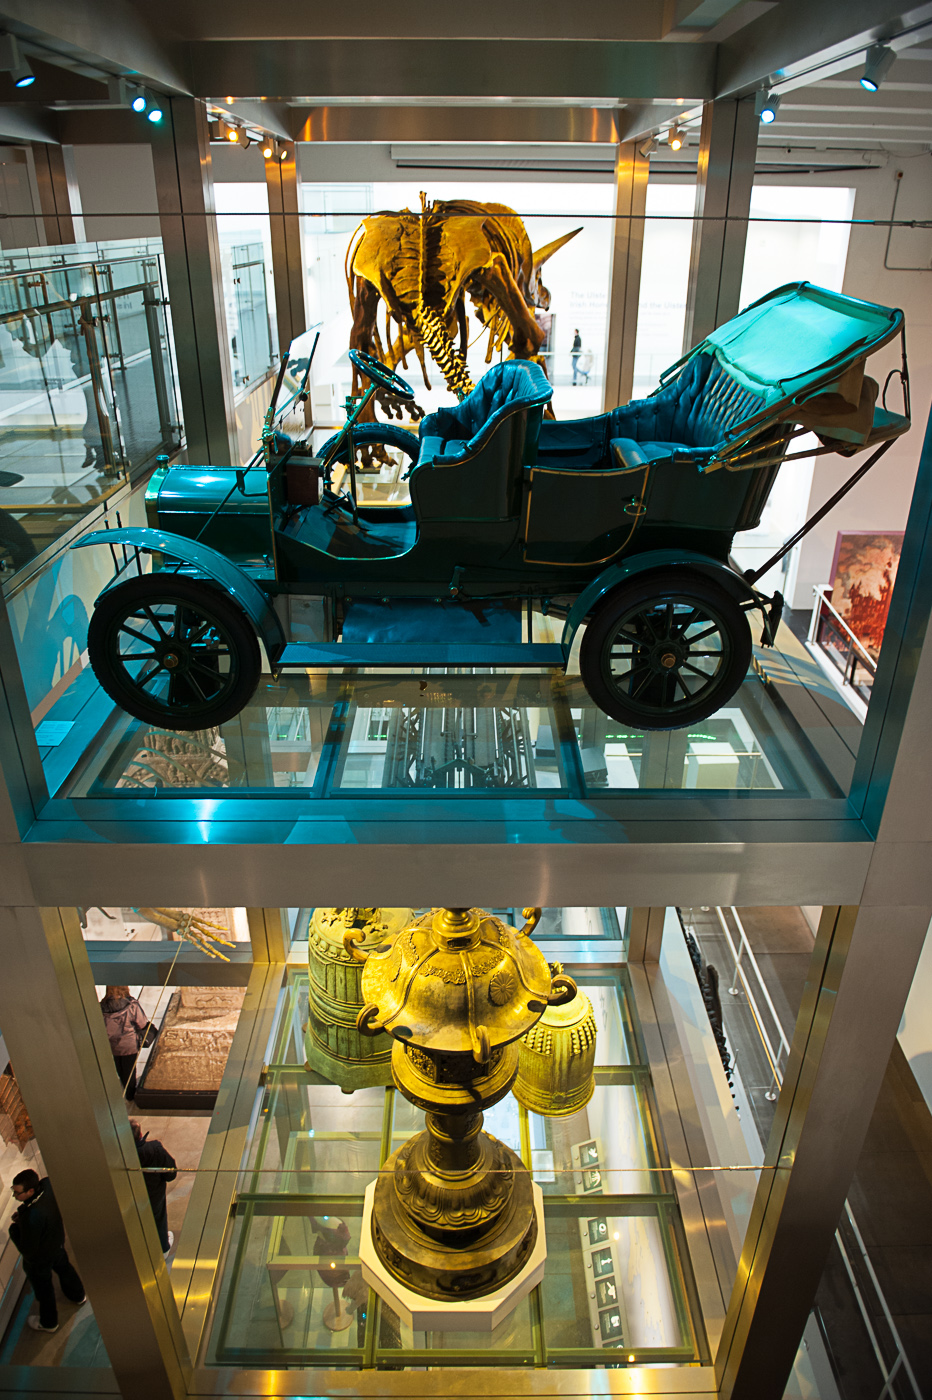
For example the shot of the large skull in vertical format is without context, and because it doesn't include any superfluous detail and the viewer can concentrate solely on the subject. This was my intention on creating this image. When I was forced to compose in landscape orientation I chose to widen out the photograph to still include the full skull, but in doing this much more detail of the skull's surroundings make their way into the photograph. This serves to lessen the impact of the skull on the viewer and gives context to it as an exhibit in a museum setting.

For me this shows that there are an infinite number of photographs available to the photographer in any setting and framing is a major part of creating the best possible image.

Shore (2007:56) suggests that it is the fine framing decisions made by the photographer which resonate off the objects, people and events unfolding in front of them to create both visual and contextual relationships within the photograph.

Cropping

Cropping is cutting away, or removing, unwanted outer parts of an image. The process can be used to improve the composition of an image, remove distracting elements, change aspect ratio, et cetera. The aim of the exercise was to select and print three images, then crop them using editing software and print the images again. Then show the crops with a brief note describing why we chose this crop.

Please note that in the images below, the first image will be the original, and any subsequent images will be crops

In the original image below the portrait composition was completely wrong for the image. The motion of the strong man in is horizontal from right to left and I have no idea why I captured the image this way.

small Cropping-3010


In the crop below we get more of this sense of the event as the action is in line with the landscape composition of the picture. The competitors efforts to pull the truck seem to have more of a sense of motion when cropped in this fashion.

small Cropping-3011

In this image there is too much empty space above the model’s head, and at the bottom of the photograph the sweatshirt is baggy and quite unsightly.


small Cropping-3014

In the crop the aspect ratio has been changed fron 8x12 to 8x10, and in doing so it has given the picture slightly more balance whilst eradicating the bottom half of the problem sweatshirt. The model takes up more of the image giving her more presence.

small Cropping-3015

In the original image below I this was too far away from the chimp in the middle of the photograph to compose exactly how I wanted to. I therefore shot at the maximum zoom available to me and decided to crop the image in post processing. As it turns out I was glad I had the wider image to play around with the crop

small Cropping-3016

This first crop is how I would have composed the full rule if I would have been able to zoom tightly enough. I do believe that this crop is definitely better th this an the original image but the balance of the photograph is in quite right. The larger chimp to the right-hand side’s throws the photograph somewhat offkilter.

small Cropping-3017

I decided to play a little more with the cropping tool in lightroom and came up with the composition below. The chimp is now clearly the subject of the photograph and has more impact as a solitary form being frame by his enclosure. Although he is off centre he is nicely balanced by the buyers of the enclosure to the left-hand side. This is a much more pleasing crop (and image) than the first two pictures. The point to take away from this example is that it is worth playing around with different crops of an image to get the best result possible.

small Cropping-3018

The image below is a bit of a disaster. It is badly composed with a tilting horizon and a very boring foreground.

small Cropping-3012

With the editing software available today not only can we crop parts of the image away, but we can also adjust the alignment of the photo to straighten out sliding horizon’s as can be seen in the crop below. Although it is still not a brilliant image, there is much less tension in viewing the photograph and by removing the bottom half of the image we have given it a panoramic feel.

small Cropping-3013


In the next photograph I was lying on the ground waiting for the cyclist to go by and pop a wheelie. This was all happening relatively quickly, so it is hardly surprising that the composition was a little off.

small Cropping-3008

By cropping the photograph to fill the frame with the cyclist the photograph achieves more of a sense of movement and dynamism. The cyclist is almost on top of the viewer giving a more immersive quality to the shot.

small Cropping-3009


Anyone who has tried the photograph dogs knows that the vast majority of them do not like to set up a photograph taken especially when they are young pups like the dog on the left. This was another example of quickly trying to get the shot and deciding to tidy up the composition in post processing.

small Cropping-3022

In the crop below we have centred the dogs in the image and cut away a little bit more of the outer image to lie the subjects to take up frame.

small Cropping-3023

Cropping doesn’t always have to be rectangular or even regular in form. For example the artist Robert Heinecken used crops of pictures to produce puzzle images or colleges in his work.


Balance

What is Balance? Freeman (2007 : 40) states “At the heart of composition lies the concept of balance. Balance is the resolution of tension, opposing forces that are matched to provide equilibrium and a sense of harmony. It is a fundamental principle of visual perception that the eye seeks to balance one force with another.” This exercise in the balance of photographs is where I have struggled most on the course so far. Things like exposure, camera controls, shutter speeds, et cetera have rules which can be learned and applied. As can some of the simple composition concepts such as filling the frame or rule of thirds. I have found that this concept of balance is almost ethereal in nature, but this may be because I am very inexperienced in assessing the balance of the photograph.

The aim of this exercise is to choose six of my own photographs and decide how the balance works in each one.

The photograph below I consider to be balanced

small street-2122

We can see below that the photo is roughly symmetrical along the centre line and the two men balance each other out being at either end of the bench. This is an example of symmetrical balance.

small street-2122 m

The next photograph could not be considered balanced. The figure on the right is not balanced by by anything on the left-hand side of the photograph and this adds an element of tension (incidentally this was the effect I was wanting to produce in the photograph it is exacerbated by my uncomfortable or unnatural way of sitting on the bench)

small self-2160 small self-2160m

Below is another example of a symmetrically balanced image. It could be argued in fact that this image has bilateral symmetry as the lying the bottom of the Windows bisects the photograph is horizontally whilst the centre of the of the door bisects the photograph vertically.

small Jail-1021

Now we move to the subject of dynamic balance. To explain dynamic balance we again turn to Freeman (2007 : 40) who explains “The second kind of visual balance opposes weights and forces that are unequal, and in doing so enlivens the image. On the weighing scale, a large object can be balanced by a small one, as long as the latter is placed far enough away from the fulcrum. Similarly, a small graphic element can successfully oppose a dominant one, as long as it is placed toward the edge of the frame. Mutual opposition is the mechanism by which most balance is achieved.”

This is illustrated in the next image, the couple on the right-hand side of the image balanced out by the bird which, although it is not the same size as the couple on the grass it is further away from the fulcrum and this has a tendency to balance the photograph.

small street-2124

We can test this theory by using photo shop to remove the bird (see below) the photograph appears less harmonious as there is nothing of interest in the left-hand side to balance the couple on the right

small street-2124no bird

the next photograph is another example where the large edifice of the University building is balanced by placing a small graduate beside it.small Andrew-1120

Whereas in the example of the jail wall below there is nothing on the right-hand side of the photograph to balance its monumental we at and it feels as if the wall is about to come crashing down onto the right-hand side of the photograph.

small Jail-1018

In our next example of dynamic balance the graduate on the right-hand side is balanced out by the darker heavier column at the left edge of the photograph

small Andrew-1113


It is worth noting that balance isn’t always desired and the tension created by breaking the equilibrium of the photograph can accentuate the impact of the subject of the photograph. An example of this can be seen in the image below were the young lady seems to stand out more against a black background because of the eccentric composition.

small DSC_8548

In the image of the two girls below, because the second girl is in shadow she is not as graphically important as the girl on the right and this creates an imbalance

small model2007b

by removing her from the photograph the viewers eye is no longer in conflict trying to pick out more detail and although the photograph is still not balanced the level of visual tension is greatly reduced.


small model2007mo


Placing your subjects in relation to each other and to the frame of the photograph is not the only way to achieve balance. Balance can be achieved between areas of different tone, collar or texture in a photograph or even between the subject and the background.


Reflection


As I tackle the compositional exercises of the course I’m really starting to learn new skills and concepts that I feel will improve my photography. All of the photographs above were taken without any conscious effort being given to balance, so if any of these shots are balanced it is purely accidental (or due to an unconscious understanding of harmony within the frame when taking the photograph). I am looking forward to shooting with my new found (if somewhat raw) understanding of balance.


References


Freeman, M 2007, The Photographer's Eye, Lewes: ILEX


Positioning the horizon.

  The aim of this exercise was to find a viewpoint that had a reasonably interesting landscape in which there was an unbroken and clear horizon (this is a difficult thing to do in Belfast.). I figured my best option was heading down to the docks and using the dark as an artificial horizon.


I took two sequences of photographs placing the horizon at different positions within the photograph. The first sequence is shown below.

small Positioning the Horizon-3010


Photograph one – this is my preferred image of the three I like the tones in the water in the foreground. This large area of water gives a feeling of distance to the horizon.

small Positioning the Horizon-3008


Photograph two – here the horizon bisects the photograph centrally but doesn’t have the drama of the water in the foreground, drawing the eye up to the horizon. Also there is the difficulty of the  very bland blue sky in the top third of the photograph.

small Positioning the Horizon-3009

Photograph three – this is the weakest image in the sequence we know have over half a photograph taken up by a sky full of nothing. Anything of interest is crammed into the bottom third making for a crowded and unbalanced image.

I decided to try a different cityscape to see if the results would be the same. That sequence of photographs can be seen below


small Positioning the Horizon-3013

Photograph four – in this photograph the foreground water doesn’t seem to be drawing us into the detail of the cityscape in the same way it did in photograph one. The buildings and Clyde seem one-stop the top of the photograph and the dark side showing in the bottom left-hand corner is unpleasant distraction to the rest of the photograph.

small Positioning the Horizon-3011


Photograph five – back to central composition with the horizon bisecting the image. It’s a pretty dull photograph of some water, some clouds and some buildings. There seems to be too much water it and therefore doesn’t feel balanced

small Positioning the Horizon-3012

photograph six – although it is by no means perfect this is the best of the three images. It seems more natural to the eye than photographs four and five on the curb Clyde line makes it a little bit more interesting. The occurrence of the small wispy cloud in the otherwise empty sky makes this composition work were image three did not.


Reflection

I have been taking photographs since I was a kid and it would never have occurred to me to place the horizon anywhere other than in the middle of the photograph, yet in the two sequences above that type of central composition didn’t work. It is really surprised me that something that simple can affect the look of a photograph that drastically.

This exercise has shown me that there is no set recipe for a photograph, what works in one situation may be dreadful in another, and composition is not a set of rules to be followed but a learned understanding of how to create photographs to either please or challenge the viewer.

A few years ago, in a bid to teach myself composition, I bought “The Photographers Eye” by Michael Freeman. I had a brief flick through the book and give the idea up as a bad job. I am now discovering that using Michael Freeman's book as a text to accompany the exercises on the course is teaching me the elements of designing photograph and also teaching me how to see in a different way.


Focal Lengths and different view points

The aim of this exercise was to take two photographs using a wide-angle and a telephoto lens. The photographs would be of the same subject with the same composition (i.e. filling the frame) taken at different focal lengths. To do this we were to take the first photograph with a telephoto lens, then fit the wide angle lens and move forward until the subject filled the frame once again, and take the second shot. SONY DSC

Small Focal Lengths and differnt View Points-3012

Photograph one was shot with a telephoto lens on a crop sensor camera at a focal length of 60 mm which roughly correlates to a full frame sensor at 120 mm. The second photograph was taken with a full frame camera at 24 mm focal length so essentially 100 mm difference in focal length.

The subject of the photograph is the Titanic visitor centre in Belfast and I chose this building because it has a little bit of depth which is more prominent in the first picture as we can see the walls protruding out from the central core of the building. As I moved forward to fill the frame using the wide angle lens perspective adjusts and we can no longer see the second part jutting out behind the building at the right.

So, how do the two photographs varying character. In the second photograph the building seems larger (it seems to loom over the viewer) and the corners extend out towards the edges of the frame more prominently than in the first photograph. In the first photograph the building seems smaller, squatter, and further away. This effect is known as perspective distortion. Another indicator of this perspective distortion is the lamppost and traffic lights in the second photograph being much larger and prominent than in the first photograph even though the building is virtually the same size in both shots.

This distortion would have become much more prominent if I had been equipped with a wider angle lens and moved even closer to the building. This further distortion at wider angle is illustrated in the photo below which we shot using a 14 mm wide angle lens on a full frame camera. The model seems to elongate into the centre of the photograph and her leg appears to be stretching and enlarging towards the corner of the image.

small anna-3008

Probably the most well-known example of this effect is the dolly zoom (sometimes known as the Hitchcock zoom) and was used to great effect in Alfred Hitchcock’s movie vertigo and also the very famous scene in Jaws were Roy Schneider realises there’s a shark swimming with the tourists on the very crowded beach. The dolly shot is achieved by moving the camera towards the subject whilst zooming out. We perceive the subject to be moving closer to us (in the case of the Jaws movie Roy Schneider) whilst background seems to move further away.

Reflection

I couldn’t know what to expect from the final images for starting this exercise. If I had understood perspective distortion prior to taking shots I would have approached the building from a different angle to better illustrate the effect.

On a positive note I am starting to get to grips with the self learning nature of the course. Using this exercise an example I have gone from knowing nothing about perspective distortion to being able to review my images understand how I would go about increasing the effect of the distortion.

A sequence of composition (attempt 1)

I have labelled this blog post exercise attempt 1 because having re-read the exercise brief I don’t think I have been particularly successful in creating a sequence of composition. The idea was to record the way I approached and shot a subject from the moment when I caught sight of a possible photograph to the final best photograph make of it. I had arranged with Merville ju-jitsu club to allow me to shoot one of their training sessions. I figured this would be a excellent opportunity to shoot sequence photographs with different compositions. I soon came to realise that the action of jujitsu training was far too fast to capture the type of sequence necessary for the exercise. Although I could shoot a sequence of events of a throw or sparring bout, it happened so quickly that I could not very the composition.

I decided to use the time to work on different compositions during the class. The results of this can be seen below

jujitsu-2030 jujitsu-2027 jujitsu-2025 jujitsu-2024 jujitsu-2022 jujitsu-2019 jujitsu-2016 jujitsu-2014 jujitsu-2013 jujitsu-2012 jujitsu-2011 jujitsu-2008 jujitsu-2007 jujitsu-2004 jujitsu-2055 jujitsu-2054 jujitsu-2050 jujitsu-2045 jujitsu-2044 jujitsu-2043 jujitsu-2040 jujitsu-2037 jujitsu-2035

If I was going to pick 4 images out of this that stand out as having any interesting composition at all I would chose the following:-


jujitsu-2027jujitsu-2007 jujitsu-2044 jujitsu-2012

This exercise was harder than I first anticipated. I will revisit this exercise. My strategy will be to take a walk through Belfast and stumble upon some action to photograph a sequence of compositions.

Fitting the Frame to the Subject

I received some advice from my tutor suggesting that I should be more creative in my approach to the technical exercises. So with that in mind I headed into Belfast to find a more interesting subject for this exercise. I settled on the “Belfast big fish” as it met the requirements of the exercise (i.e. something clear in appearance and compact in shape and also accessible from close to and from a distance) whilst being aesthetically pleasing.

The first photograph below is unsurprisingly a shot of the fish, but with very little attention paid to composition or were the subject should be in the frame, essentially it’s a snapshot.Fish-1000

In the third photograph I have moved very close to the subject so that none of the edges are showing this has the effect, in this case, of masking the fact that the subject is a fish but shows the detail of the ceramic pieces that make up the scales of the fish.

In the second photograph I have filled the frame with the fish. I have tilted the camera to get as much of the fish in the frame as possible.Fish-1001

In the third photograph I have moved very close to the subject so that none of the edges are showing this has the effect, in this case, of masking the fact that the subject is a fish but shows the detail of the ceramic pieces that make up the scales of the fish.Fish-1002

The fourth photograph shows the fish in relation to its surroundings. We can see that the fish is on a plan situated near the River Lagan beside the Lagan look out and overshadowed by all large brand-new commercial building.Fish-2000

The final part of the exercise was to digitally crop the fourth image to produce new images of varying composition based on what the subject was in the frame, you can see the results below.

Fish-2004 Fish-2001 Fish-2003 Fish-2002

Reflection

What have I learned from this exercise? The most obvious thing is that composition matters. If we look at the first image although it is sharp, probably exposed, and shows the subject, it is not a good photograph. In these days of “scatter-gun digital photography” we take 1000 photographs to hopefully (and in many cases accidentally) get a good photograph and so a lot of people pay is little attention to composing the image beforehand.

Secondly I have learned that depending on the composition there are many many different photographs of any given subject. I recently attended a gallery showing the work of the Northern Irish painter William Scott. Scott’s choice of subject for his still life paintings were very limited but he managed through composition and other techniques to produce very varied work.

I have learned that context can affect a photograph. Images two and three give no real clue to were the photograph was taken and in the case of photograph three doesn’t even point to the fact that the photograph is of the large ceramic fish. My favourite photograph is the fourth image which shows the fish in context of its surroundings close to 3 Belfast landmarks.

The one major takeaway from this exercise is that it is well worth spending time planning the composition of the photograph and using the viewfinder frame to properly compose the image rather than run around taking 1000 shots and hoping that one of them will be a well composed photograph.

The final thing I learned is tourists don’t care if you’re taking photographs for your degreeFish-1005