The first requirement for this exercise was to shoot when the sun was low in the sky, this is commonly known as golden hour.
Golden Hour is quite simply when the sun is low in the sky. The end-points are sunrise and sunset, but the maximum height is a little vague. It’s when the sunlight in clear sky is yellow-to-orange, and that’s approximately below 20º above the horizon. (Freeman 2014, p. 94)
The second requirement was to produce an example of front lighting, back lighting, side lighting and edge lighting.
For my subject I chose ‘The Gleaner’ sculpture by John Knox which stands in the grounds of Stormont Estate. I chose her because she is gloriously lit by the setting sun on a clear evening and there is 360 degree access to shoot the the sculpture enabling me to use a single subject for all 4 lighting techniques.
Front Lighting
This is an example of axial lighting where the direction of the light aligns to the lens axis. This is achieved by ensuring the sun is directly behind the camera during golden hour. Axial lighting can be achieved in the studio by using a ring flash.
The characteristics of a photograph shot in this type of light are :-
- There are no shadows present.
- Strong light reflected directly back at the camera.
- Flat 2D appearance
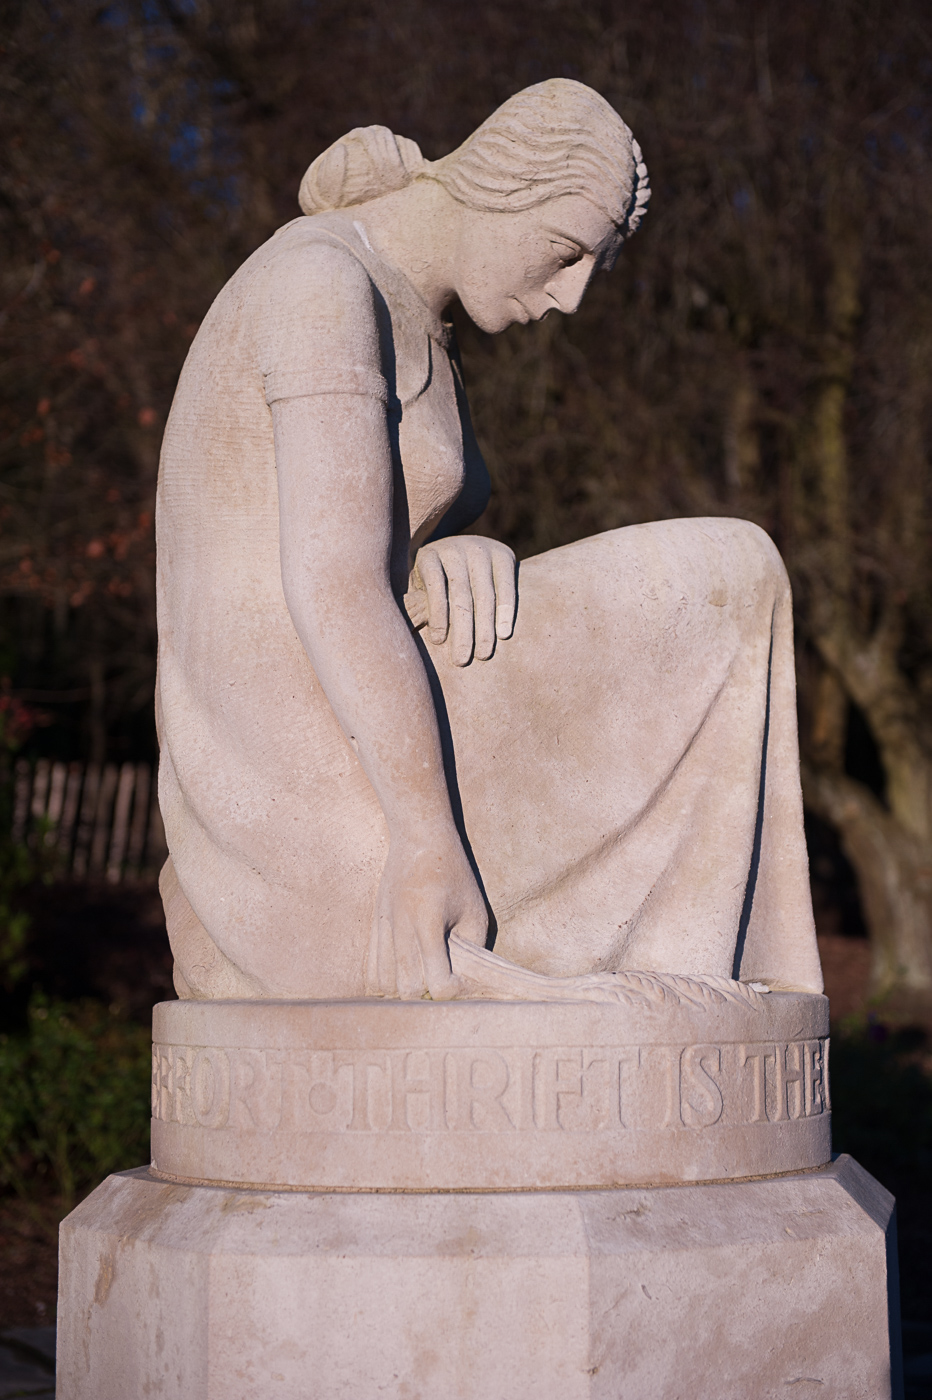
You will notice in the photograph below, there are shadows present on the woman's hair, arm and dress. This is due to the sun not being exactly aligned to the cameras axis. One of the difficulties of this lighting method is the potential for the photographer's shadow to appear in the photo, and the lower the sun, the more this becomes a factor. To avoid this I moved slightly to the right until my shadow was no longer striking the sculpture but this in turn created the shadows seen in the photo(my shadow could also have been eliminated by using a longer lens and moving back from the sculpture, thus allowing me to re-align for true axial lighting)
Side Lighting
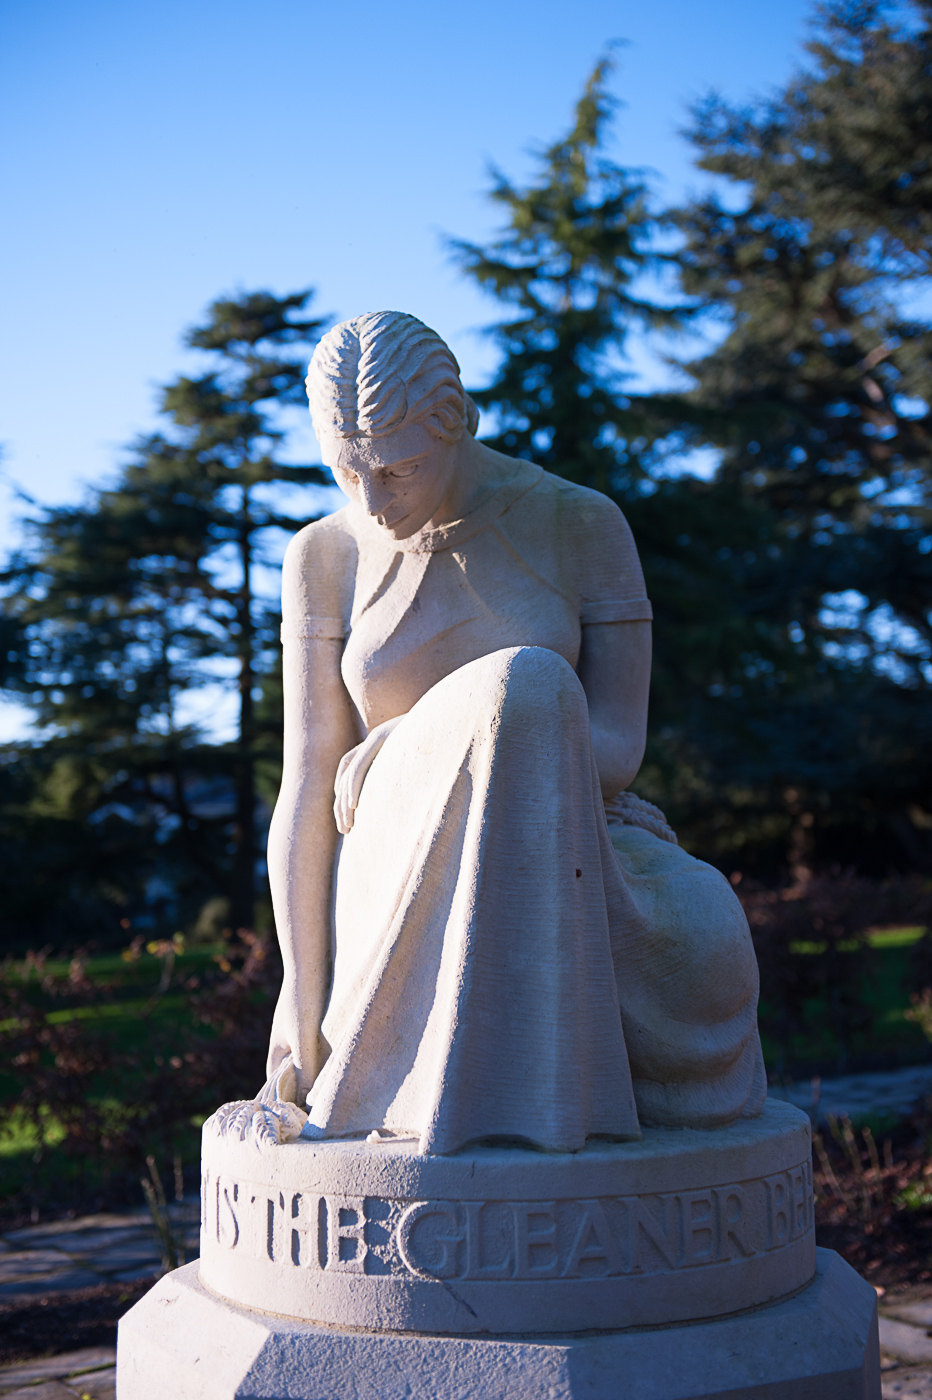
In the photo below the subject is lit from the left. Roughly half of the subject is lit and half is in shadow. Choosing the correct exposure becomes a balancing act of trying not to lose detail in the shadows whilst not blowing out the highlights on the lit side of the subject. Shooting shortly before the sunset means that the light is less intense and therefore reduces the dynamic range. The direct lighting gives sharp edges between the light and dark areas of the photo leading to an image with more contrast.
Back Lighting
In the photo above, the subject is back lit, in other words the subject is between the light source and the camera. One of the problems of shooting into the sun is the high dynamic range between the sun and the shadows in a photo. This can cause sensor clipping at the top end of the dynamic range (sometimes know as blown highlights) and loss of detail in the shadows at the lower end. To avoid this I have obscured the sun with the subject and by doing so have reduced the dynamic ange that the camera has to deal with.
This is a somewhat softer photograph than the previous two shots because the subject is lit from various directions by the reflected light of the sun.

Edge Lighting
To achieve edge lighting you shoot towards the sun (light source) but keep it outside the frame. A dark background is also desirable as it enhances the highlighted edge.
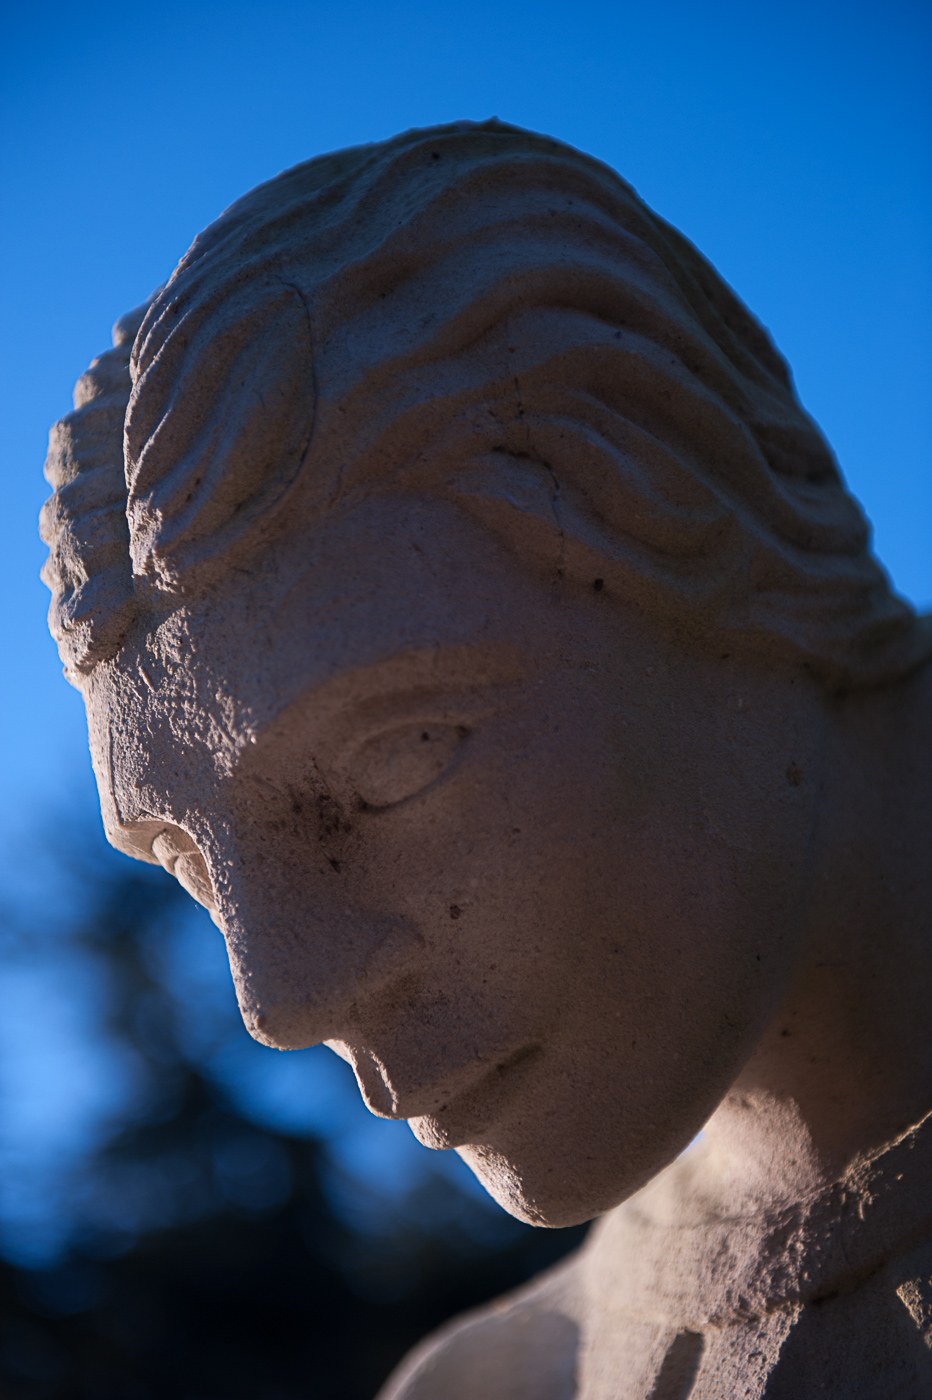 It is also worth noting that the intensity of light has an effect on how you expose for an edge lit photo and consequently how that final photograp looks. If the light had been brighter the exposure would have been shorter and there would have been more of a halo effect and a distinct loss of detail in the shadows similar to the image below.

Reflection
This exercise has expanded my knowledge of lighting. One of the first pieces of advice I was given when I started to learn photography was get a 50mm prime lens as it will teach you to zoom with your feet. The idea behind this was that by limiting yourself to one focal length it would make you move and explore to get the best shot. Similarly here the light source was fixed, as was the subject so I had no alternative than to move the camera to get the required lighting effects.
We are exploring a three dimensional world and creating two dimensional images of it and the position of the camera has an effect on the visual relationships between the objects in the flat image we produce (Shore, 2007). In the photographs above we can also see that there is a relationship with the objects in the frame and the light source and how we position the camera has a huge bearing on the final image (when we are using a light source which we cannot move).
In the world there are an infinite number of places to position the camera therefore it is worth putting some thought into where you should shoot from and experiment with various viewpoints.